
6g monster coupon combo welding test part 2 7018 fill and cap along with review of tig root
Click here to see part 1 TIG root and hot pass page
or just scroll to bottom of this page to see the root video
 |
 |
 |
When it comes to stick welding a 2” 6g weld test, there are 3 main things to really practice and focus on…
- Body positioning
- Muscle memory
- Line of sight
Body positioning is so important because of the need to smoothly transition your body as you progress from bottom to top.
Muscle memory means that you practiced enough to ingrain the movement in such a way that it is second nature.
Line of sight is making sure that you move your head in such a way as to always see what you need to see…the puddle, the edges of the bevel, and the other beads for a reference.
All this while not leaving arc strikes and depositing a sound weld that meets the visual acceptance standards.
Settings, Arc Strikes, bead placement for the 6g monster coupon combo welding test
Materials and settings
- 85-90 amps using Excalibur 3/32” 7018 electrodes
- DCEP ( reverse polarity)
- Arc force/DIG set to mid range ( not all machines have an arc force or dig setting…but if the machine is equipped with this setting, then mid range is usually a good place to start)
Why no arc marks?
Arc strikes or arc marks are not permitted because they are stress risers. An arc mark is essentially a small area where the metal was heated to above melting temp and then rapidly quenched from the heat sink affect of colder surrounding metal.
Arc strikes can be hard and brittle and are stress risers that can propagate into cracks. The higher the material strength and the higher the carbon content, the more important it becomes not to have arc strikes on the base metal.
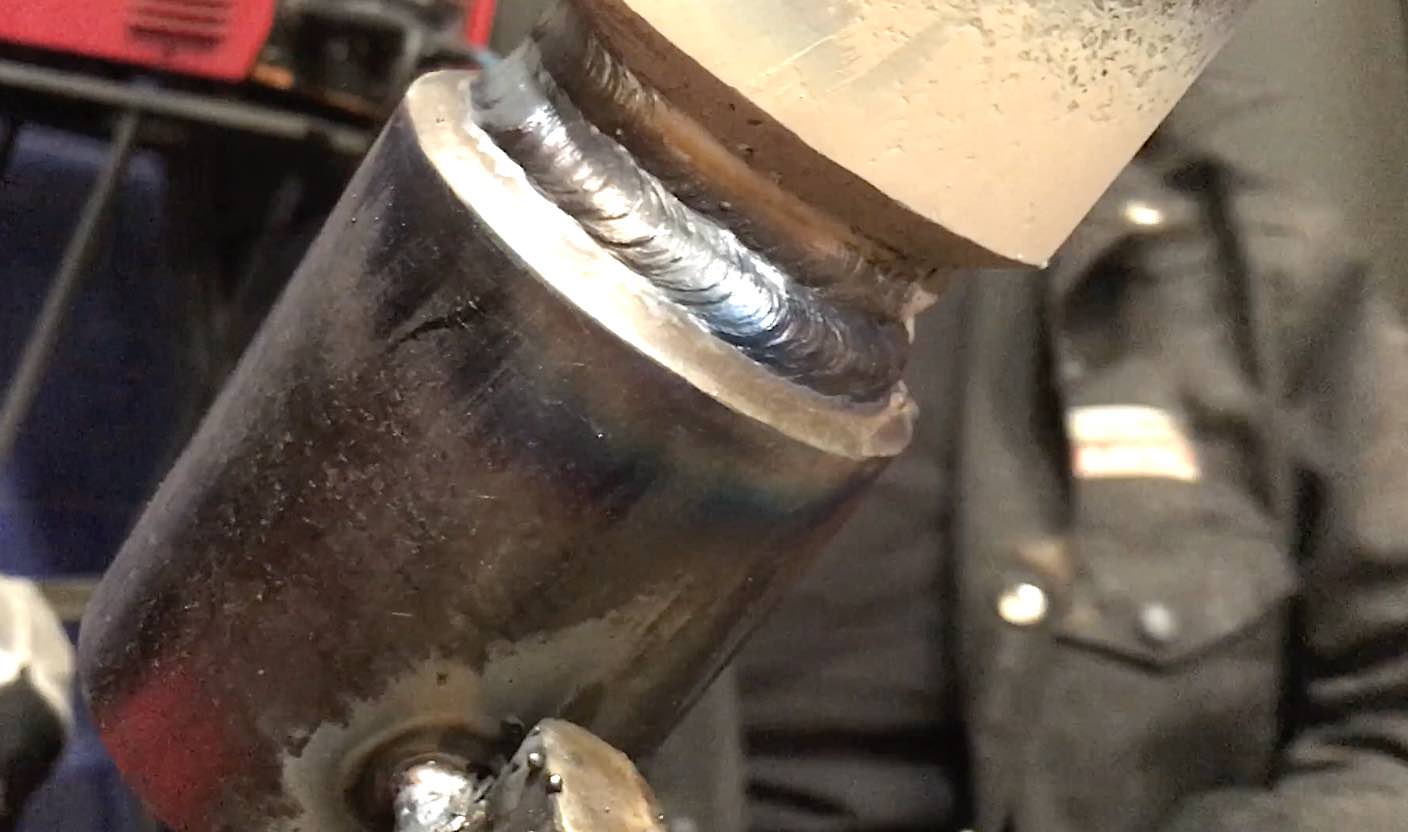
Strive to place each bead half way over top of the previous bead so that you avoid valleys or other areas that are difficult to penetrate on subsequent beads.
Always be thinking ahead. one bead ahead...this will prevent you from painting yourself in a corner by placing a bead too close to the bevel..you need enough room for the tip of the rod to fit so that it can penetrate/
It took 20 beads to finish this monster coupon. But there is no real requirement for a set number of beads. IT takes what it takes.
After the hot pass was welded with TIG, 2 beads were stacked on top of the hot pass, then 3 beads, then 4, then 5, and then 6 for a total of 20.


The Real and Original TIG Finger® and XL model


