
Scratch Start Tig Tips - 2 tips for Better Practice

A question was posted on the welding forum (theweldingforum.com) about scratch start tig welding...and how to get better at tig welding by practicing running beads on plate.
Specifically, how to avoid craters...and how to prevent all the oxidation that comes from welding beads all over a 1/8" thick piece of metal.
Lets talk about how to avoid the craters first.
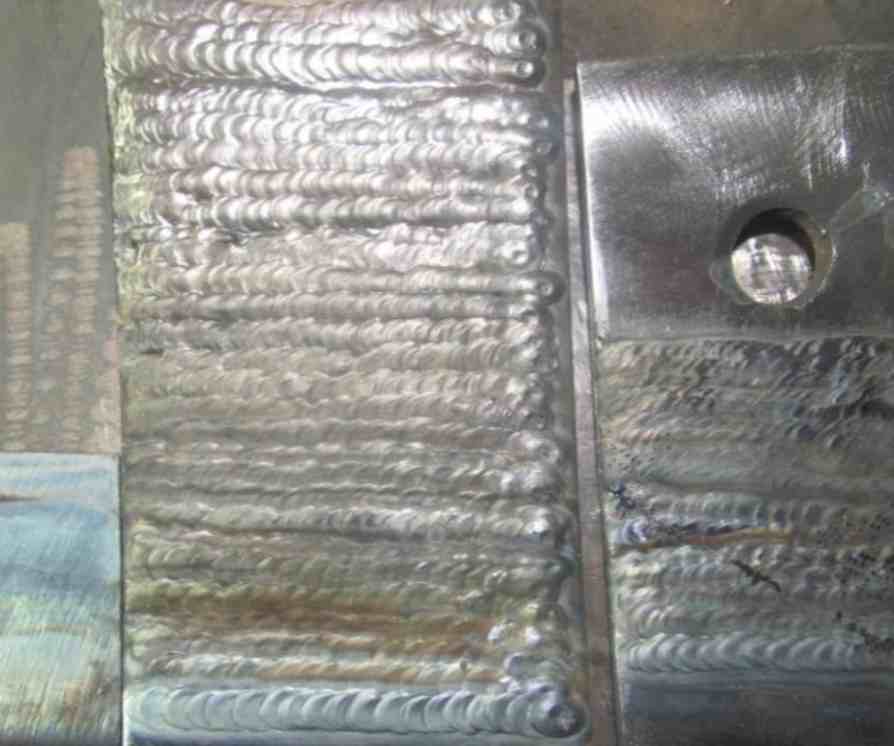
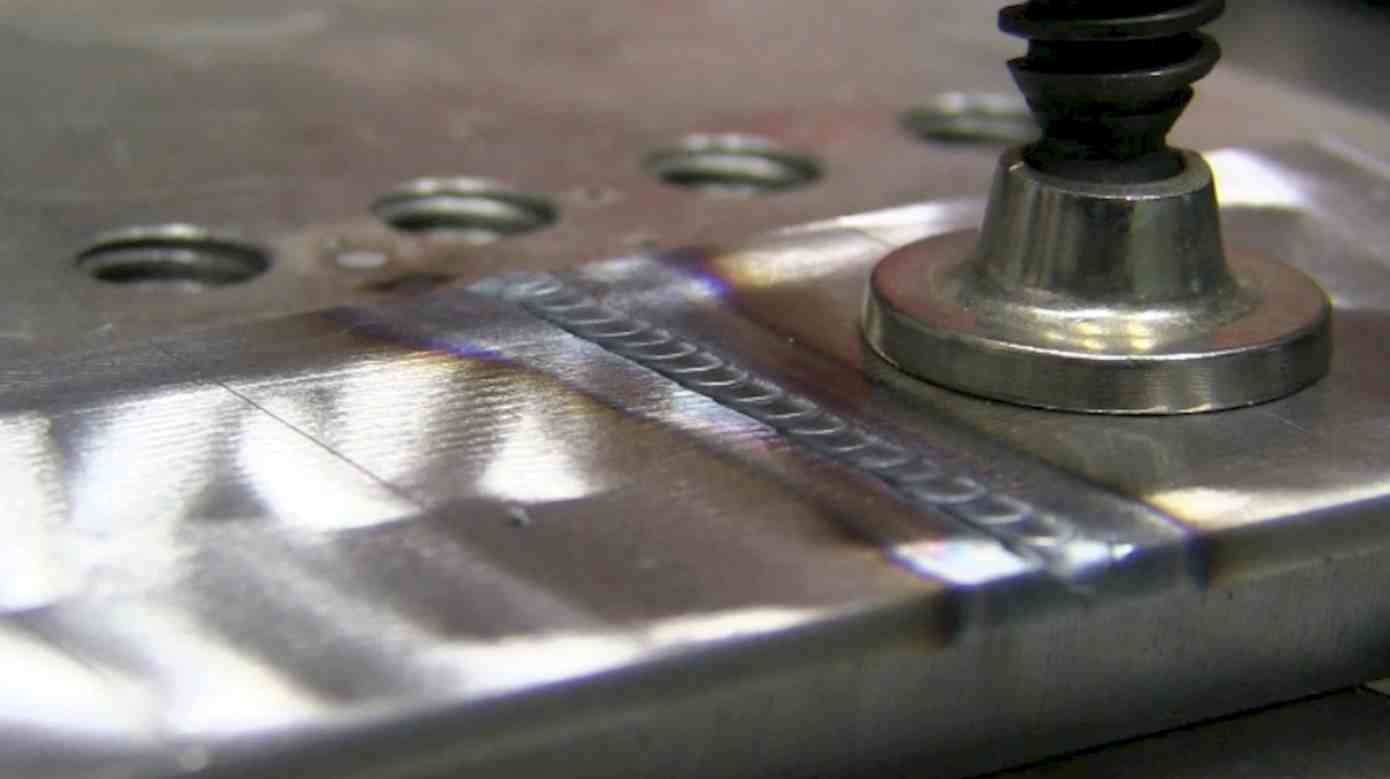
Avoiding craters with scratch start tig...the picture below was posted on theweldingforum.com
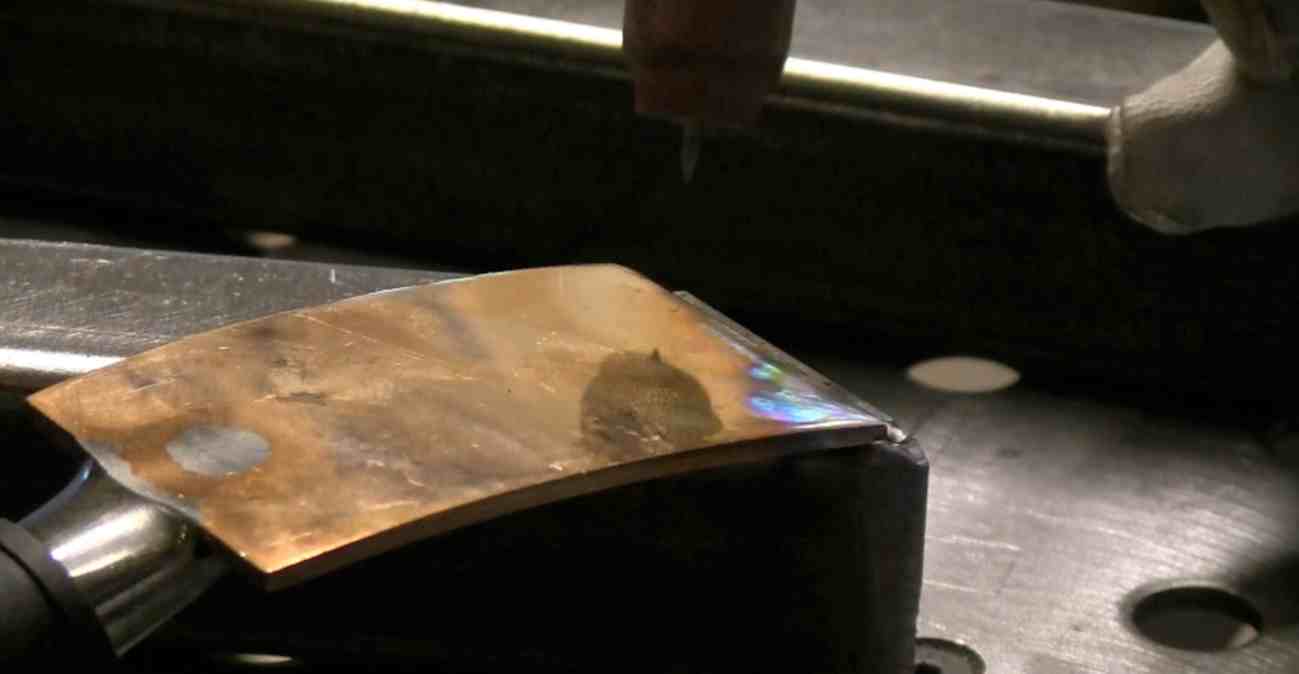
A few weeks ago, I posted a video about a copper welding spoon and how it can really help for tig welding-filling holes in stainless steel.
All there is to a copper welding spoon is a piece of copper fastened to a handle. You can easily make one, but I found them at Harbor Freight for around 8 bucks a piece so I bought 2 of them.
With scratch start TIG welding, the problem is not starting the arc....thats easy. You can either just strike the tip of the tungsten like a match, rock the torch in until the tip touches and you get an arc, or you can even use the tip of the filler rod to start the arc.
Stopping the arc is the problem.
Stopping the arc is not such a problem on pipe or on thicker metals because its easy enough to file, grind, brush the stop....but for scratch start tig welding of thin stainless steel, stopping the arc means whipping out and losing gas shielding.
Thats where a copper spoon can help....or even just a chunk of copper or aluminum can yield the same benefit but just remember that copper and aluminum conduct heat very well so having a handle attached as is the case with a welding spoon can prevent burns on your fingers. A small piece of copper will get really hot really quick.
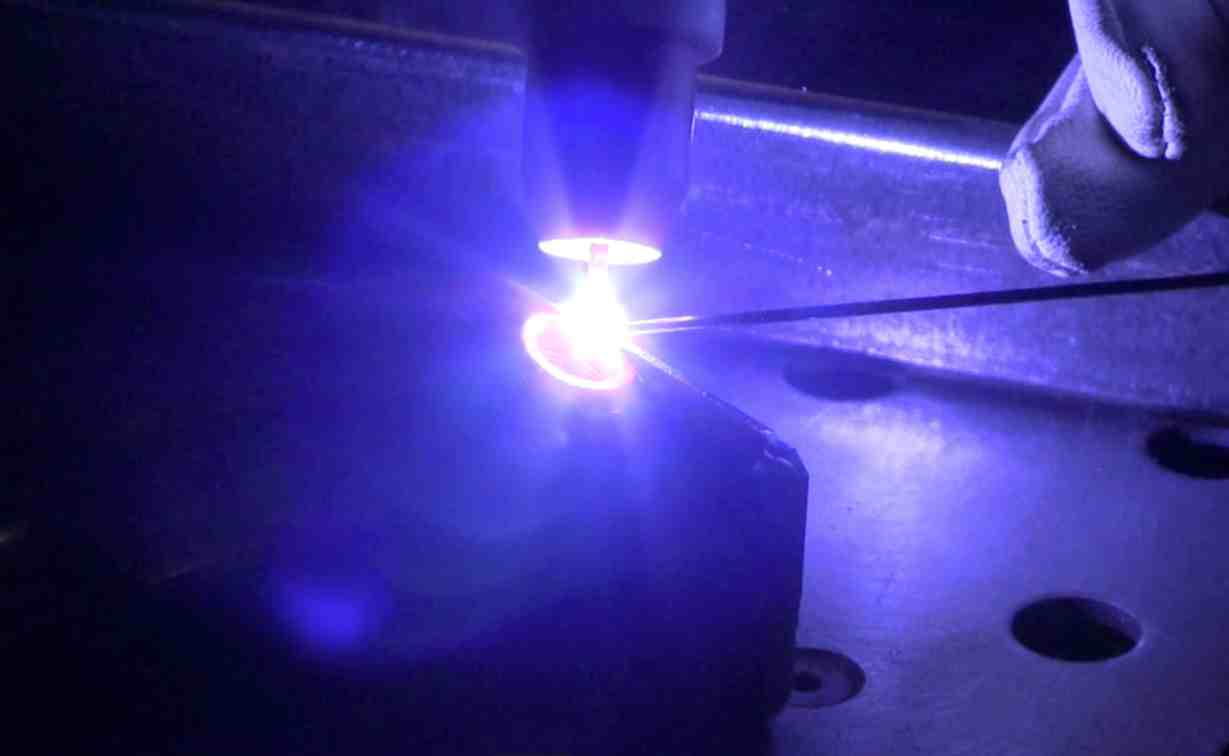
Here is the trick...just place the copper piece at the end of the weld and and move the arc onto the copper and hold it there while the puddle solidifies and is still shielded by the argon for a few seconds....then whip out and results are much better.
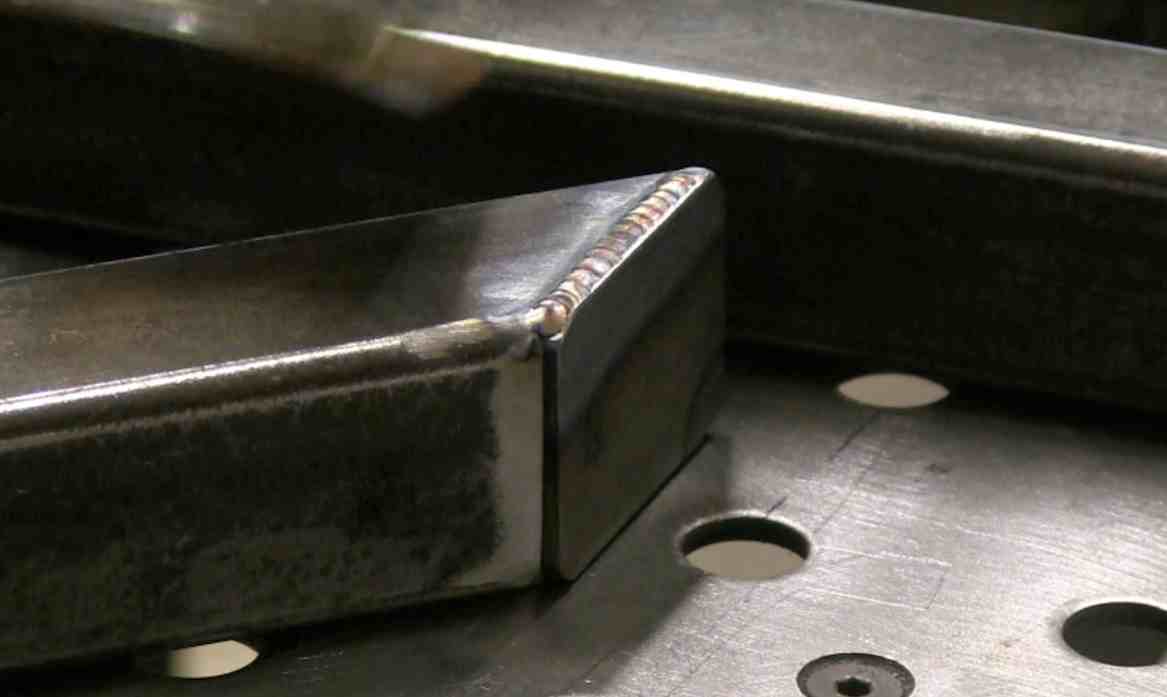
I used this little trick for tig welding the end caps on the angle cuts on the welding cart project and it worked great....in fact, the handle of the welding spoon turned out to be just the right angle to let me rest it on the tubing and allowed the copper piece to lay right next to the weld. Not only did that help to remove a bit of heat from the weld, but it provided a dam that made for better gas shielding on the outside corner joint.
When I needed to terminate the arc, I just moved the arc over to the copper, held for a second or two, and then whipped out and avoided the oxidized gray area I would have had without the welding spoon.
Heat Management for scratch start tig practice.
The other part of the forum post was about managing heat buildup when practicing running bead after bead on 11ga steel.
Of course a water quench bucket can be used, But another thing that really helps is clamping the steel piece flat against a thick piece of aluminum.
Without the aluminum, you would need to dunk the piece in the water bucket every 2 or 3 beads.
but with the aluminum block, you can weld twice as long without the piece getting too hot.
When a practice piece of metal gets too hot, a surface layer of oxidation will form and its no fun to weld over.
not only is it not fun, its not very good practice because its just not the same.
So if you can, get yourself some thick pieces of aluminum and keep them in your toolbox.
they work great for chill blocks...and especially work well for backing on outside corner joints on all types of metals.
more tig welding videos

Would you like to get free welding videos in your inbox every week?


Tig FingersThe Real and Original TIG Finger® and XL model
Stubby Gas Lens and Pro TIG kits
2% Lanthanated, CK LaYZr, Purple, more
Our Weldmonger Stubby Gas Lens kit is the Best


