
Welding Distortion Tips

A fundamental of welding distortion is...
Weld metal shrinks!
As Weld metal solidifies and cools, it shrinks.
It shrinks in all directions but seems to shrink more in the direction of travel.
And that causes welding distortion.
What does lacing up a boot have to do with welding distortion?
Have you ever laced up your work boots and had to redo them because they were too tight?
The accumulation of stress from each lace adds up.
Same with a welding bead.
As the weld bead progresses along, metal is constantly cooling and shrinking.
If weld metal shrinks in the direction of travel, then weld sequence is key
Sometimes, distortion can be overcome just because the part is fairly rigid as is the case when you weld a small rectangular frame out of square tubing.
But when the part is not rigid and allowed to move around, weld sequence and direction of welding becomes more important.
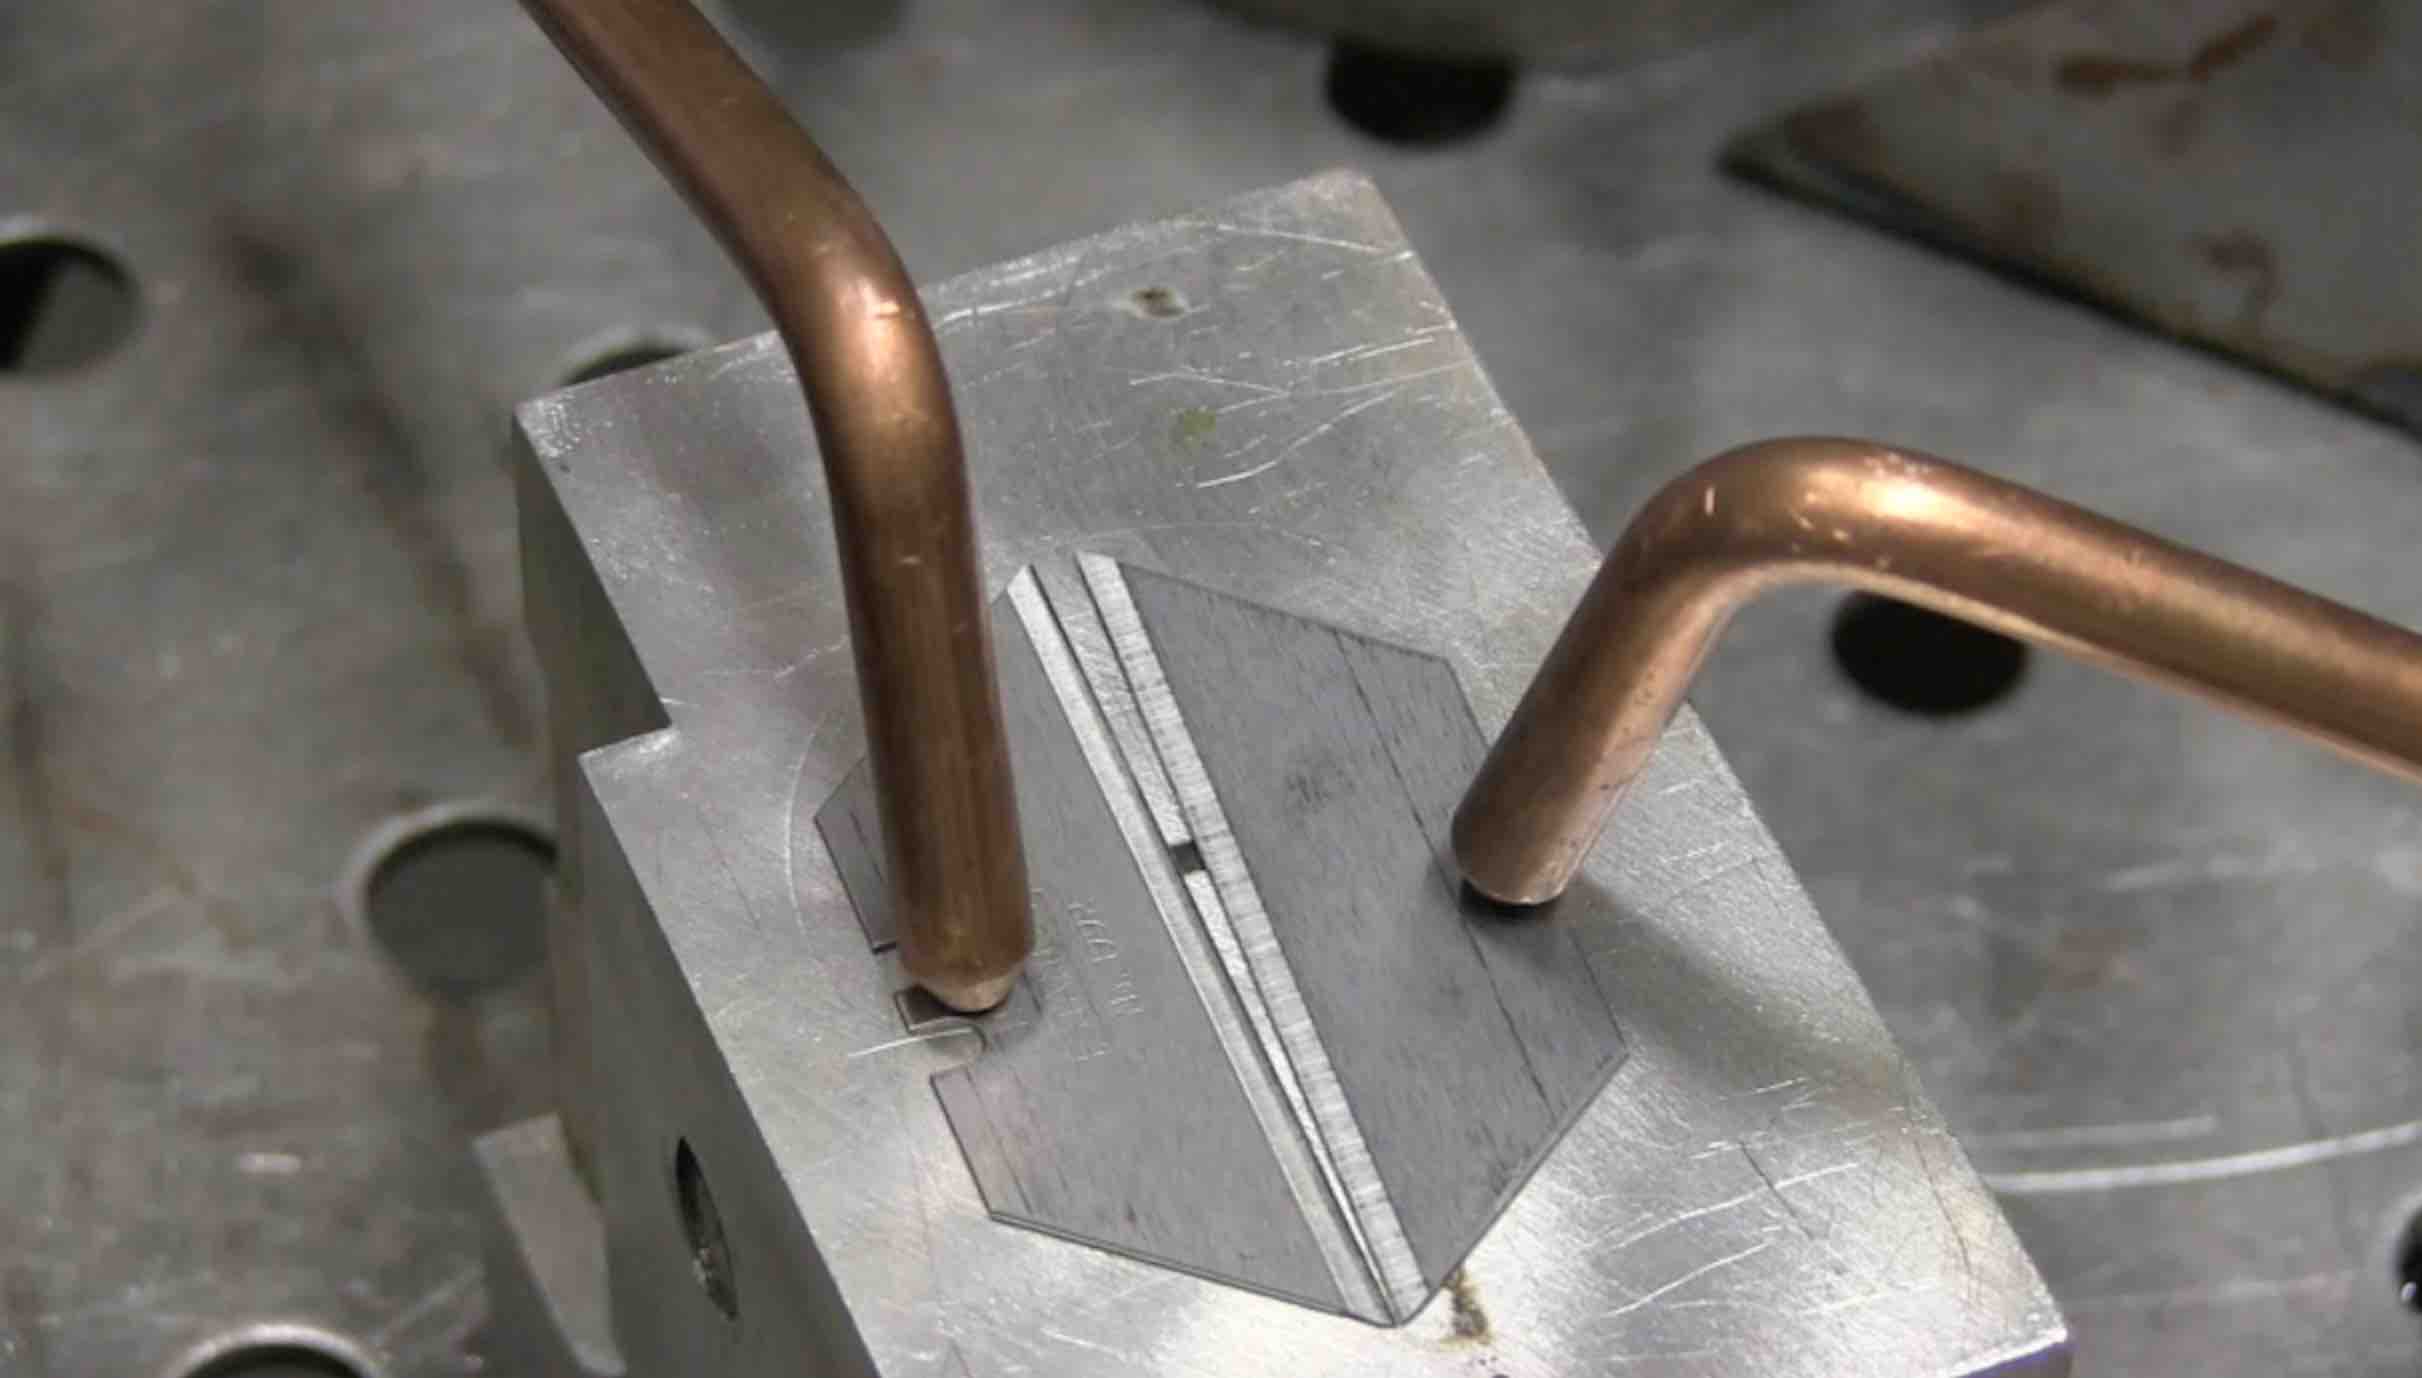
Roy Crumrine shows how he uses weld sequence and direction of weld travel to make a 90 degree weld joint end up at 90 degrees.
He starts by tack welding on the outside corner.
Then pulls the joint out of square by about 1/16" (1.6mm) to the outside. Remember, its easy to draw a weld in the direction of the throat..but very difficult to draw it the other way.
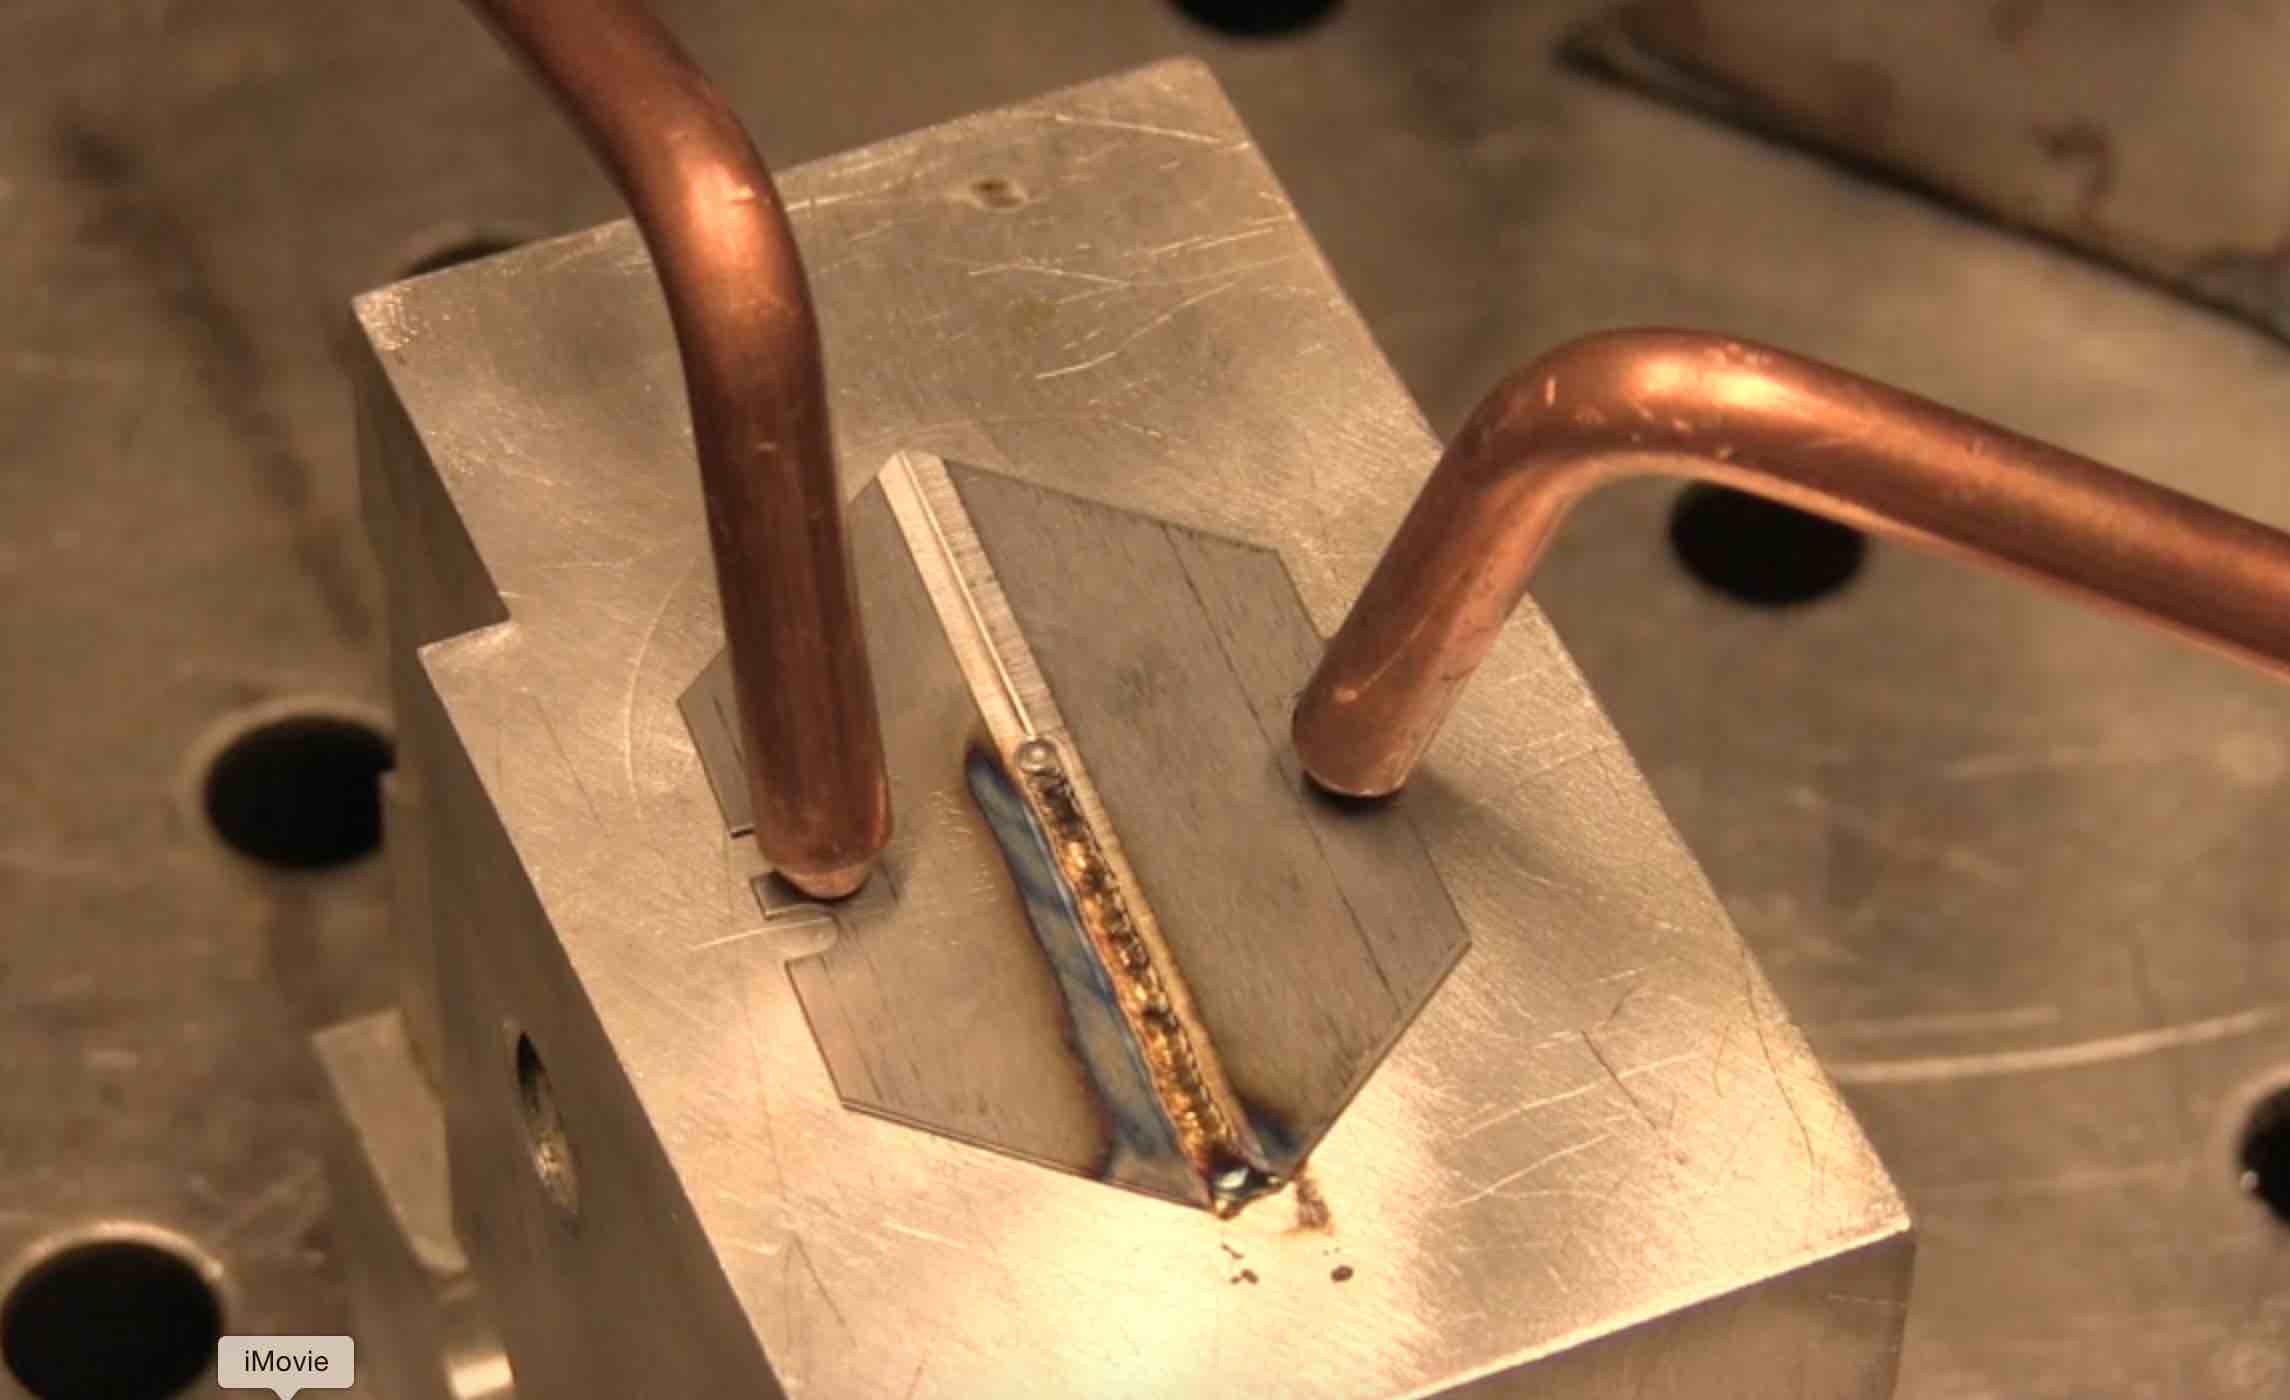
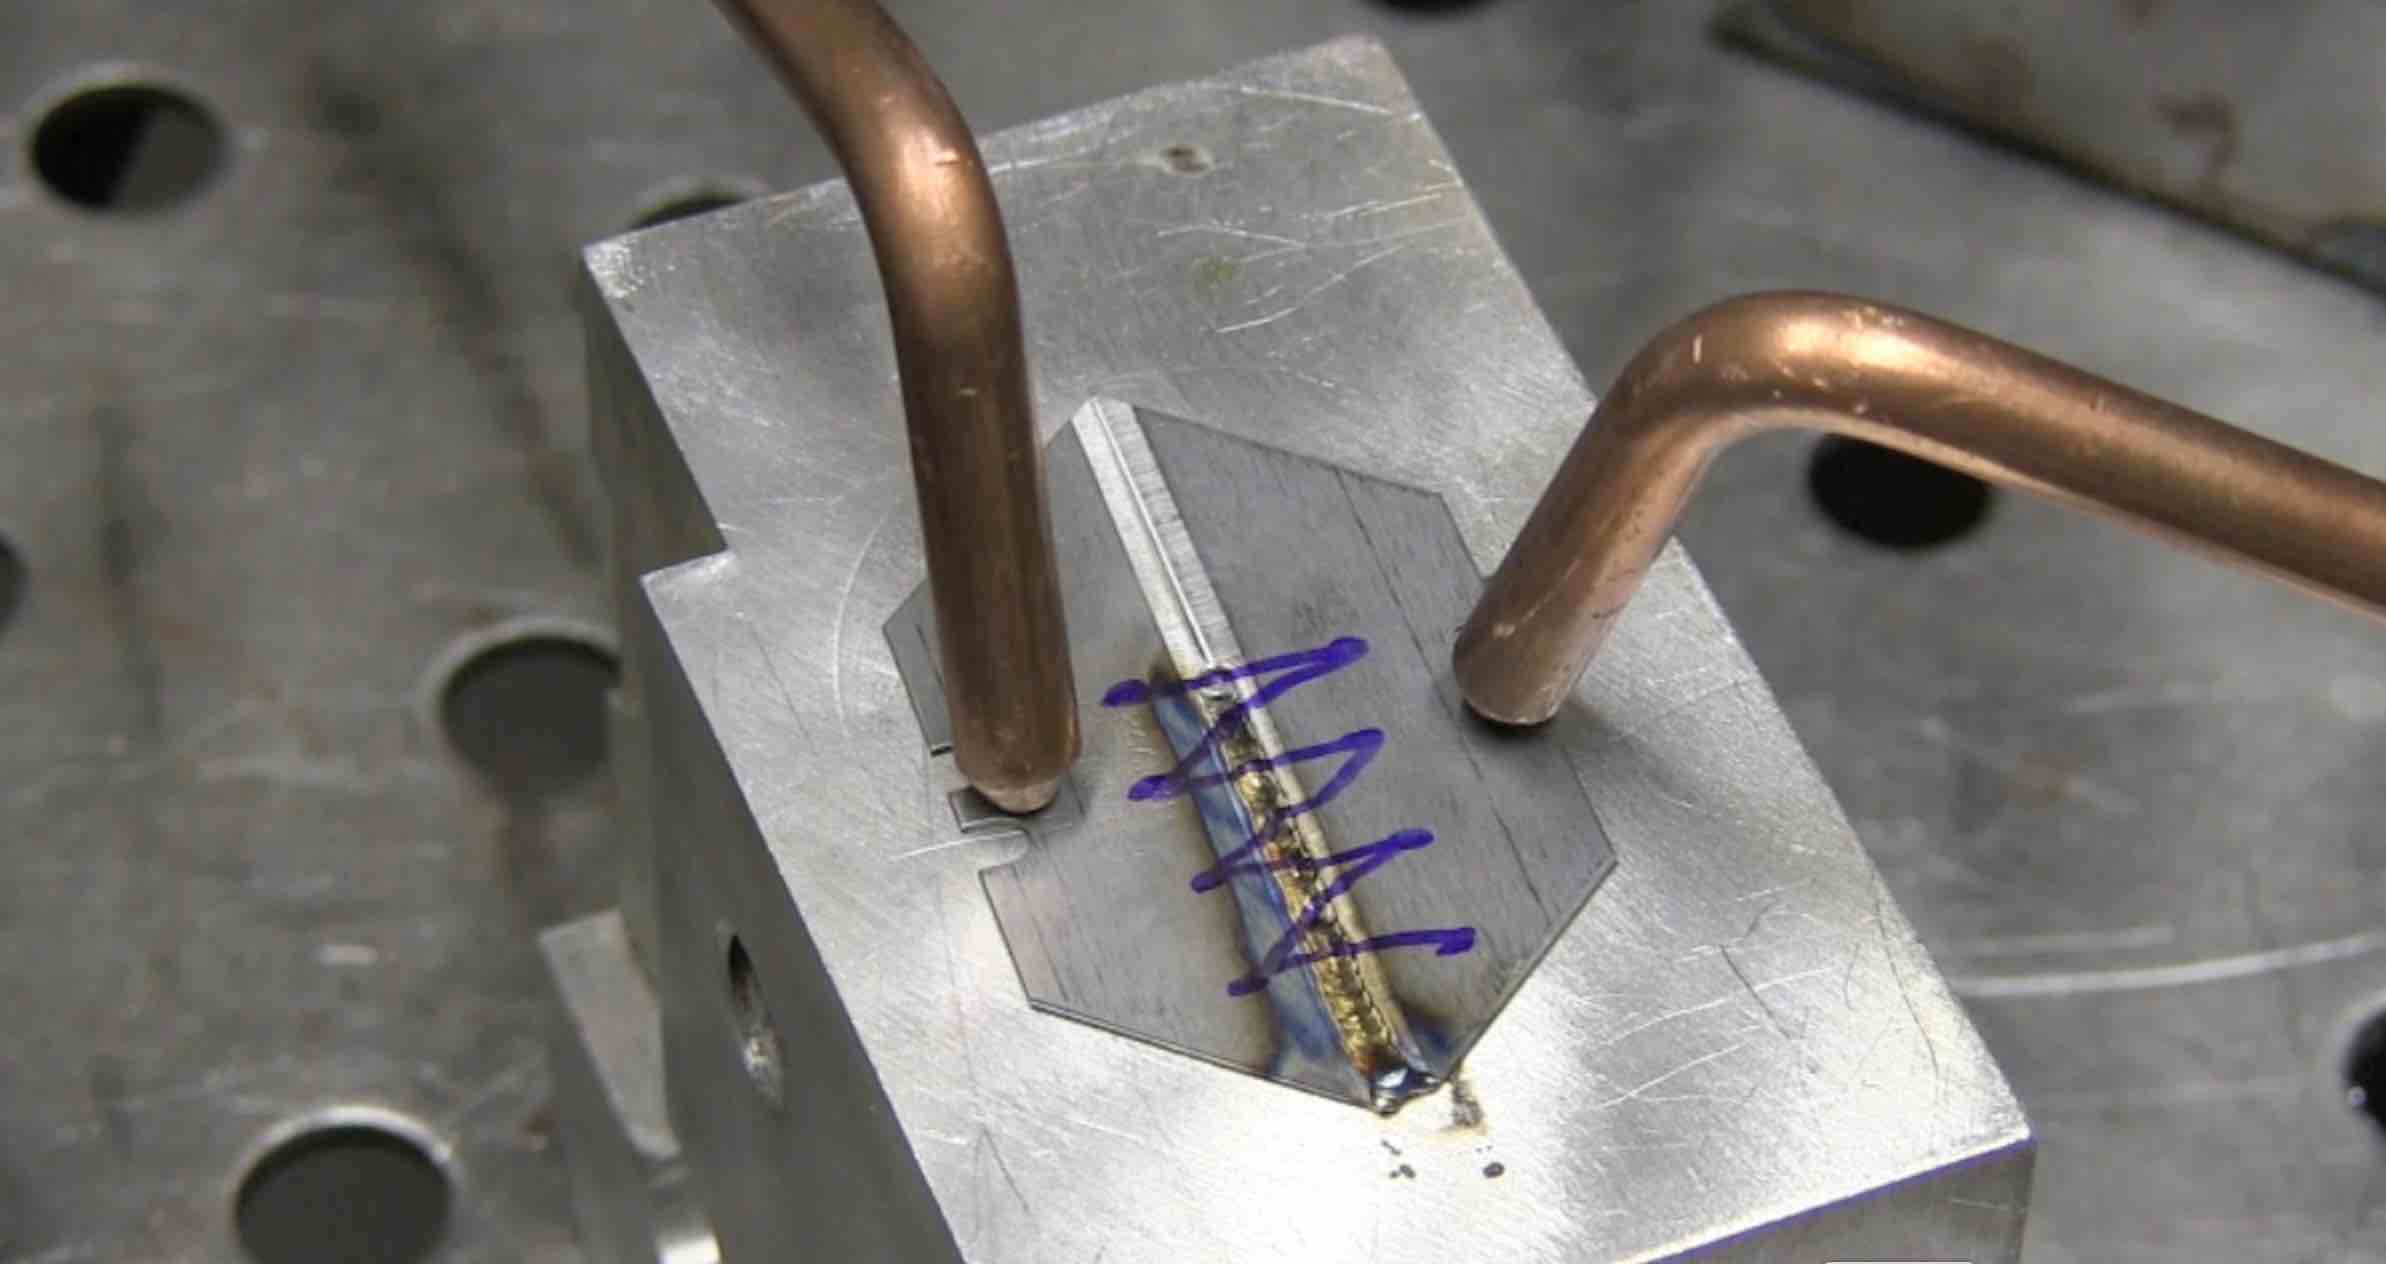
So by pre-placing the joint a few degrees out of square and making the first weld toward the outside corner, the final weld comes out square.
And if it doesn't quite wind up square a little speed cooling with an air nozzle, or using a can of dust buster spray does the trick.
Weld Details
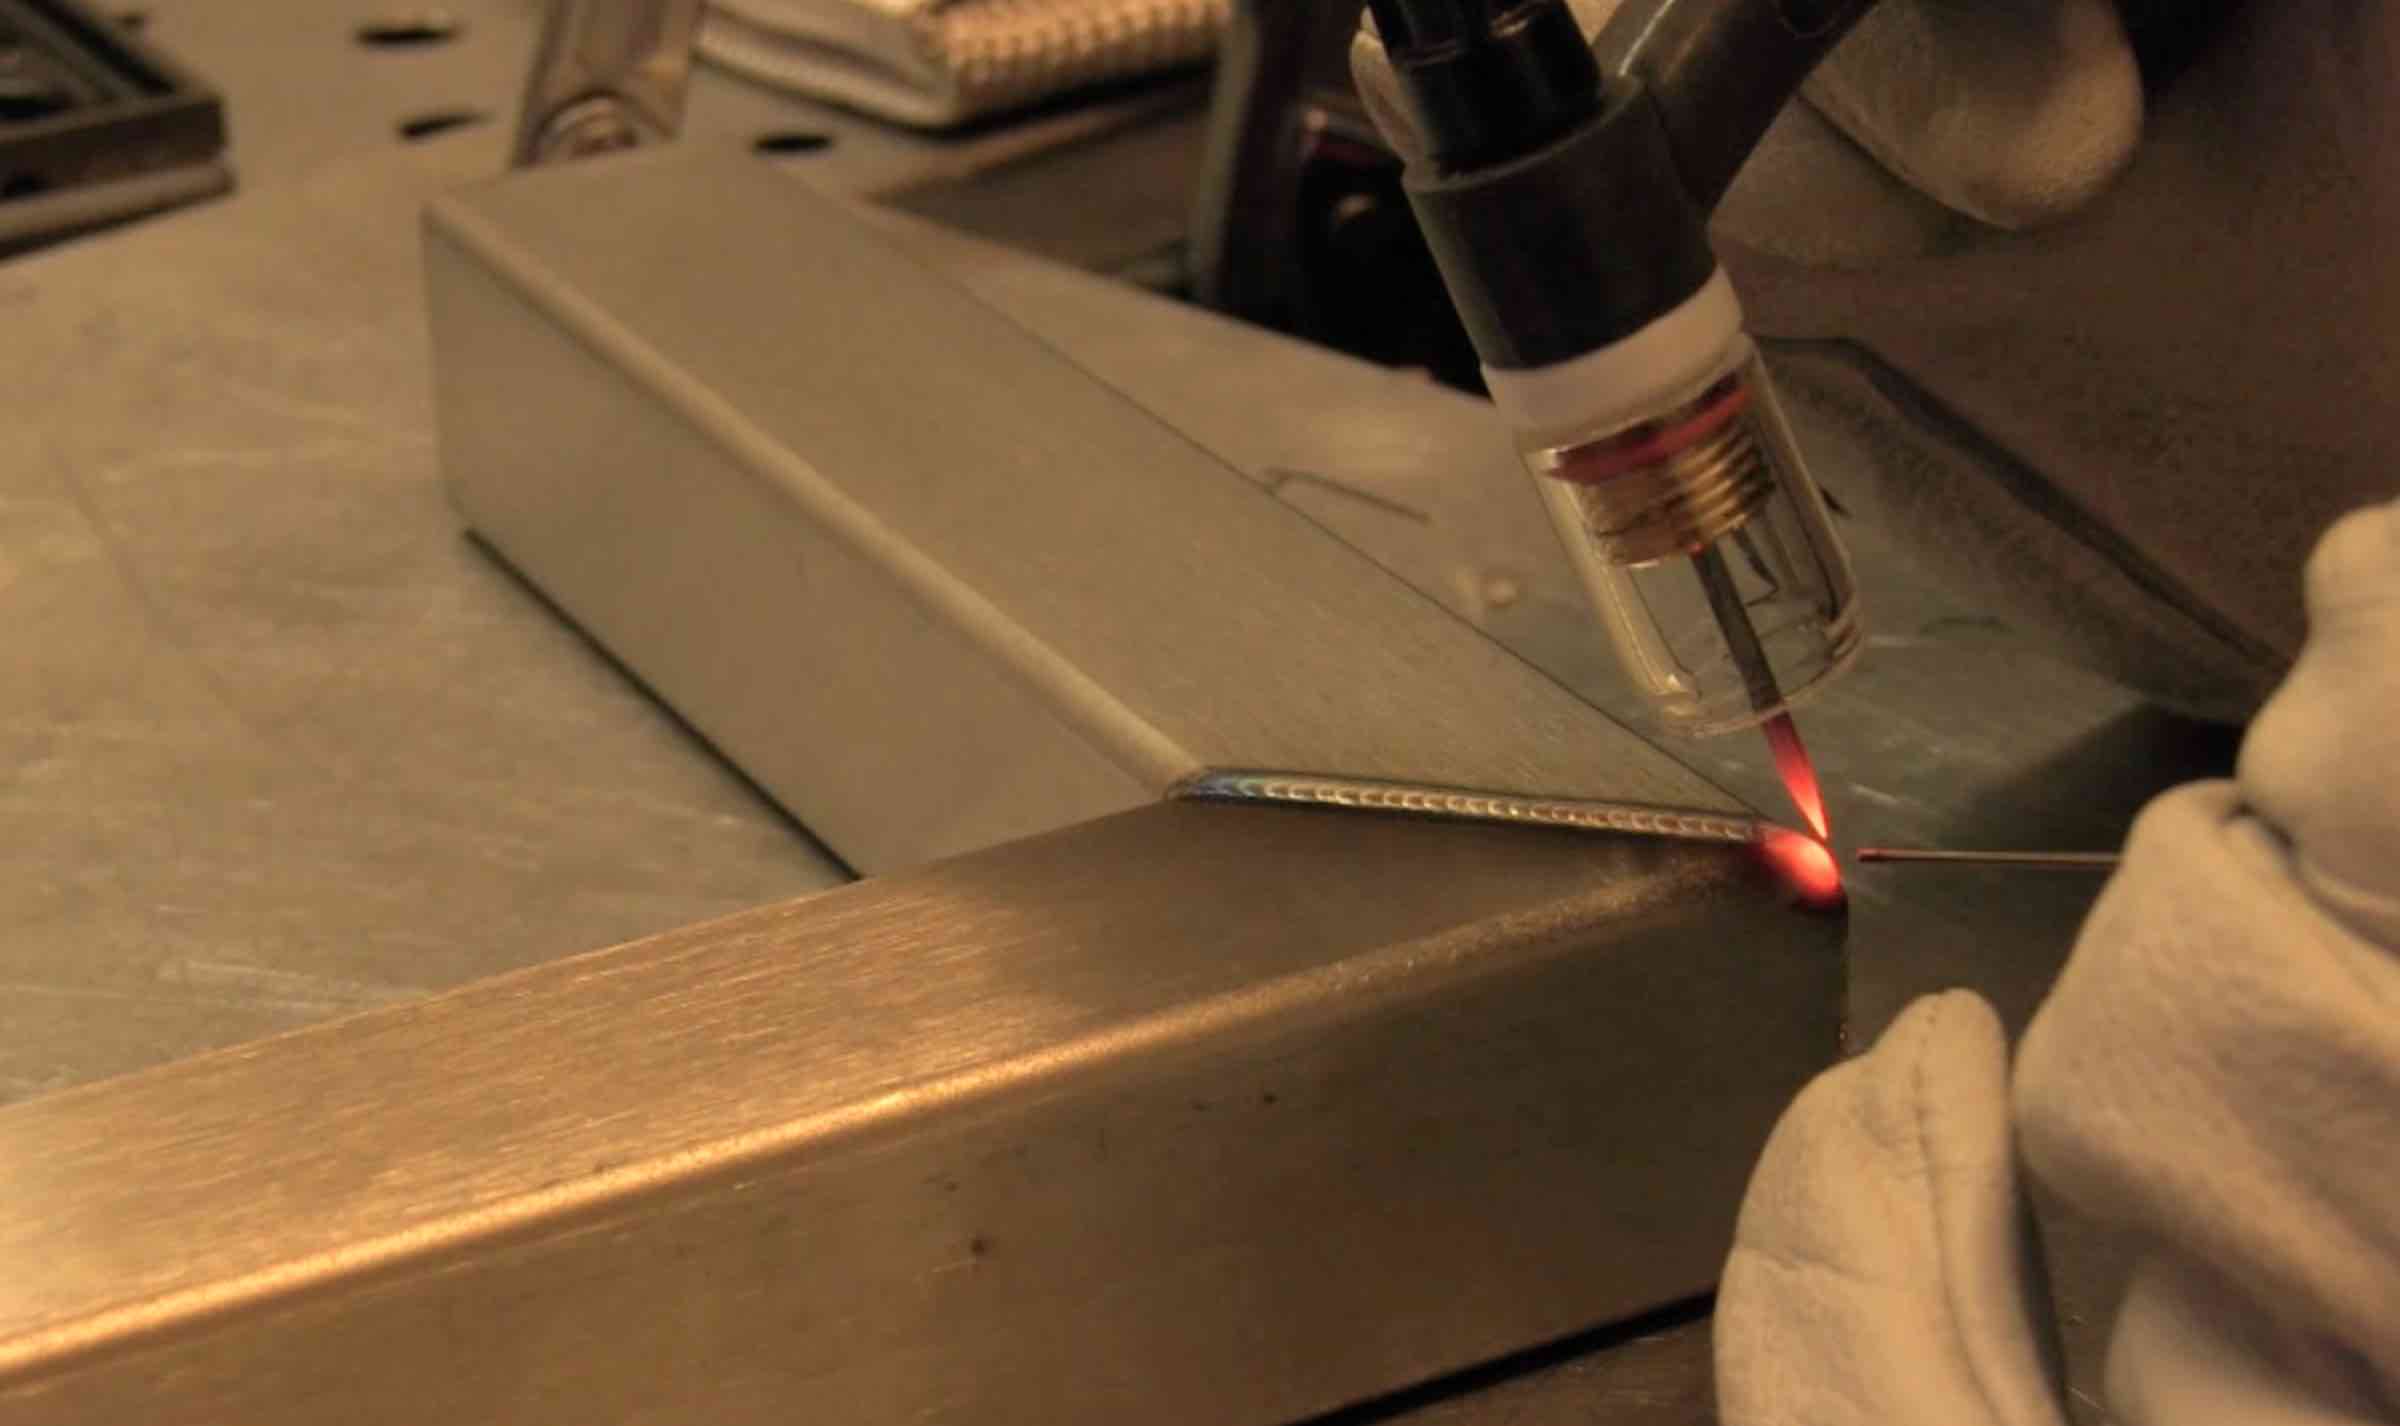
- machine set to around 120 amps but actual amperage was between 70-90 amps and controlled with a foot pedal.
- Roy uses small filler wire for stainless square tubing. in this video he used .045" (1.1mm) er308L stainless tig wire. Its common to use a smaller filler wire diameter for tig welding stainless tubing because stainless steel requires only about 2/3 the amperage normally used for carbon steel.
- #8 pyrex cup from dogfab.com ( mainly just because it made filming a bit easier) normally Roy would use a plain old #8 gas lens cup.
- 20cfh of argon flow
- 3/32" 2% lanthanated electrode sharpened to a needle point using a drill motor and bench grinder.
- water cooled #20 style tig torch
This old video made by Lincoln Electric is still just as good today

Would you like to get free welding videos in your inbox every week?


Tig FingersThe Real and Original TIG Finger® and XL model
Stubby Gas Lens and Pro TIG kits
2% Lanthanated, CK LaYZr, Purple, more
Our Weldmonger Stubby Gas Lens kit is the Best


