
Aluminum Welding joints ... Outside Corners, Laps, Tees
You wont find a better page on the internet on TIG welding Aluminum!
Aluminum welding outside corners
- HOME
- TIG WELDING ALUMINUM
- Aluminum Welding
click here to shop for a TIG Finger or TIG cups or gloves
Lap joint

These welding training exercises use 3 common joints included in most aluminum welding training curriculums.
The outside corner joint, Lap joint...and the Tee joint welded in the 2f position.
2f means horizontal fillet.
...and thats kinda weird because it seems that because they are on the welding bench right in front of you, that they are in the flat position.
But flat position or 1f would actually be done with the piece on a 45 degree angle where the weld is deposited in a trough.
I understand the need for proper welding terminology but when it comes to welding training, I think its a waste of time to begin with tee joints and lap joints in the 1f or flat position.
2f horizontal is no more difficult and once you master it, you can certainly do flat position laps and tees.
2f Tee Joint

And if you are not already running pretty good looking aluminum welding beads, back up and do the aluminum drill.
What is the Aluminum Drill?
See Below...
Aluminum Welding Practice Drill


What is The "Aluminum Welding Drill"?
Its a practice drill ...and its a way to get better at tig welding aluminum as well as steel...by welding a bunch of aluminum beads on a single piece of aluminum.
Will welding aluminum will improve your overall tig welding technique? ...even on stainless steel and carbon steel?
I Say it definitely will.
I am sure I will get a few emails disagreeing with me on that, but I dont care.
Aluminum pretty much exaggerates everything that happens when tig welding steel. Arc length and angle have more effect than on steel, touching the electrode to the puddle makes a lot more difference than on steel, varying amperage using the foot pedal is harder, the puddle characteristics change more quickly due to conductivity, even gas flow rates require more care.
In short, after mastering aluminum welding, steel becomes easier.
Tig welding aluminum is harder to learn than steel for most people so I dont advise doing this drill unless you have at least a few hours of arc time under your belt. But just as soon as you can lay down a good bead on steel, you are ready for this drill.
Here is the drill...
Using a piece of 1/8" thick aluminum about 3" by 8" give or take.
This is a way to get lots of arc time without being distracted by grinding, sanding, brushing , etc.
For the sake of this drill, only a wipe down with acetone or alcohol along with a quick wire brushing using a stainless steel brush is needed.
In fact, if the piece is fairly clean, you can just start welding without any prep at all.
So here is what you need for the drill...
1. a piece of .125" thick aluminum , 3003, 6061, 5052, 2024, or pretty much any grade....even grades not recommended for welding work ok for this practice drill.
2. some 1/16" and 3/32" aluminum filler rod.
3. a #5 or #6 tig cup and 12-15 cfh of argon flow, and a 3/32" 2% thoriated electrode
try all kinds of different techniques....
short arc, long arc, tapered electrode, rounded electrode, make tight ripples by adding filler rod frequently , make a loose rippled stack of dimes bead by spacing the ripples about 1/8", try different torch angles, try small rods and big rods, stack beads on top of beads, weld backwards, weld forwards, try some weave beads, try pulsing with the foot pedal, try using the pulse function and dial in some good settings for future use.
Another thing to do is pay close attention to how the bead looks when the piece of aluminum gets too hot.
When the bead starts to look grainy, it means the solidification rate is too slow ...if the ripples begin to disappear, thats also an indicator that it is time to let the thing cool before welding more.
A small piece of aluminum like this heats up quickly. After one bead, the whole thing is pretty warm.
There is no time spent cleaning beads and while welding bead after bead is good for getting practice, its not good practice if it welds like solder.
You have to stop and let cool. In fact, its good to have a bucket of water next to your welding table and just give the piece a quick dunk every few beads, leaving it warm to the touch so water evaporates quickly for welding.
here are some more tips for doing this aluminum welding drill...
• weld around the very edge first using the 1/16" rod.
• change hands and weld left handed often.
• try different electrode prep,...use a tapered electrode vs a rounded point
• experiment with tig settings. like ac balance and frequency
• experiment with pulse settings or even pulse manually with the foot pedal
• let cool or dunk in water every 3 or 4 beads.
• try welding backwards to build up beads on top of other beads
• Get a TIG Finger.
Learn More about the TIG Finger here
You might like these
Aluminum Welding Training on your own - just you and your tig machine
The best Aluminum Welding Training you can get on your own - How to Get better at Tig Welding
Welding Aluminum with Tig
Videos on Tig Welding Aluminum and learning how to tig weld


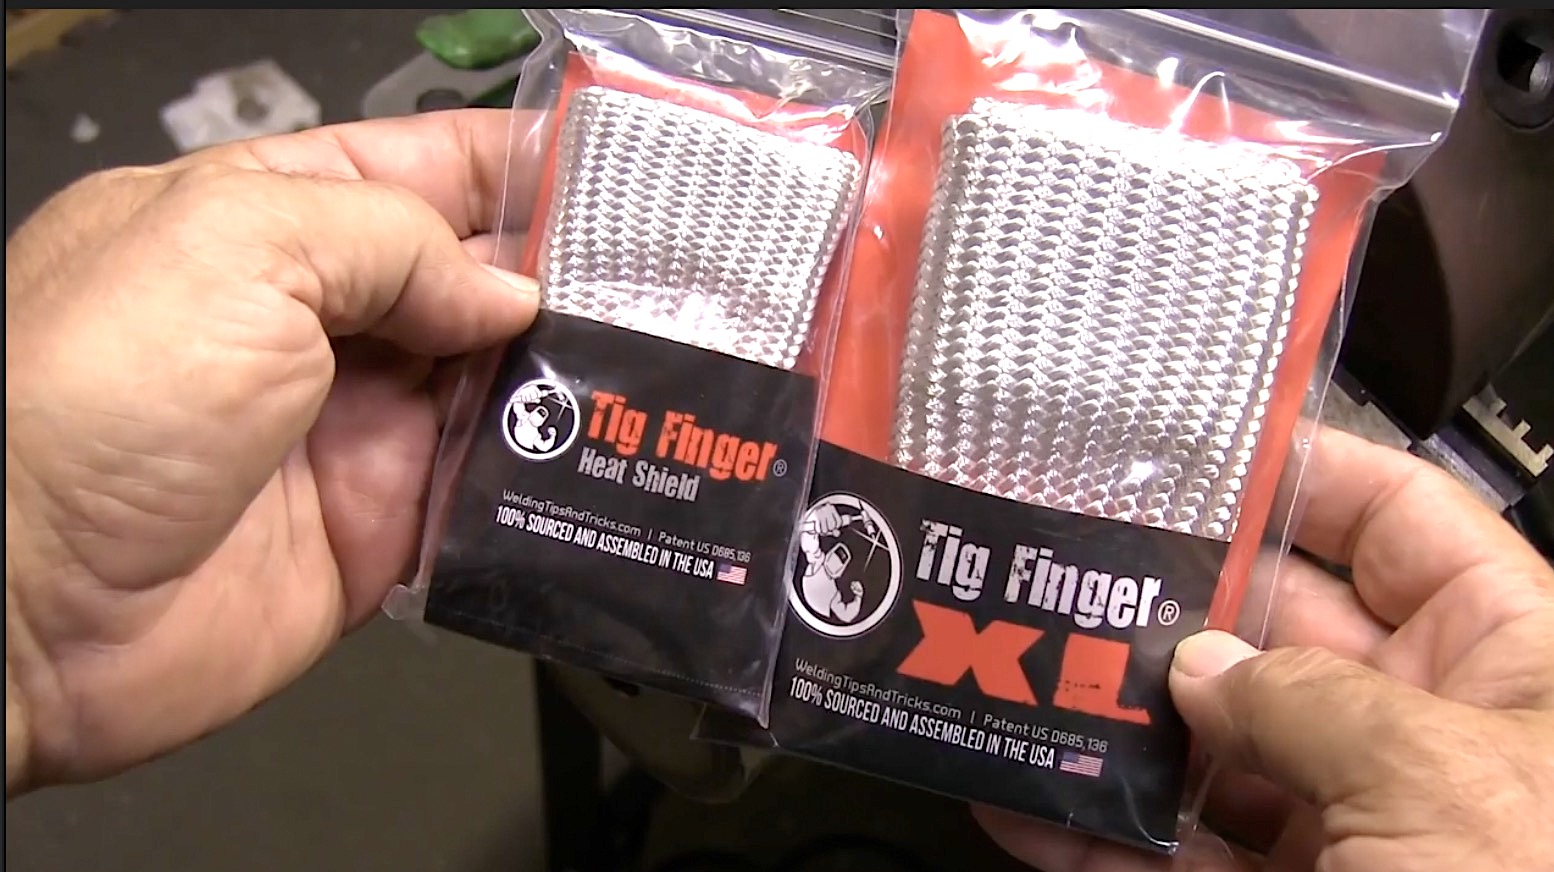
The Real and Original TIG Finger® and XL model


 Subscribe To This Site

