Tig Welding Aluminum bike Frame

see more tig welding aluminum videos or go to the main TIG welding page
...Introducing the New WeldMonger Challenger TIG kit that includes the most frequently used Cups.


You might like these
Aluminum Welding Training on your own - just you and your tig machine
The best Aluminum Welding Training you can get on your own - How to Get better at Tig Welding
Welding Aluminum with Tig
Videos on Tig Welding Aluminum and learning how to tig weld

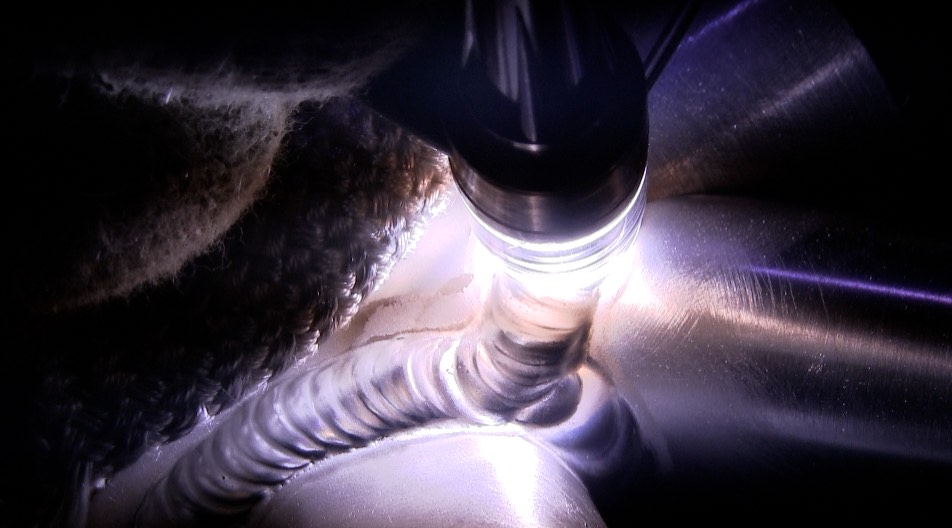
This video about tig welding an aluminum bike frame was filmed at Zanconato Custom Cycles shop in Sutton MA.
I visited with Mike Zanconato of Zanconato Custom Cycles and filmed his process for notching tubes, and tig welding aluminum bikes.
Aluminum is a very popular metal for bikes.
ITs relatively cheap, with a good strength to weight ratio, and does not require an argon purge while welding.
and it holds up pretty well to the beach environment as well as cold weather environments where roads are salted.
In case you are not aware, I have a podcast. Its called the weldingtipsandtricks podcast and I record weekly podcasts with Roy Crumrine ( @crummywelding on instagram , and Jonathan Lewis @superiorwelding on instagram. ).
Well, we had Mike Zanconato (@mzank on instagram) as a guest on our podcast a while back and he really brought the knowledge..really gave our listeners the keys to the Lamborghini .
And what I mean by that is that Mike has dialed in some super sweet spot settings on his Miller Dynasty 280dx.
Miller thinking is to set the amplitude settings to a higher EN amperage to provide a better aluminum arc.
But Mike Z discovered that setting a higher EP amperage setting allowed him to set his AC balance to as high as 90% .
That alone let Mike use a 1/16” electrode in situations where he normally would need to use a 3/32” electrode.
Companies like Miller often introduce features in their tig welding machines knowing that the end user will be the ones to figure out the sweet spot settings.
So what Mike Zanconato figured out is that using a higher EP amperage setting allowed him to use a higher AC balance setting. And going a step further, Mike chooses to use triangle wave form on the EN side of the AC current…and Advanced square waves on the EP side for more of a Punch of cleaning….while being able to set AC balance to 85% -90% EN.
That is definitely thinking outside the box.
I also have a Dynasty 280dx but have not yet purchased the expansion card for my welder.
It is definitely disappointing that Miller chose to require an additional purchase of the expansion card in order to use these advance features on the dynasty 280dx. Especially since these same features are built in the higher priced units.
Come on guys …its only software. 280dx owners have feelings too.
We filmed this video on tig welding aluminum bike frames , one on welding titanium bikes, and also a video on silver brazing lug frames.
stay tuned for the titanium and sliver braze videos ...coming soon.
So after the tube notching was complete, Mke scotch brited all the tubes thoroughly and then wiped them down using reagent grade acetone.
(reagent grade acetone is much more refined and pure and free from moisture and oils than hardware type acetone)
Mike likes to clean all tubes inside and out to prevent oils dripping down a tube and into a weld joint.
Mike uses a Miller Dynasty 280dx for tig welding aluminum bike frames and he also has the expansion pack which allows for independent amplitude settings.
So he can set amperage different on each side of the alternating current cycle.
That is a pretty cool feature that has benefits for tig welding aluminum.
Another cool feature is setting independent wave forms.
That means being able to use a separate wave form on each side of the AC cycle.
Settings were as follows:
- Amperage set at 240
- amplitude : EP amps maxed out to 280 on advanced square wave
- EN set to 225 on triangle wave
- AC balance 80-85% using 100% argon
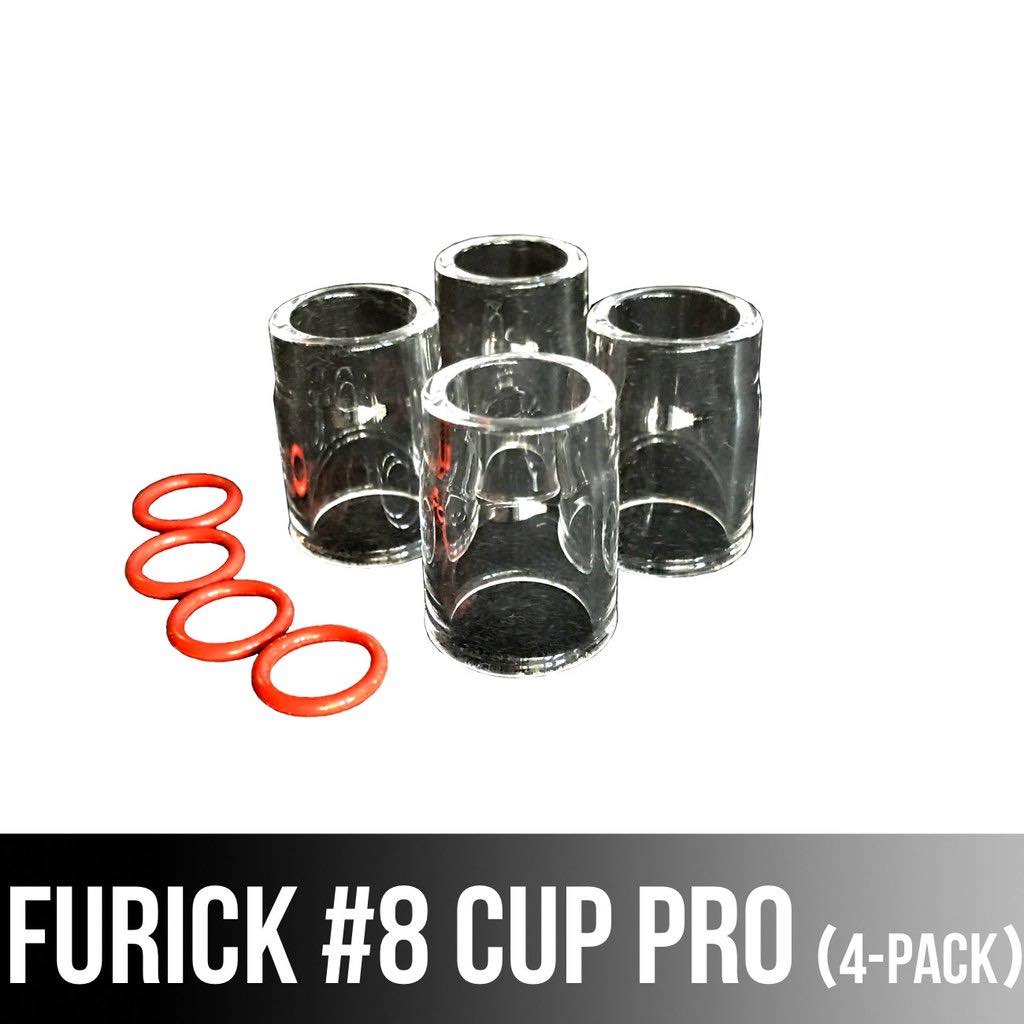
- #8 furick pro gas lens with 18cfh
Base Material Type/Thickness - 7005 aluminum .150" - .063"
Prep Method - scotch brite and acetone wipe
Filler Metal Type/Size - 5183 3/32" (2.4mm)
Tungsten size and prep 3/32" (2.4mm) tapered
Gas Type and Flow Rate - Argon 18cfh
Cup size - #8 clear furick pro cup
Current/Polarity - amperage set to 240 using foot pedal...AC with Advanced square wave on the EP size Triangle wave on EN side
Length of Arc - 3/32" or less
Angle of Travel - 10-15 deg
Manipulation/Technique - pulsing
Speed of Travel - 4-5 ipm
click here to learn more about the furick #8

Mike uses a very similar technique as me.
I like to step the torch ahead about 1/8" and then pause while I feed the rod. This is also the way I teach because I have found that its easier for a new learner to concentrate on one thing at time.
Welding this way lets you think about one hand at a time.
You move the torch and the puddle ahead and then pause...then you stop having to think about your torch hand and start thinking about your other hand...the filler rod hand.
Then when you feed enough rod in the puddle,,,(hopefully the same amount each time), you can stop thinking about your filler rod hand and start thinking about the torch hand again. And so it goes again and again. this is how you get the stacked dime appearance that everyone seems to like.
The uniform stacked dime look comes from stepping ahead the same distance each time,and feeding the same amount of filler rod each time.
Notice how Mike rotates the torch in this video.. and how he pulses the current with the foot pedal.
This pedal pulsing or (pedal whomping) technique is very popular in motorsports welding of trophy trucks, roll cages, etc.
The reason for pulsing manually with the foot pedal is so that the welder has time to reposition the torch on the constantly changing tubing angles.
Also notice that a lot of filler is being fed into the weld. Its a bunch compared to the amount of filler it takes to weld steel. But that is kind of how it goes on aluminum welds like this. trying to skimp on filler rod usually just causes cracks and failed welds later on.
So how do you get good at feeding the rod? by never watching TV without a filler rod in your hand practicing feeding it.
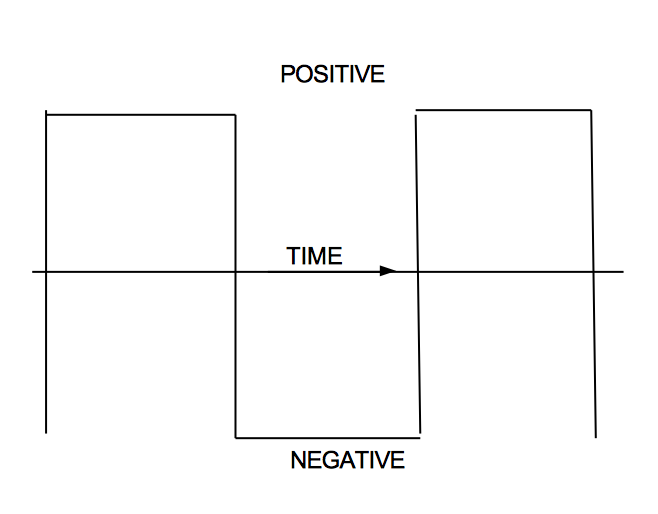
AC Waveforms for Tig welding aluminum bikes and other stuff
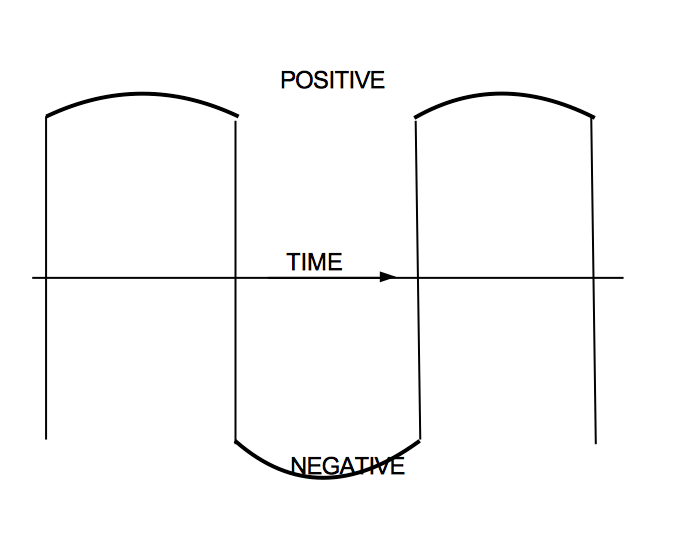
Advanced Square Wave form
The most common waveforms available on a Dynasty 280dx are
Advanced square, soft square, triangle, and sine wave.
They all have different characteristics and it takes experimenting and trial and error to learn what is best for a certain application.
I have to say I use advanced square wave most of the time for general aluminum work...mostly because I use 200 amp inverter welders a lot for making videos.
Advanced square wave seems to get the most heat input out of a 200 amp welder.
Soft Square Wave form
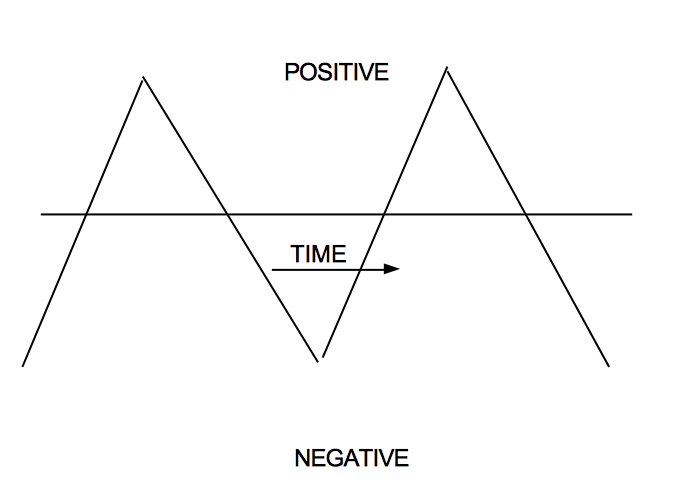
Triangle Wave form
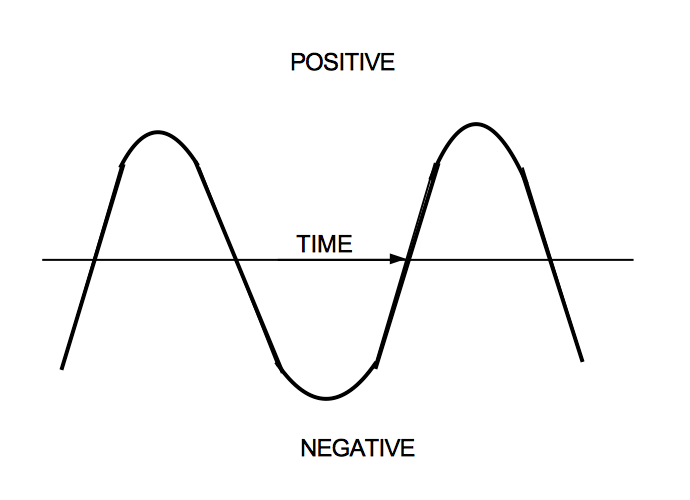
Sine Wave form
see more videos on tig welding aluminum here
Would you like to get free welding videos in your inbox every week?


Tig FingersThe Real and Original TIG Finger® and XL model
Stubby Gas Lens and Pro TIG kits
2% Lanthanated, CK LaYZr, Purple, more
Our Weldmonger Stubby Gas Lens kit is the Best


 Subscribe To This Site

