Welding a Business Card holder

In this video I am welding a business card holder.
The idea came from a recent episode (#110) of the weldingtipsandtricks podcast where we discussed marketing your business.
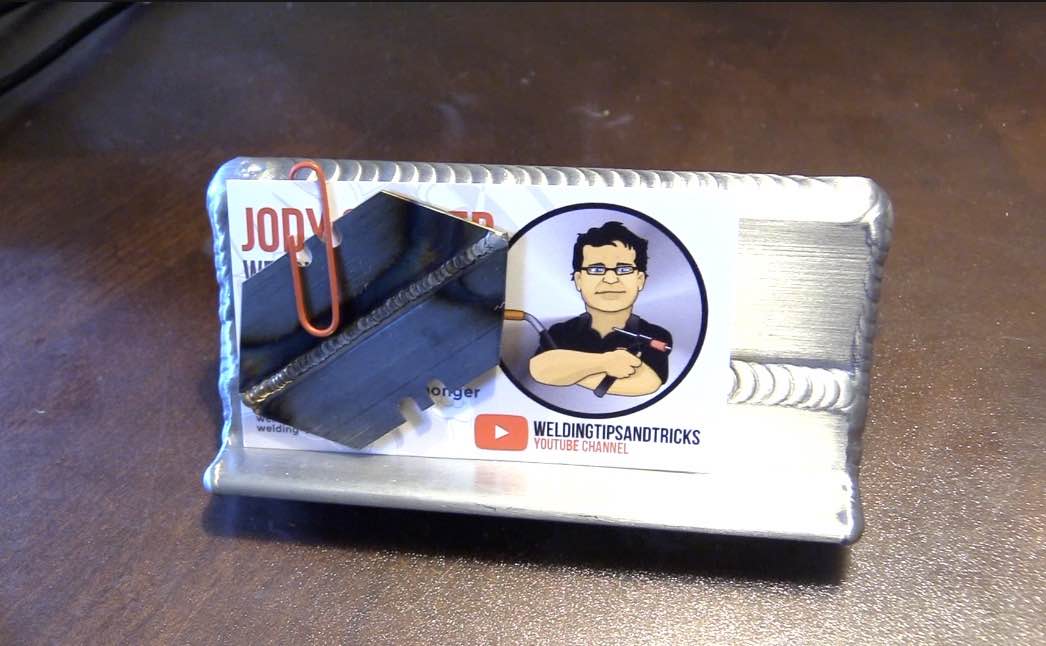
The idea is to make a business card holder that showcases your skills to give along with some of your welding business cards to a local business like a mom and pop machine shop, or job shop that has overflow work.
You can also even tailor the type of metal and weld process to the scope of work done by the prospective client.
My Friend Roy Crumrine just recently moved to Ohio and made some great business card holders to start building his side hustle welding service there.
Roy is one of the best welders I have ever met and since his childhood nickname was "Crummy" that is what he named his business.
Roy made 2 business card holders...one from Aluminum, and one made from stainless steel...both are awesome and show a high level of skill and attention to detail.
For his Aluminum card holder, Roy also welded some box cutter blades and clear coated them and attached them to his business cards.
Word of Mouth vs Business Card Holder
click here to go to the main TIG Welding Aluminum page
I think the most powerful marketing is word of mouth.
But Roy is new to the area and so "word of mouth marketing" will take a while to get going.
In the meantime, Roy has several business cards with holders out there at local machine shops, tool shops, etc. to get those first jobs that will then help him to grow his side hustle welding service.
Welding for Machine shops/job shops
I started my side hustle back around 1994 when I bought my first Miller syncrowave 250.
I started out repairing some aluminum aircraft parts but soon started doing welding for a small local machine shop.
The another small machine shop contacted me...then another.
The work was usually pretty simple.
Assemble and weld steel, stainless steel, or aluminum parts....
Weld up misdrilled holes, or mistakes where a tool crashed.
Remove a pressed in pin, or broken tap.
The great thing about it was that I did not have to risk much.
I didnt have to front the money for materials.
I would usually pick up the parts, take them to my own garage shop, weld, then deliver the parts and get paid.
Sometimes, I would have to wait 30 days or so for payment but since I was only out my labor and some argon and rods, that was manageable.
So a bit of a recap…..
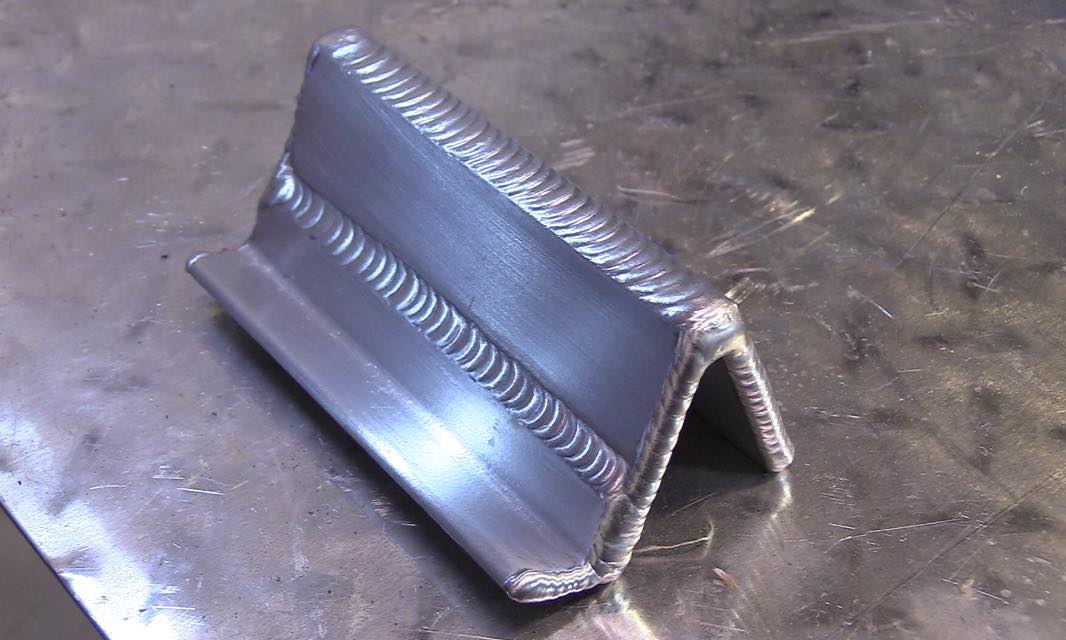
- Base Material Type/Thickness - 6061t6 2"x .250" bar and .125" x 1" angle
- Prep Method - scotch brite along with dynaflux aluminum cleaner followed by acetone wipe.
- Filler Metal Type/Size - 4943 3/32" ( 4943 is similar to 4043 but with better properties. its a hobart rod
- Tungsten size and prep - 3/32" 2.4mm 2% lanthanated blunt taper
- Gas Type and Flow Rate - argon 18cfh
- Cup size #8 clear furick pro cup
- Current/Polarity - AC at 200 amps using foot pedal
- Length of Arc around .125" or less
- Angle of Travel - 10-15 deg
- Manipulation/Technique - stop and pause and lengthening arc while adding filler on certain areas where puddle raised in height
- Speed of Travel 5-6 inches per minute
- I cleaned the aluminum with some dyanflux aluminum cleaner first, followed by an acetone wipe.
- I sequenced the welding according to amps needed.
- I used a #8 clear cup that really helped visibility and used around 18 cfh of argon flow
- I used 4943 filler metal …thats not a typo, its a fairly new alloy
- I am using some small aluminum pieces for this video, but the material type can be selected based on the type of work done by the potential customer.
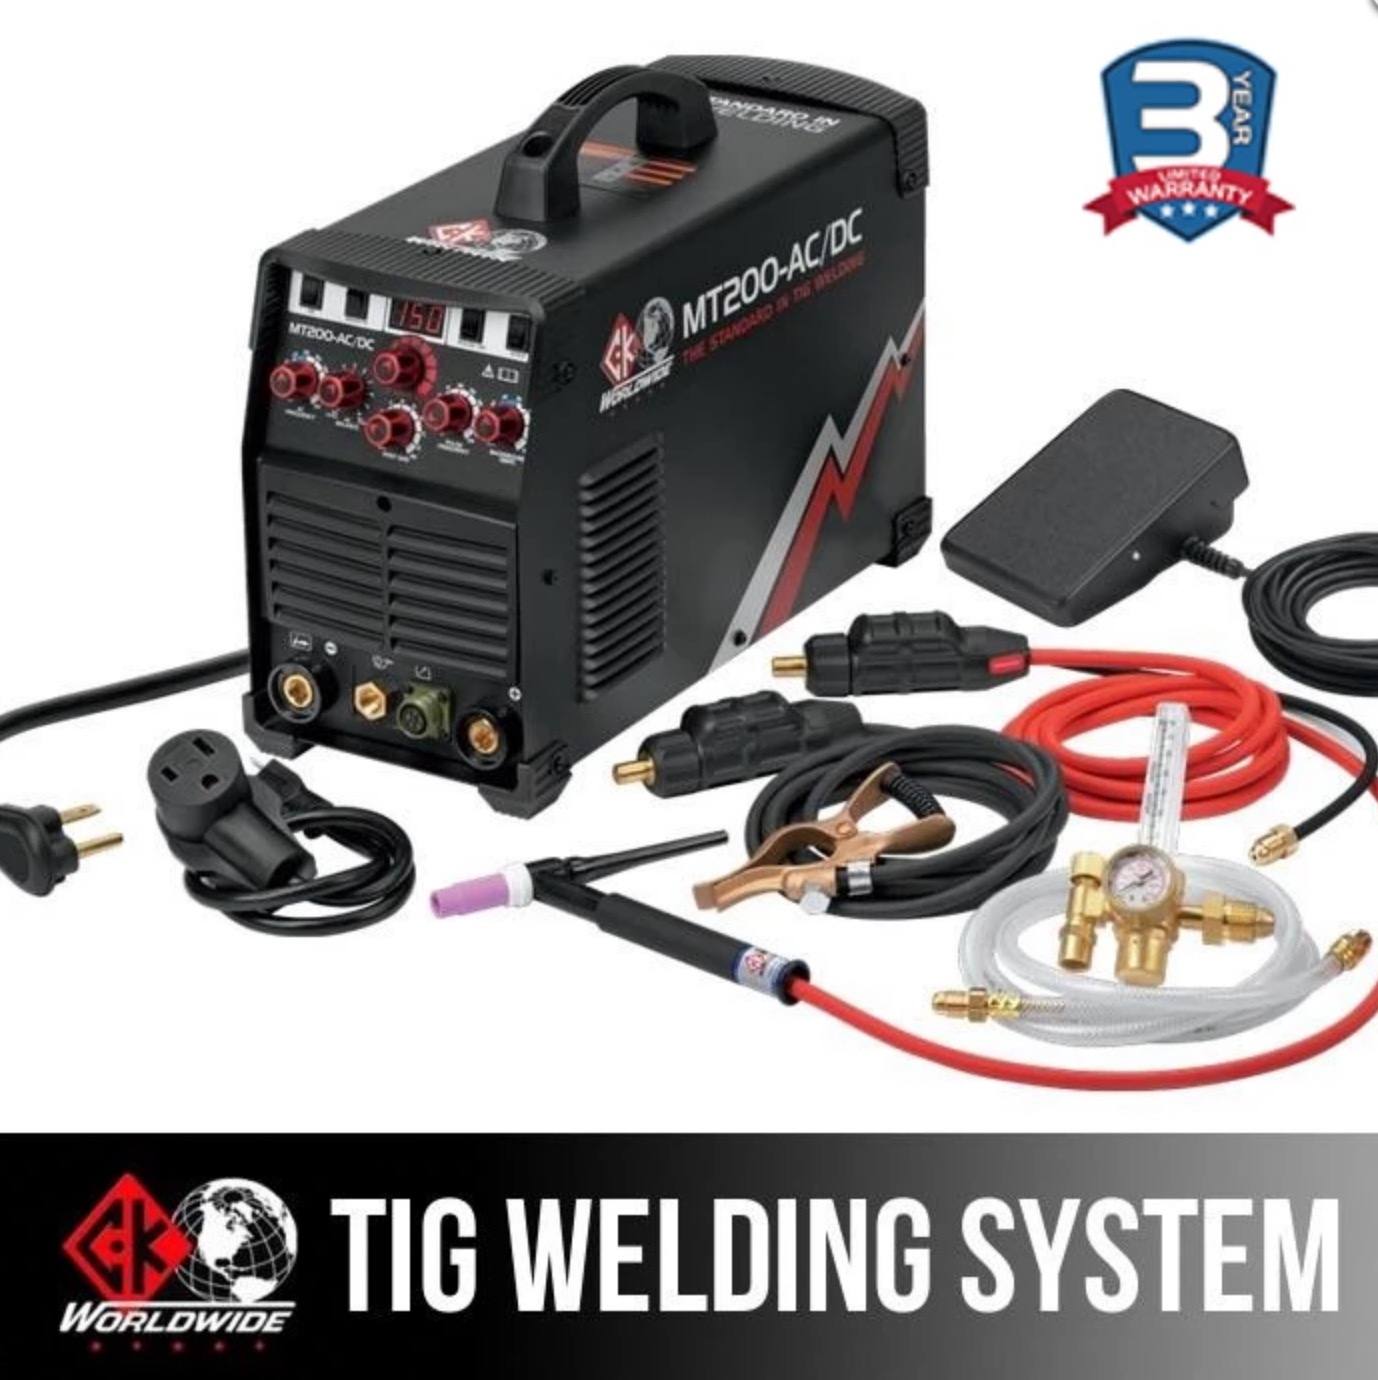
- I used the CK mt200 AC DC tig welder and for AC, I set the amperage to max and used the foot pedal...
- AC balance was set to around 6 and AC frequency around 80hz
- For the razor blades, I set amperage to 40, pulse to 50pps, with pulse amps to around 30
click here to learn more about this welder on my store

Would you like to get free welding videos in your inbox every week?


Tig FingersThe Real and Original TIG Finger® and XL model
Stubby Gas Lens and Pro TIG kits
2% Lanthanated, CK LaYZr, Purple, more
Our Weldmonger Stubby Gas Lens kit is the Best


