
TIG Welding Coped Tube joints overhead

more tig welding videos
Coped Tube joints like the one shown in this video are common in automotive and motorsports applications.
Roll cages and Chassis like for monster trucks and race cars all utilize coped tube joints.
Depending on the wall thickness, sometimes 2 passes are used in order to achieve a weld with adequate reinforcement.
The wall thickness of the tubes used in this video was around .150" so a root pass was done...followed by a cover pass.
I experimented with 3 different TIG welding techniques for the second pass.
- pulsing the foot pedal
- lay wire with 3/32" filler rod
- conventional dab and pause technique
the root pass on all three joints was done with .045" er70s-2 wire at around 115 amps.
pulsing the pedal technique on coped tube
The amperage for the second pass while pulsing the pedal was set to 180 for first trial run and that was a bit too hot and really left a gray weld.
The reason for increasing amperage is that when using pulse settings , you usually need more amperage for the peak pulse.
But I found that pulsing manually requires less amperage than when using the pulser feature on a tig welder.
A gray weld is not really a problem on carbon steel but still not what I was shooting for....
So I lowered the amperage to around 150 amps and let the piece cool in between the root pass and the second pass and things got way better.
laywire technique
the laywire technique is when you leave the wire in the puddle.
This is a very common technique for pipe welding.
I used a 3/32" diameter rod for this and around 110-115 amps
One of the keys to the lay wire technique is to weld over a surface that is free from oxidation.
So that is why its important to have good argon shielding of the previous pass.
The Furick #12 ceramic provided really good shielding and I didnt even need to wire brush the root pass before welding the second pass.
conventional dab technique
This is the old tried and true technique where the rod is dabbed in the puddle.
the benefit if dabbing the rod in and out of the puddle is that you get to seet the leading edge of the puddle and make adjustments to amperage or technique according to what you see.
I used a 1/16" er70s-2 rod for the second pass and around 110-120 amps.
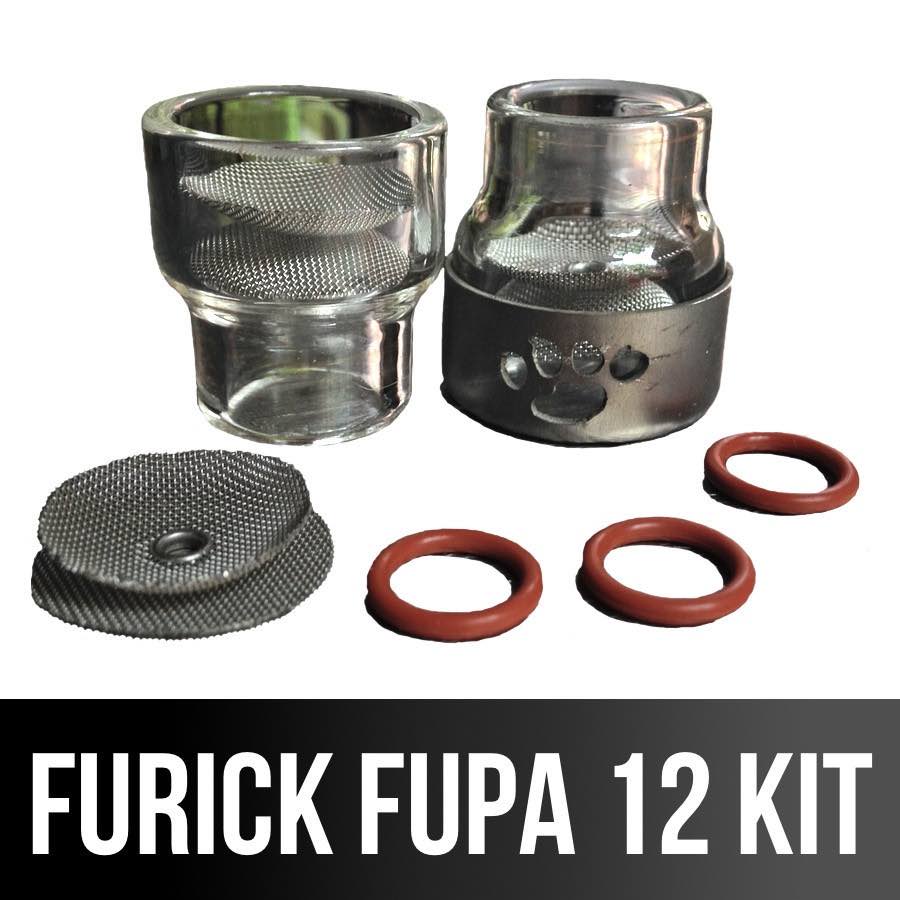
Why the Ceramic 12 furick cup?
click here to learn more about the Furick ceramic 12 cup
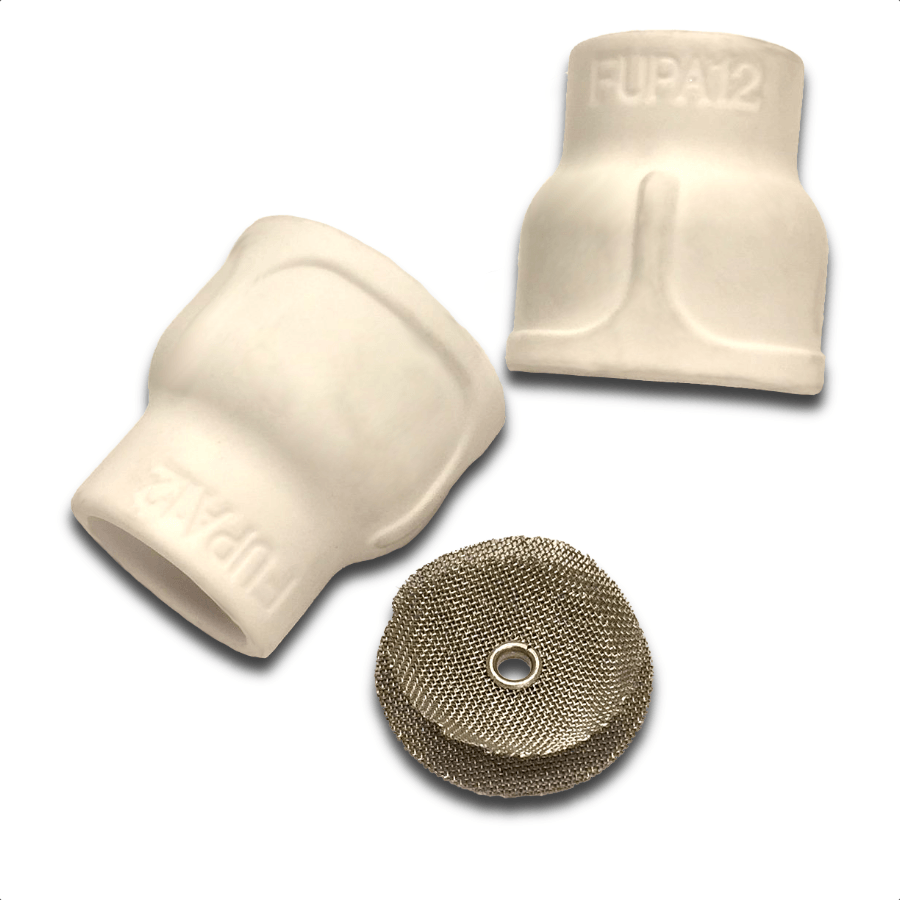
The #12 furick cup is available in clear glass, or white ceramic.
I like both styles for the great argon coverage with a long stickout. But I think the ceramic is a better choice for chassis and roll cage welding because it is more durable.
If you are welding coped tube joints on a roll cage or chassis, chances are you will drop your torch or bump the cup on something here and there.
The ceramic version usually survives a drop.
With around 25-30 cfh, I can easily extend the electrode 3/4" and still maintain a really good argon shield on the weld with either the clear or ceramic 12 cup.
And for any multi pass weld, good shielding on each pass, makes the next pass go in better.

Would you like to get free welding videos in your inbox every week?


Tig FingersThe Real and Original TIG Finger® and XL model
Stubby Gas Lens and Pro TIG kits
2% Lanthanated, CK LaYZr, Purple, more
Our Weldmonger Stubby Gas Lens kit is the Best


