
TIG Welding Aluminum with a Miller Dynasty 280 DX

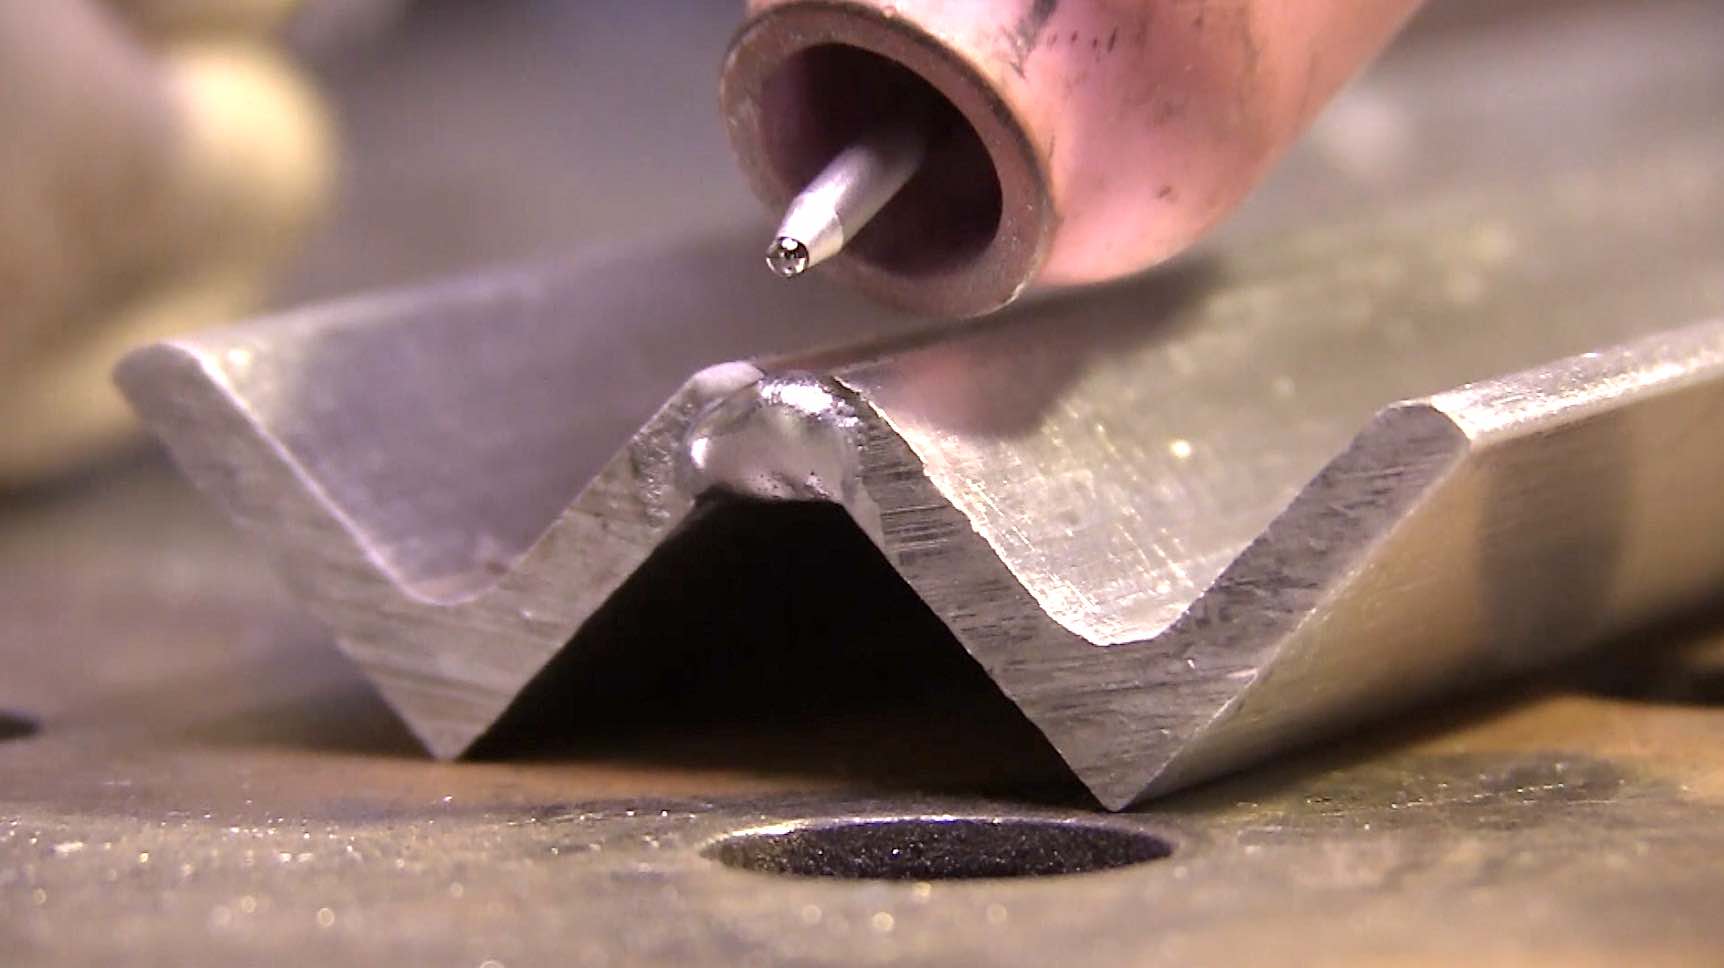
Today, I am getting some practice on an outside corner joint on aluminum.
I have done several videos like this but since I was just practicing, I thought I would bring you along for this one too.
I had some pieces of 1 inch x .120” wall angle so I used that instead of sheet metal.
Aluminum is usually sold by the pound so buying angle is usually about the same price as sheet if the weight is the same.
I got this aluminum angle in 12" pieces from metal supermarkets.
As you might know, I have several tig welding machines that would work just fine for this but I decided to use my Miller Dynasty 280 today along with a 17 style CK worldwide air cooled tig torch with a Stubby gas lens and #6 cup.
Sometimes I like to use the #8 furick pro clear cup because it helps us all to see the puddle but just to show that a smaller cup works fine too,
I used the #6 ceramic cup along with 12-15 cfh argon and a 3/32” lanthanated electrode ( I use 2% lanthanated for everything)
Filler metal used was 4943. That is not a typo. I didn't mean 4043
4943 is similar to 4043 and wets out just about the same but has somewhat better properties all around except that 4943 can be heat treated after welding to improve strength.
Tig welding aluminum joints really boils down to a few most important things.
- Material prep
- Correct settings
- Gas shielding
- Technique
Material prep
Material prep needed depends on several things.
For example, there is
a big difference between clean aluminum with a peel coat protective
coating, and aluminum that has been stored outside in salt air.
One
might not require any prep at all, the other might require anything
from a solvent wipe, to wire brushing with stainless brush, to abrasive
cleaning prior to welding.
Bottom line, clean the metal in a way appropriate to the task and whatever end result is most important.
Dynasty 280 settings for tig welding aluminum?
Basic settings for a dynasty 280 could be AC balance to 65-70% and frequency on 100-120hz using advanced square wave. these are pretty good settings for general tig welding of aluminum.
The Dynasty 280 has tons of advanced settings and sometimes they are very valuable, but for simple joints like this, the basic settings work just fine.
But other older welders have very different settings.
Basic
settings on older transformer machines are simple …AC or alternating
current with high frequency set to continuous might be the only settings
available .
Newer transformer style machines might also offer AC balance and pulse.
Pulse is a nice feature but not at all needed for tig welding aluminum.
AC
balance is also a nice feature and if your older transformer machine
has it, try setting it to 7 for starters and experiment from there.
On
newer inverter style machines like the dynasty 280 I used in this
video, I usually set AC balance to 67% and AC frequency from anywhere
from 50 hz to 250hz depending on the application.
As a rule of thumb, I use 50hz for thick aluminum, and 250hz for really thin aluminum.
AC freq seems to be sort of a combination of theory and personal preference.
tungsten electrode prep
There are many options due to so many different machines, and electrode types available.
I use 2% lanthanated for everything.
for low amp starts, sometimes I use a tapered electrode much like I would on steel.
For higher amperage welding on aluminum, I like to round the tip.
How much I round it depends on the amps I need.
higher amperage welding seems to work better with a more rounded electrode
Gas shielding
Shielding gas flow rate mostly depends on cup size used.
I use anywhere from a #5 to #8 for aluminum.
A #5 cup only requires 12-14 cfh of gas flow while the #8 might need closer to 20 cfh.
Flowmeters can vary .
If
you see black specs in the puddle, that is usually an indication of
either not enough gas shielding or not enough cleaning action.
So either increase gas flow, or set AC balance for more cleaning.
Post flow setting should be at least long enough to keep the electrode silver.
Pre flow is not 100% necessary but a 1.5 second pre flow seems to help with cleaner restarts.
If
your machine does not have pre flow, you can accomplish the same result
by tapping the foot pedal and then starting the bead before the post
flow times out.
Technique for Tig welding aluminum
Too long an arc length and too much torch angle are probably the 2 biggest mistakes in learning to tig weld aluminum.
Torch angle and arc length are both important.
But fortunately both can vary quite a bit and still work.
Rule of thumb for arc length is one electrode diameter or less.
Torch angle can change due to lots of variables, but trying to limit to less than 25 degrees seems to help most beginners.
Other
than that , being very intentional about how far the torch travels in
between rod dips, and also being intentional about how much filler metal is
added each dip can really make the difference on any type of weld joint.


Would you like to get free welding videos in your inbox every week?


Tig FingersThe Real and Original TIG Finger® and XL model
Stubby Gas Lens and Pro TIG kits
2% Lanthanated, CK LaYZr, Purple, more
Our Weldmonger Stubby Gas Lens kit is the Best


