Take advantage of our Free Welding Guides loaded with Video links

How to TIG Weld a Tee Joint...
Carbon Steel, Stainless, and Aluminum

TIG Welding Carbon Steel Tee joint 11 ga thickness
Detailed article on how to tig weld a carbon steel tee joint here
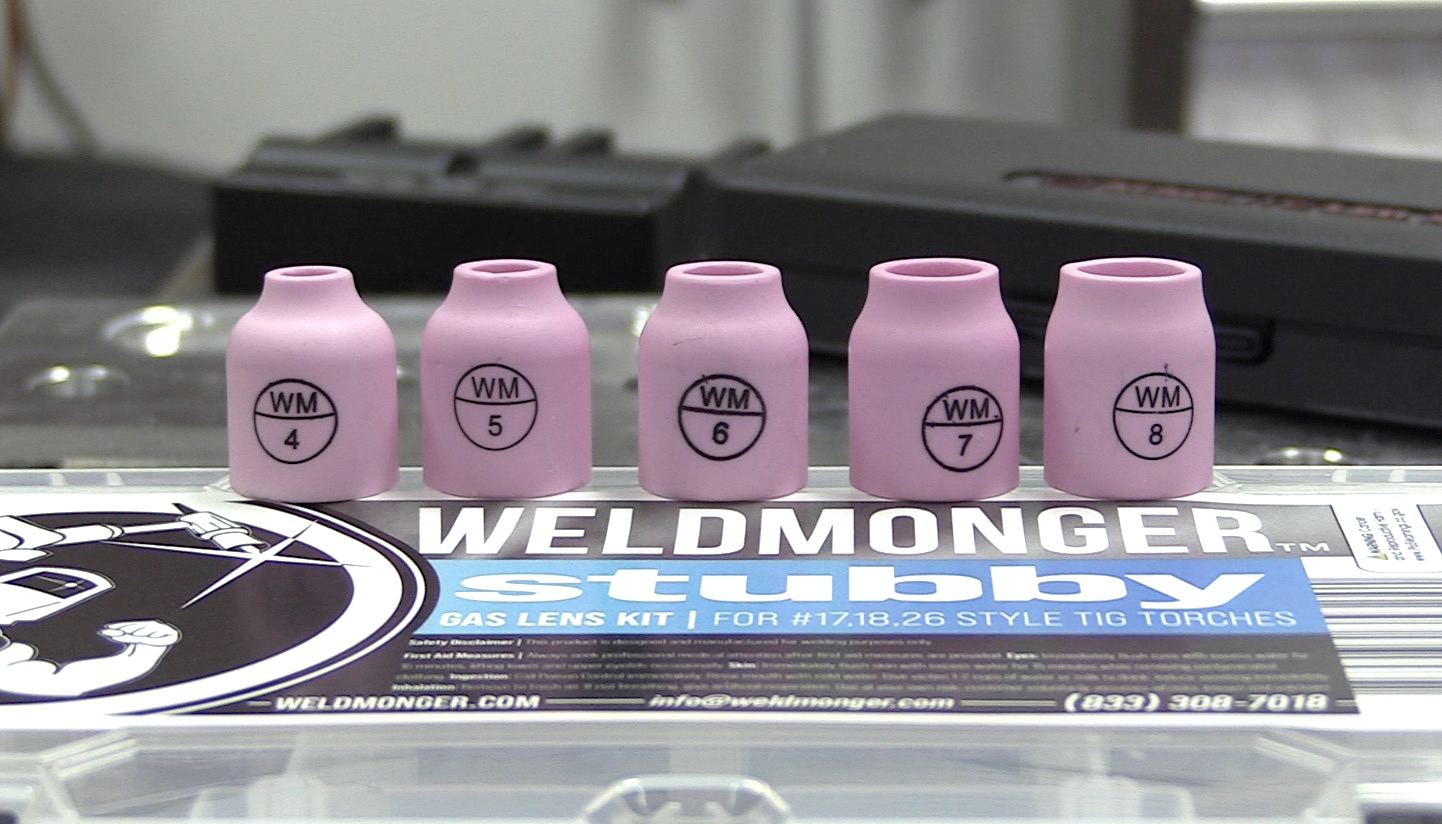
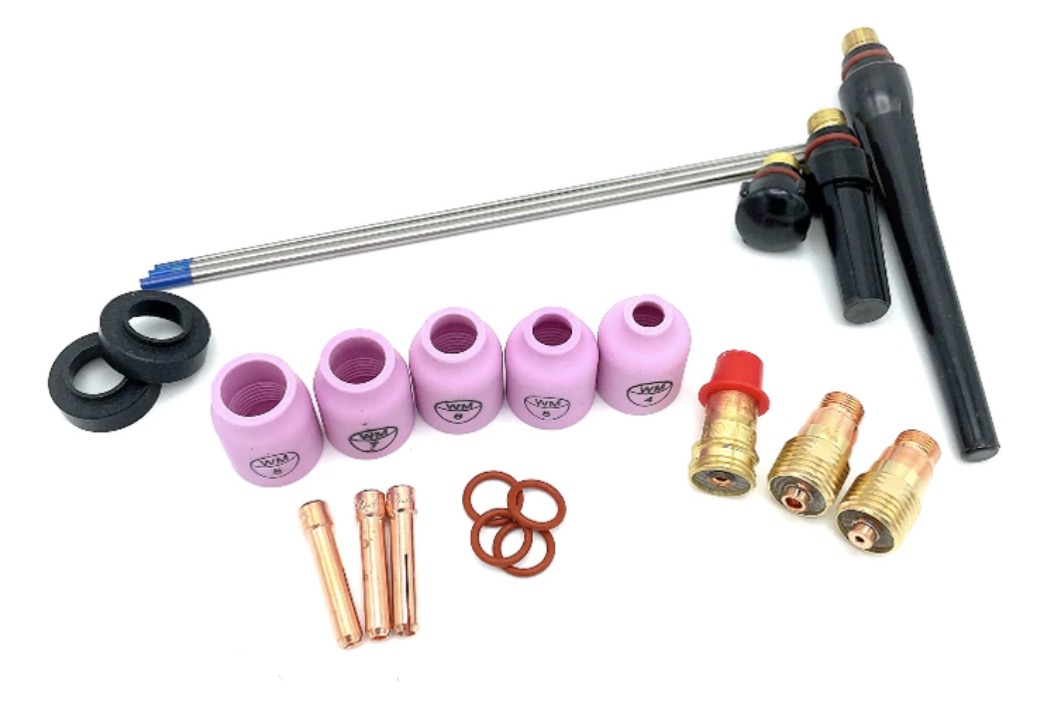
If you are still using the standard TIG cups and hardware that came with your machine or TIG torch, I can just about guarantee you will get better results if you upgrade to a weldmonger® stubby gas lens kit.
If you have been looking for instructions on how to tig weld a tee joint, Please take advantage of our free tig welding guide.
I have created a No BS TIG workbook for you to help you learn to TIG weld...and its free
Download your Free TIG workbook here

Download your Free TIG workbook here
One of the most important things to pay attention to on a tee joint is your arc length.(the gap between the tip of the electrode and the weld puddle.)
The rule of thumb for arc length is equal to or slightly less than the electrode diameter.
TIG Welding 1/4" Thick Carbon Tee joint with multiple passes
This video is mostly for students who are practicing multipass tee joints in preparation for pipe welding and socket welds.
TIG Welding an Aluminum Tee joint .120" thickness
The video above demonstrates how important arc length is for an aluminum tee joint.
A long arc length makes it nearly impossible to penetrate into the root of the joint.
TIG Welding a Stainless Tee joint .080" thickness
Travel speed is another big variable that matters a lot...especially on stainless steel.
Getting the puddle started and moving within 2-3 seconds is very helpful in preventing heat build up on stainless.
A gas lens setup with a furick Cup like the jazzy 10 or fupa12 make a big difference on stainless.

Stainless Tee Joint 1/4" Thickness
A ceramic jazzy 10 furick cup worked great in the video above for limiting discoloration on stainless

If you are learning to TIG weld and trying to learn how to tig weld a tee joint, I think you will find this free tig welding guide very helpful.
I have created a No BS TIG workbook for you to help you learn to TIG weld...and its free
Download your Free TIG workbook here
Download your Free TIG workbook here
TIG Welding a Tee Joint: The Basics That Matter Most
A tee joint is one of the first joints most welders learn, but producing a clean, consistent fillet weld with good penetration requires much more than simply pointing the torch at the joint.
Every step leading up to striking an arc affects the final result. Good preparation, proper machine settings, the right filler metal, and solid technique all work together.
If you focus on the fundamentals below, you'll produce stronger welds that not only look better but perform better as well.
1. Start with Clean Metal
One of the biggest advantages of TIG welding is the ability to produce extremely clean welds, but that only happens if the base metal is clean.
For carbon steel, remove mill scale, rust, paint, oil, and dirt from both pieces before welding. A flap disc, sanding disc, or clean wire wheel works well. Cold rolled steel can be welded without using abrasives but it welds better and produces less fumes if it is cleaned to bright metal.
Stainless steel sheet metal can often be welded without cleaning depending on application but if it is dusty from shop dust, a wipe with acetone is called for. Thicker stainless with mill finish welds better if cleaned with abrasives dedicated only to stainless to avoid contamination.
Aluminum sheet metal can also often be welded without abrasive cleaning or wire brushing. A simple wipe to remove shop dust is often enough for brand new aluminum sheet. But aluminum that has been exposed to salt air or other contaminants needs more cleaning.
Any contamination left on the surface can create porosity, unstable arc characteristics, and excessive oxidation.
The cleaner the metal, the easier it is to establish a stable weld puddle.
2. Fit-Up Is Critical
A proper fit-up makes TIG welding much easier.
The two pieces should fit tightly together with little or no gap. Large gaps require additional filler metal, more heat input, and make it much harder to maintain a consistent weld size.
Good fit-up allows you to spend your attention controlling the puddle instead of fighting the joint.
3. Use a Gas Lens for the best results.
A gas lens is one of the simplest upgrades you can make to improve TIG weld quality.
Instead of allowing shielding gas to become turbulent as it exits the torch, a gas lens straightens the gas flow into smooth, laminar flow that provides better shielding around both the tungsten and the weld puddle.
For most carbon steel tee joints, a #8 gas lens cup with 16–24 CFH of pure argon provides excellent coverage indoors. Larger cups may require slightly higher flow rates, while smaller cups often work well with slightly less.
Using excessive gas flow is not better. Too much flow can actually create turbulence that pulls air into the shielding gas and causes contamination.
A good rule of thumb for gas flow rate is 2 to 3 CFH per cup size
4. Choose the Right Tungsten
For most DC TIG welding on carbon steel, 3/32-inch 2% lanthanated tungsten is an excellent all-around choice.
Grind the tungsten to a long, sharp point with the grinding marks running lengthwise. A sharp electrode produces a focused arc that allows better control of the puddle and helps place the heat exactly where you want it.
Keep the tungsten clean. If it accidentally touches the puddle or filler rod, stop and regrind it. A contaminated tungsten makes the arc unstable and reduces weld quality.
5. Set the Correct Electrode Extension
Electrode extension refers to how far the tungsten extends beyond the end of the ceramic cup.
The rule of thumb is extend the electrode far enough to see the tip of the tungsten comfortably and without straining your neck.
A gas lens allows a little more extension than a standard collet body while still maintaining excellent shielding coverage.
Too little extension can make it difficult to see the puddle, while excessive extension can reduce shielding effectiveness.
6. Use the Correct Polarity and Amperage
Carbon steel and stainless is welded using DC Electrode Negative (DCEN). Alminum is welded using Alternating current (AC)
A simple starting point is approximately 1 amp for every thousandth of material thickness.
For example:
- 1/8-inch steel (0.125") starts around 125 amps
- 3/16-inch steel often requires around 180 amps
- For thicker metal, throw this rule of thumb out the window
These are starting points. Joint design, travel speed, and machine characteristics may require slight adjustments.
It's generally better to have slightly more amperage available and use the foot pedal or fingertip control to regulate heat than to run out of available power during the weld.
7. Select the Right Filler Metal
For mild steel tee joints, ER70S-2 and ER70S-6 are both excellent choices.
ER70S-2 works especially well on clean steel and produces smooth, attractive welds.
ER70S-6 contains more silicon which makes the puddle more fluid.
For most hobbyists and fabrication work on 1/8-inch steel, 1/16-inch filler rod offers an excellent balance between control and deposition.
There are several different grades of stainless so select a filler metal from this chart
There are several different grades of aluminum here is a link to a simple filler metal selection chart I have found very helpful
8. Use Good TIG Technique
Good TIG technique is built around consistency.
Maintain a short arc length—approximately the diameter of the tungsten or even slightly less. A tight arc concentrates the heat, improves penetration, and produces a narrower, more controlled bead.
Keep the torch angle around 10–15 degrees in the direction of travel. Fortunately, torch angle can be very forgiving provided arc length is tight enough.
Feed the filler rod smoothly into the leading edge of the puddle while keeping the hot end of the rod inside the argon shielding gas. Pulling the rod completely out of the shielding gas between dabs allows oxidation to form on the rod, contaminating the next addition.
Instead of watching the arc, watch the puddle. The puddle tells you everything you need to know about penetration and travel speed.
The arc creates the puddle, the puddle melts the rod.
Add rod into the puddle not the Arc.
9. Aim for the right level of Penetration
A good TIG tee joint should achieve full fusion into both pieces without excessive melt-through or an oversized weld.
The goal isn't to make the largest weld possible—it's to create complete fusion into the root of the joint with an appropriately sized fillet.
The finished bead should have smooth toes that blend into both members with no undercut, overlap, or visible lack of fusion.
On practice coupons, examining the opposite side or cutting and etching the weld can help confirm that you're achieving adequate penetration.
TIG welding a tee joint that meets inspection criteria isn't about one magic setting or one special technique. Success comes from doing many small things correctly. Clean metal, tight fit-up, proper gas coverage, a sharp tungsten, the right polarity and amperage, appropriate filler metal, and disciplined torch control all contribute to producing strong, attractive welds.
Master these fundamentals, and you'll find that nearly every other TIG joint becomes easier to weld. Whether you're practicing in the garage or preparing for a welding test, the same principles apply: maintain a tight arc, use consistent technique, and let the weld puddle guide your decisions.
Would you like to get free welding videos in your inbox every week?

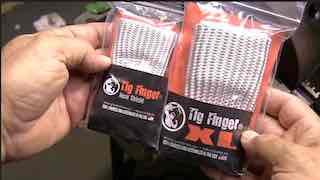
Tig FingersThe Real and Original TIG Finger® and XL model
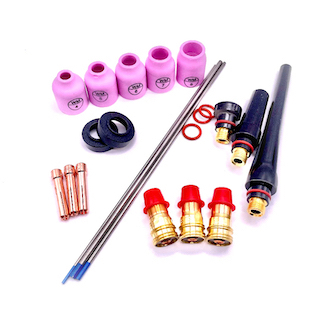
Stubby Gas Lens and Pro TIG kits
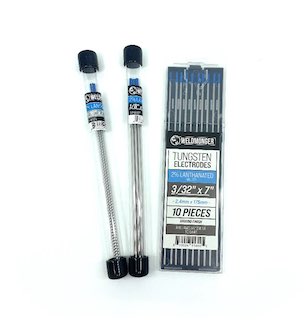
2% Lanthanated, CK LaYZr, Purple, more
Our Weldmonger Stubby Gas Lens kit is the Best