Using a Small Inverter TIG Welder for Sanitary Stainless Welding
Watch the latest welding videos at Weldmonger.com
- HOME
- TIG WELDING
- Inverter Tig Welder for Sanitary
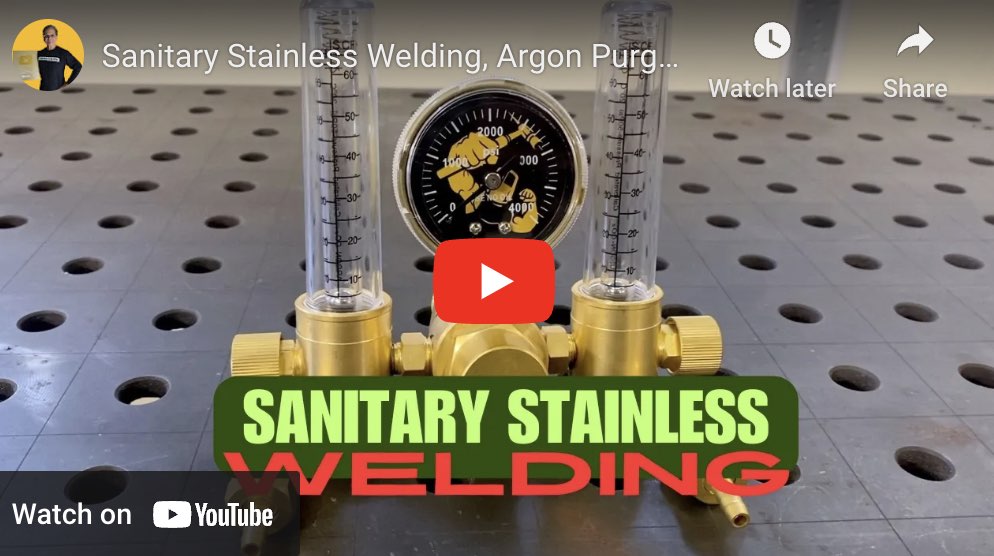
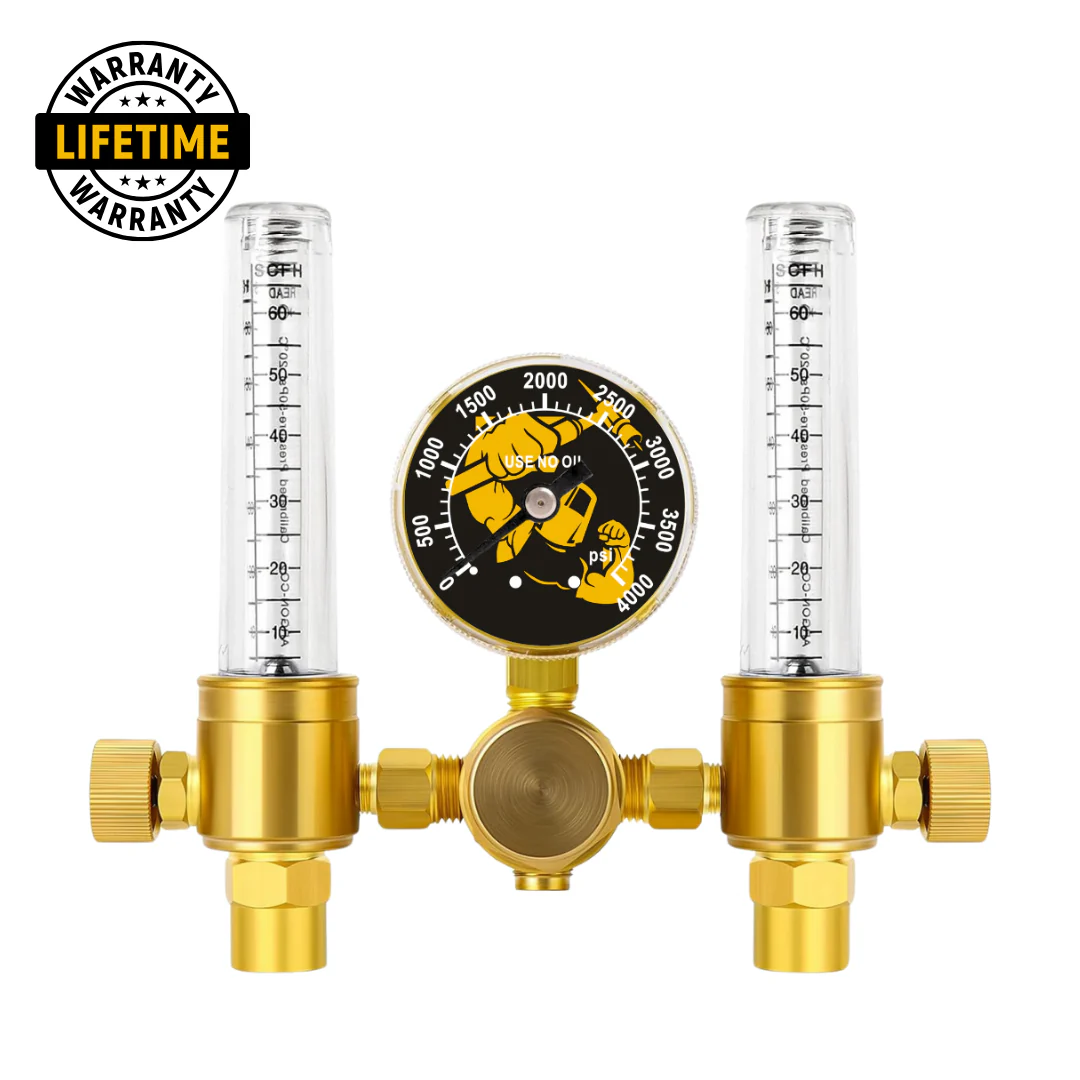
Weldmonger Dual Flowmeter lifetime warranty
Using a Small Inverter TIG Welder for Sanitary Stainless
Sanitary stainless welding—commonly found in food, beverage, dairy, and pharmaceutical industries—demands high-quality welds with no contamination, minimal discoloration, and smooth internal finishes.
Many welders assume you need a big, industrial TIG machine to do this kind of work.
But with the right technique and setup, even a small inverter TIG welder can deliver sanitary-quality results.
Why Sanitary Welding Demands Precision
Sanitary welds aren’t just about appearance—they’re about function...especially on the inside where the stainless tube comes into contact with the product:
- Corrosion resistance: Discoloration and oxidation reduce stainless steel’s ability to resist corrosion.
- Cleanability: Smooth, crevice-free welds prevent bacterial growth and contamination.
- Inspection requirements: Welds must often pass strict visual or bacteria swab inspections.
This means shielding gas coverage, heat control, and preparation are critical.
Choosing a Small Inverter TIG Welder
A compact inverter TIG welder offers several benefits:
- Lightweight and portable—great for fieldwork or tight installations
- Smooth, stable arc at low amperage
- Often includes pulse, post-flow, and upslope/down-slope features
- Can run on 110V or 220V
Look for these features in your inverter machine:
- HF start: High-frequency arc starts prevent tungsten contamination
- Pulse control: Helps manage heat input on thin stainless
- Adjustable post-flow: Crucial for shielding the weld and tungsten after arc stops
- Foot pedal or torch-mounted amperage control: Offers fine amperage adjustments mid-weld
- torch switch with upslope and downslope controls can be dialed in provide plenty of amperage control without a foot pedal
Optimizing the Setup for Sanitary Stainless Welds
Even a small TIG welder can meet sanitary specs if you control these key factors:
1. Shielding Gas
- Use 100% Argon
- Flow rate: 2-3 CFH per cup size
- Always use a gas lens for laminar flow and better coverage
- Use #8 or larger cups for broader gas coverage
- Ensure torch angle is around 10–15° push when possible
2. Backpurging
On tubing or pipe, the inside of the weld must be purged with argon:
- Seal ends with purge plugs, foil tape, or purge bladders
- Use a small vent hole to allow air to escape
- Maintain purge flow until the weld area cools (10–30 sec after arc stops)
- purging is probably the most important thing when is comes to sanitary stainless. don't shortcut getting a good purge.
3. Filler Metal
- filler metal is rarely used for sanitary stainless welding. Autogenous is the 3 dollar word to describe welding without filler metal.
4. Electrode
- Use 2% Lanthanated or 2% Thoriated tungsten
- Diameter: 1/16" or 3/32"
- Sharpen to a fine point for precise arc control
Welding Technique Tips
- Proper amperage is key—stainless steel requires less amperage than carbon steel...about 2/3 of what is used for carbon steel is about right for most sanitary joints..so for .063" thickness, only 42-47 amps is needed.
- Move steadily—don't dwell in one spot
- Always pre-clean parts with acetone
- both free handing and walking the cup work and both techniques are needed in certain situations
Post-Weld Cleaning
- Light gold or silver welds are ideal
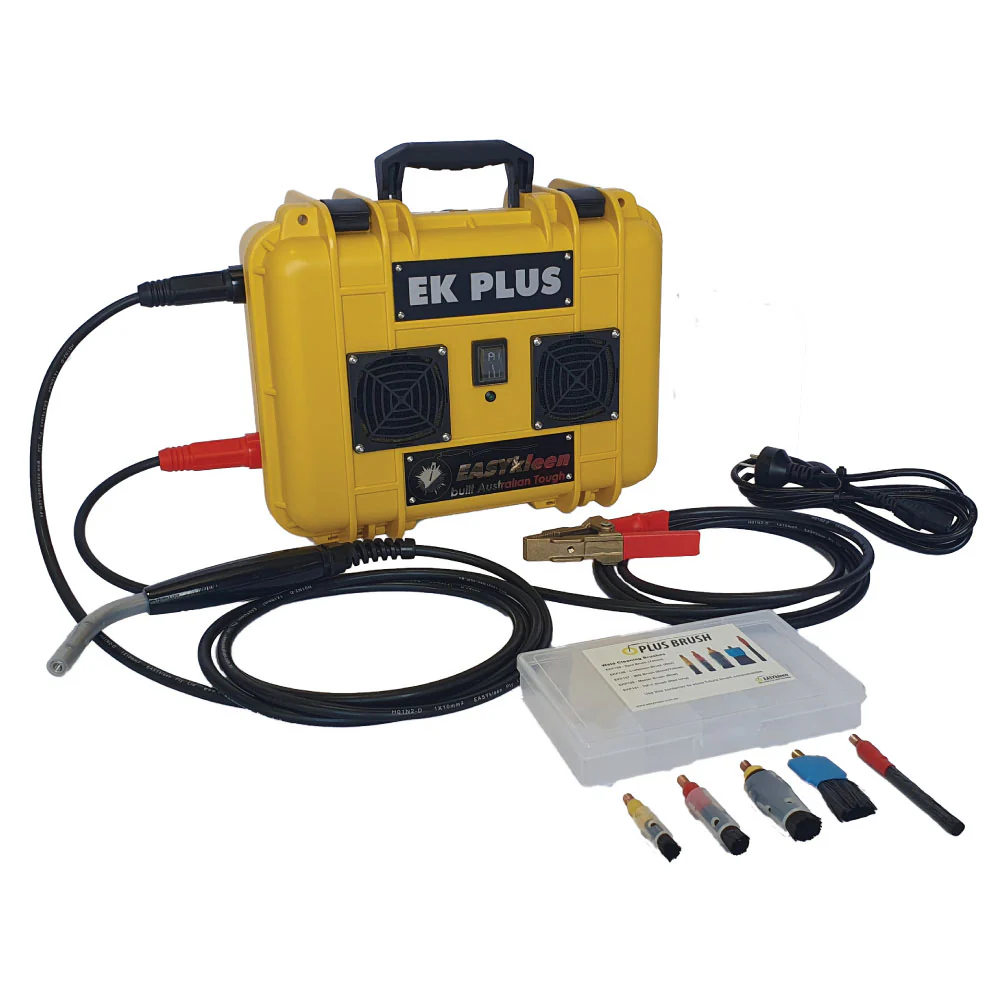
- Use electrochemical weld cleaners or pickling paste to remove any tint
- Avoid using carbon steel tools—contamination leads to rust
Small inverter TIG welders are more capable than ever. With proper technique and accessories, they’re perfectly suited for sanitary stainless welding. Whether you're doing food-grade pipe, brewery installations, or pharmaceutical tubing, a small machine can deliver big results—if you dial it in right.
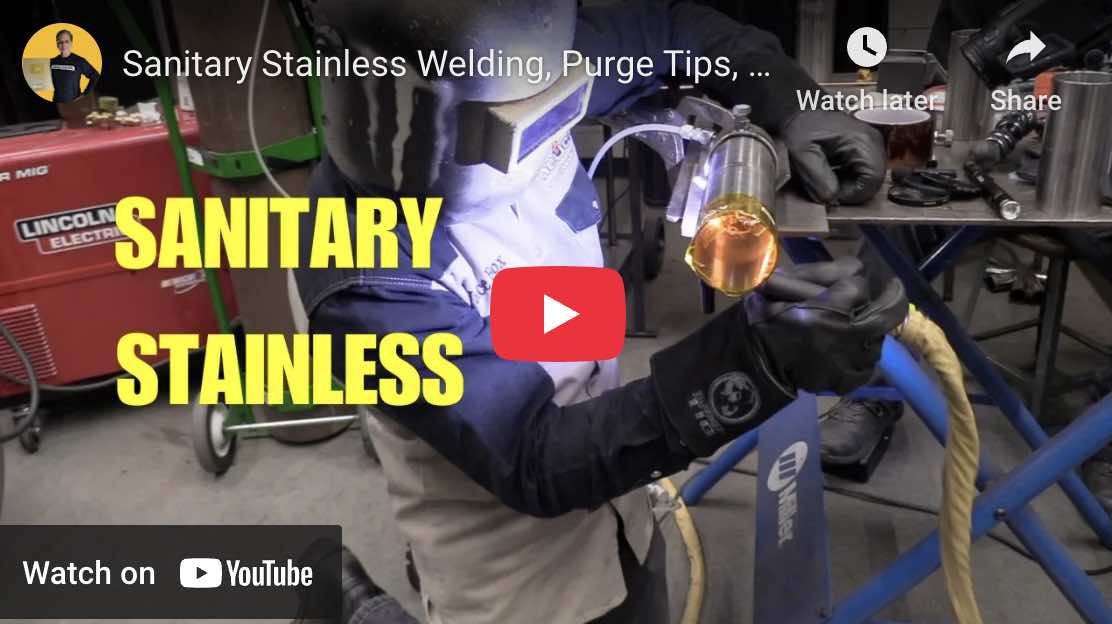
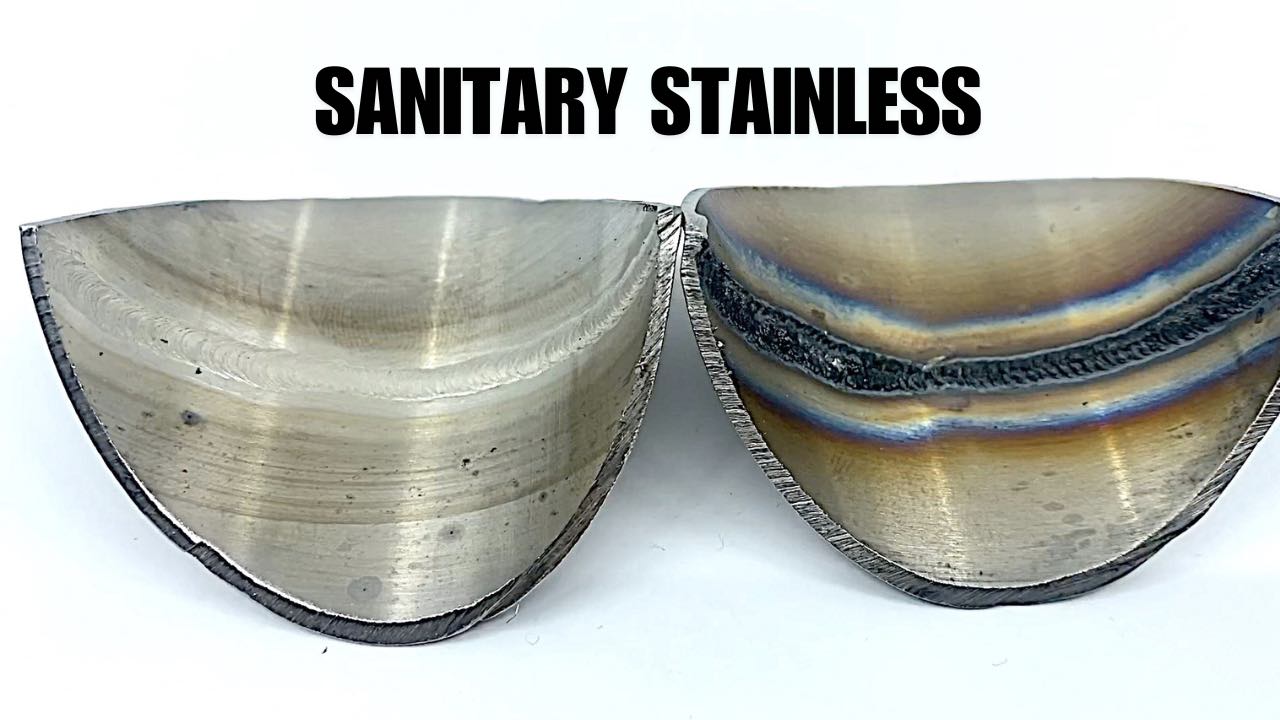
Here is an extreme example of a purged vs not purged stainless weld
Here are the main points for sanitary stainless steel welding:
1. Material Preparation
- Clean Surface: Stainless steel surfaces should be thoroughly cleaned of oils, dirt, and other contaminants before welding. The quality of the cut surface being welded weighs heavily on the cleanliness and quality of the final weld. That is why specially designed cut off saws and tools are often used to provide a smooth square cut that is free from grit or saw tooth marks. This helps prevent impurities from entering the weld. A popular saw in the sanitary stainless welding industry is a George Fischer saw.
- Avoiding Cross-Contamination: Dedicated tools and cleaning materials (such as stainless steel brushes) should be used to prevent contamination with carbon steel, which can cause rust and corrosion.
2. Filler Material
- Filler metal is often not used for sanitary stainless welding because the wall thickness is often thin enough for an autogenous weld. Addition of filler metal also increases the chances of introducing oxides into the puddle which can form oxide deposits on the internal surface…but when filler metal is used, The type of filler metal used depends on the grade of stainless steel being welded. For example, to weld 304L austenitic stainless steel, the filler metal should have an American Welding Society 308L designation. To weld 316 austenitic stainless steel, a 316L filler metal is appropriate.
3. Purging with Inert Gas
- To prevent oxidation and discoloration inside the weld, sanitary welding requires purging the back of the weld joint with an inert gas, typically argon. Purging helps create a smooth, clean weld texture without oxidation, ... essential for sanitary applications.
4. Using the Right Welding Technique
- TIG (GTAW) Welding: TIG welding is the most common method for sanitary stainless welding because of its precision, clean finish, and control.
- Minimizing Heat Input: Excessive heat can lead to warping, concavity , oxidation, and discoloration. Controlled, low-heat input helps maintain the stainless steel’s corrosion resistance and prevents rough, uneven welds that can trap contaminants. Amperage needed for stainless sanitary welds varies a bit with technique but generally speaking for a full penetration autogenous stainless sanitary weld, around 2/3 of one amp per thousandths of wall thickness will get you in the ball park. For example for .063” wall tubing, since 2/3 equates to .67 , —— 63 x .67 = 42 amps. Obviously there will be some tolerance here but the point is stainless requires less amps than carbon steel for a full penetration weld.
5. Creating Smooth, Continuous Welds
- The weld should be as smooth and continuous as possible to prevent crevices or cracks where bacteria could grow. Welds are sometimes, polished, or even electro-polished to ensure smoothness and a clean, hygienic finish.
Sanitary Stainless Welding is not any more difficult than most other types of tig welding but strict adherence to purging procedures, heat input, technique, and following best practices for tig welding stainless all contribute to quality welds.


