Using Pulse TIG Settings for Stainless Steel
- HOME
- TIG WELDING
- Pulse Tig Settings for Stainless
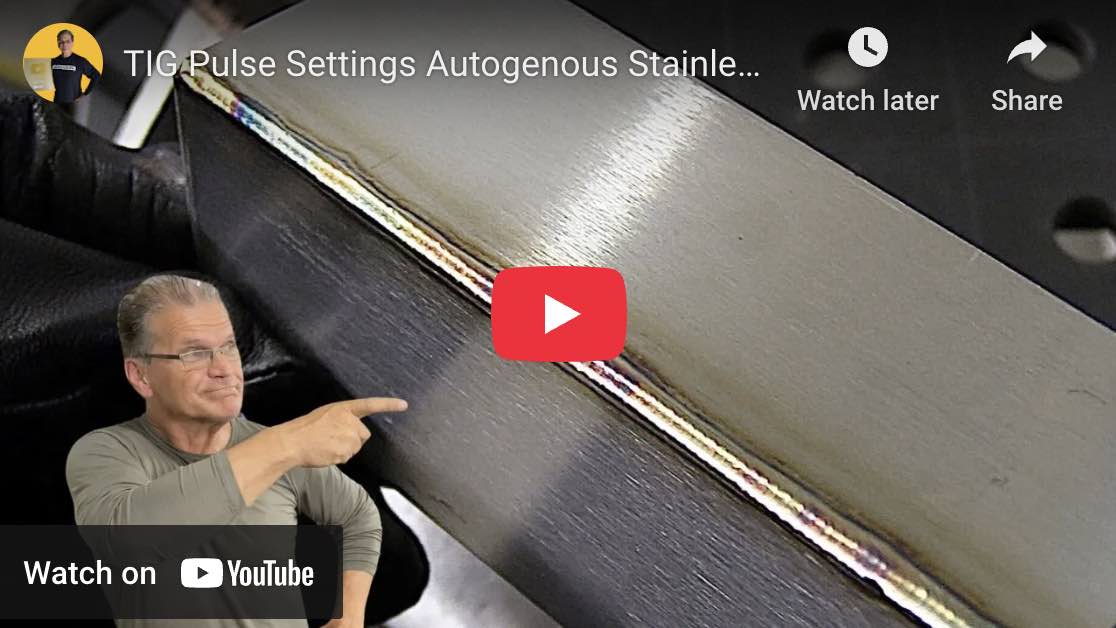
Pulse Settings for 16ga stainless steel outside corner autogenous weld
Pulse TIG welding is a powerful technique that can improve heat control, bead appearance, and weld quality—especially when working with stainless steel.
By pulsing between high and low amperage, you can limit distortion, reduce oxidation, and produce cleaner welds.
This article breaks down how to use pulse TIG settings effectively on stainless steel.
11 Different Pulse Settings for different applications
What Is Pulse TIG Welding?
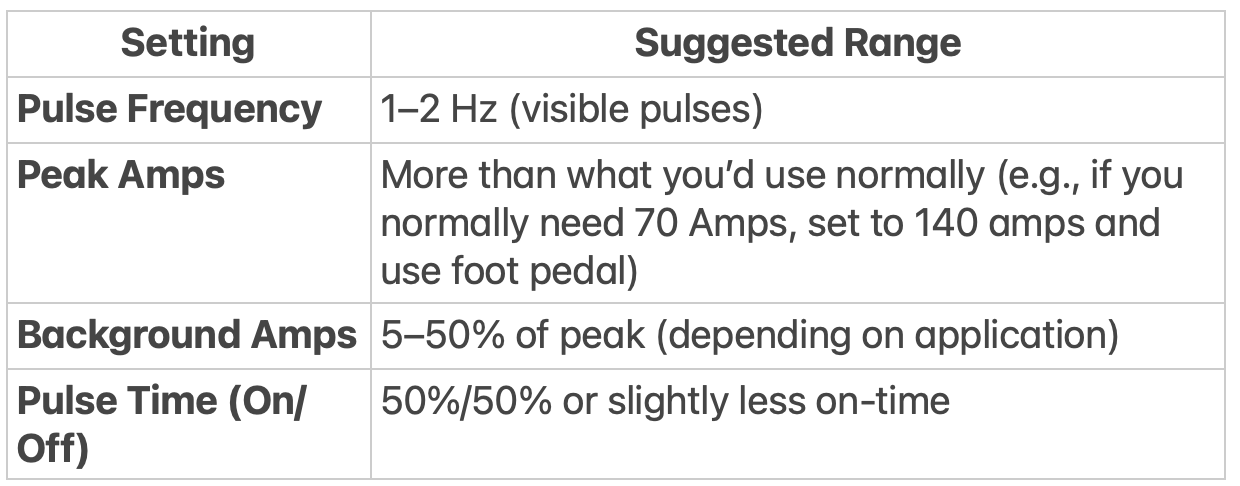
Pulse TIG involves alternating the amperage between a high “peak” current and a low “background” current at a set frequency. This creates a pulsing arc that controls heat input without sacrificing penetration.
- Peak Amps: Provides penetration and fusion
- Background Amps: Maintains the arc while allowing the weld puddle to cool
- Frequency: How many pulses per second (Hz)
Benefits of Pulse TIG for Stainless Steel
- Heat Control: Reduces risk of warping and overheating
- Less Oxidation: Minimizes weld discoloration and heat tint
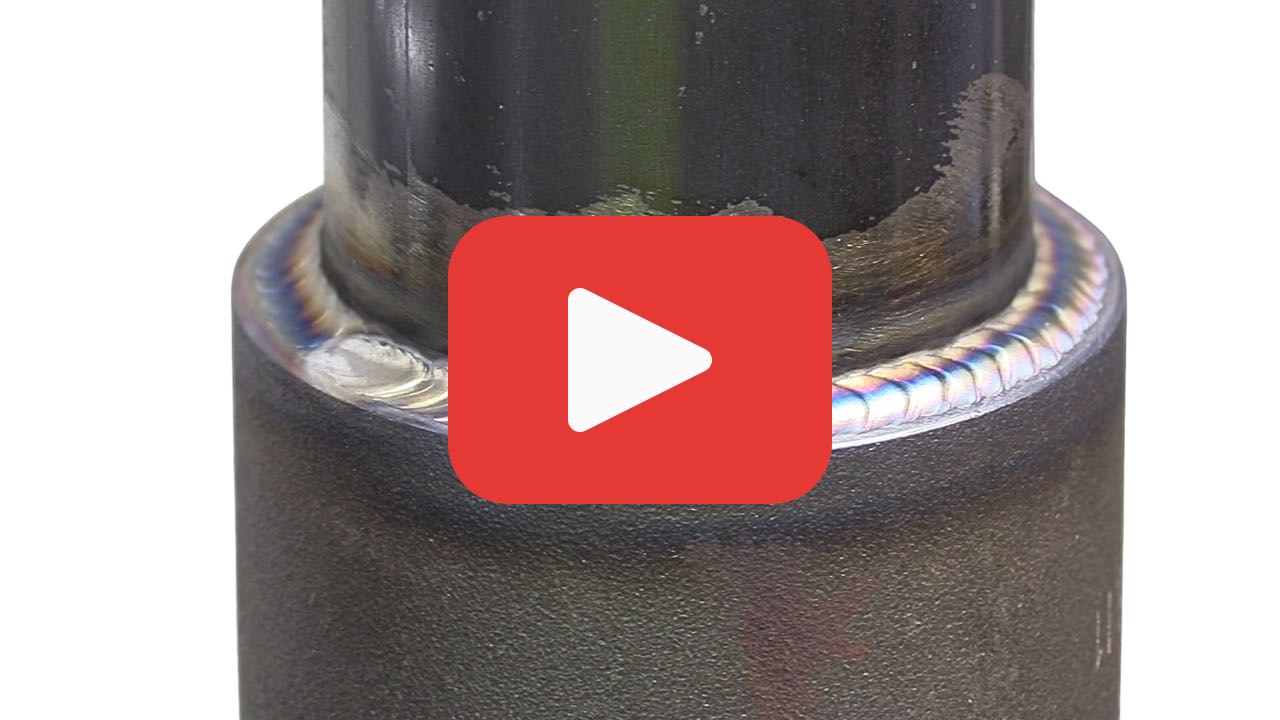
- Better Weld Appearance: Creates a consistent, rippled bead
- Improved Control on Thin Metal: Prevents burn-through on thin sheet or tubing
- Cleaner Root Passes: Helps in out-of-position or open-root joints
Basic Pulse TIG Settings

Example Setup:
- Peak = 70 A
- Background = 35 A
- Frequency = 2 Hz
- Balance = 50/50
This setting gives you a good rhythm to dab filler on each pulse, resulting in a clean, rhythmic bead.
- I like to use pulse rates of .7 to 2 pulses per second or higher than 33pps, and pulse rates of 3-30 are jut hard on my eyeballs and annoying to watch.
- A pulse setting of around 1-2pps , with low background current and low pulse width, when used in conjunction with chill bars can be very helpful on outside corner joints in limiting distortion.
- High speed pulse rates of 33pps or more can be very helpful when welding on or near an edge.
- Automated tig welding benefits more from pulse than with manual tig welding due to human adjustments
- The rule of 33 is where you set all pulse settings to 33. 33 pps is not difficult to watch and can help to agitate the puddle and move it along at lower overall amperage. The rule of 33 for pulse settings also helps for filling gaps
If you’re welding with foot pedal control, you may not need pulse. But for production, automated welding, or repeatable results, pulse is a game-changer.
Some really good tig welders pulse with the foot pedal
Pro Tips for Using Pulse
- Practice timing your filler dabs with the pulse rhythm.
- experiment with a higher frequency (>30 Hz) for puddle agitation. loses the ripple effect but still helps with heat input...especially when welding on an edge or near an edge
- Use lower pulse frequency (1–3 Hz) if you want that stacked-dime appearance.
- Clean base metal thoroughly—pulse won’t compensate for contamination.
- Combine pulse with chill bars or copper backing on thin stainless for maximum distortion control.


