Scratch Start Tig Welding Tips
What is Scratch start Tig Welding anyway?
Scratch start is the simplest and most basic kind of Tig welding.
To
do scratch start TIG, all you need is a DC stick welder, an air cooled
tig torch, a cylinder of argon and flowmeter ...and thats about it.
Its
best if you get an air cooled tig torch with a valve. Otherwise , you
will need to remember to shut the argon off at the flowmeter every time
you stop welding and that is just not practical.
A 17v torch is most likely what you want. The V stands for "Valve".

Just for the purpose of using a simple AC/DC stick welder for these basic tig welding videos, I shopped craigslist until I found this Miller Thunderbolt AC/DC welder for 350 bones.
Thats a decent deal for a AC/DC stick welder in these parts. I dont remember seeing this exact machine any cheaper on craigslist... and this one is almost like new.
Since I already had an old air cooled CK tig torch with valve, and an old Airco Flowmeter, all I needed was a DC stick machine like this Thunderbolt and I was set.
"They had me at Bulletproof"
I was talking to an old friend of mine who used to work for Miller electric and he told me about his first job welding food service piping at dairy plants in Wisconsin.
He said the contractor he worked for used Miller
Thunderbolts and scratch start Tig rigs because they knew when they
unloaded them at the job site, they would work just like they did the
last time they were used.
In fact, I think he used the word "Bulletproof".
I
am not trying to suck up to Miller here because right now quite
honestly, I have mixed feelings about the direction Miller electric is
going.
But the truth is the truth... and if a company made a bulletproof machine, I am happy to give props.
Well anyway, for this video, I cut some 1-1/4" sched 40 pipe which has a wall thickness of about 0.14" (roughly 4mm)
And since I am making a saddle type joint (aka a fishmouth) I needed a way to mark the cut.
There
are several ways to do this. Templates are available for all different
diameter pipe and tubing but if you are only going to to this once or a
few times, that does not make sense.
Neither does a pipe marking contour gauge like Pipemaster if you only have a few cuts to make.
So what is the best way to mark a coped pipe joint like you would use on something like a roll cage?
Did you know there is a coping calculator at Metalgeek.com?
Its
pretty slick too. All you do is enter the outside diameter, wall
thickness, and angle of the joint and click on calculate and it spits
out a template that you can print on paper, or card stock.
Then you just wrap it around the pipe or tube and mark it and cut it.
Thats what I did anyway.
for
this video, in order to get the arc shots as well as body positioning
shots i wanted to show, I needed about 5 sets of joints so I marked them
and cut the copes using a grinder and a cutting wheel and finished off
with an 80 grit flap disc.
Once I tacked everything, I set the
Miller Thunderbolt to about 125-130 amps and used a 1/8" (3mm) er70s-2
filler and a 3/32" (2.4mm) 2% lanth electrode with 15 cfh of argon with a
#7 gas lens from a stubby kit on a 26 style air coole torch. man that
was a mouthful. good thing I am typing and not talking.
One of the drawbacks of using a scratch start tig welding rig is not being able to shield the puddle with argon when you stop.
I
make a prototype pedal switch to overcome this and it actually works
very well. It lets me stop without having to grind, file or wire brush.
seem more videos like this scratch start tig welding video


Would you like to get free welding videos in your inbox every week?


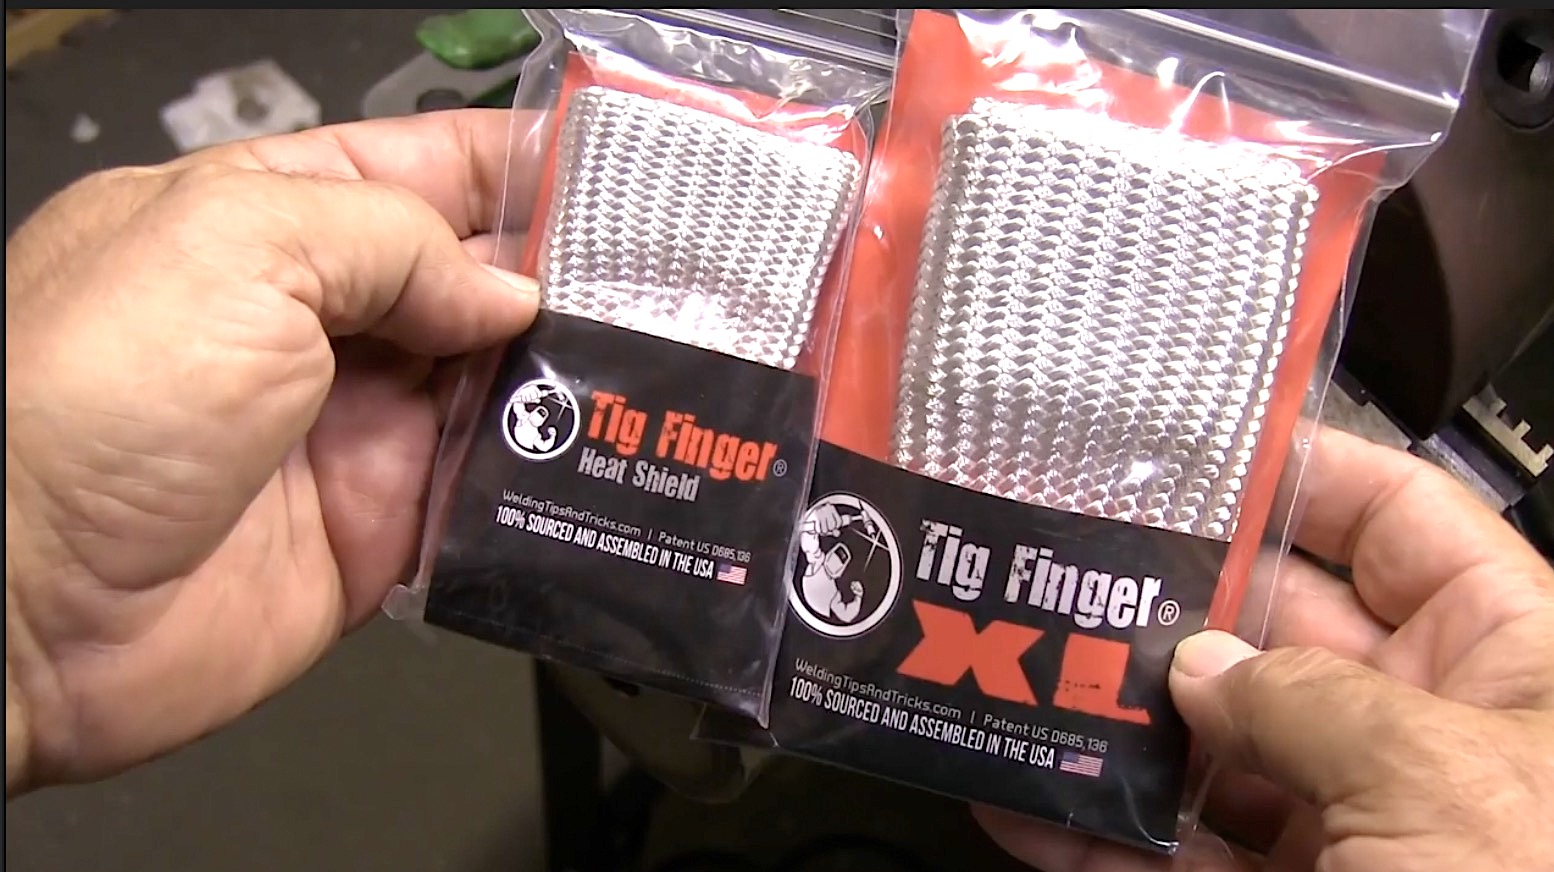
Tig FingersThe Real and Original TIG Finger® and XL model
Stubby Gas Lens and Pro TIG kits
2% Lanthanated, CK LaYZr, Purple, more
Our Weldmonger Stubby Gas Lens kit is the Best


