6g Root with 6010 - 6 inch schedule 80
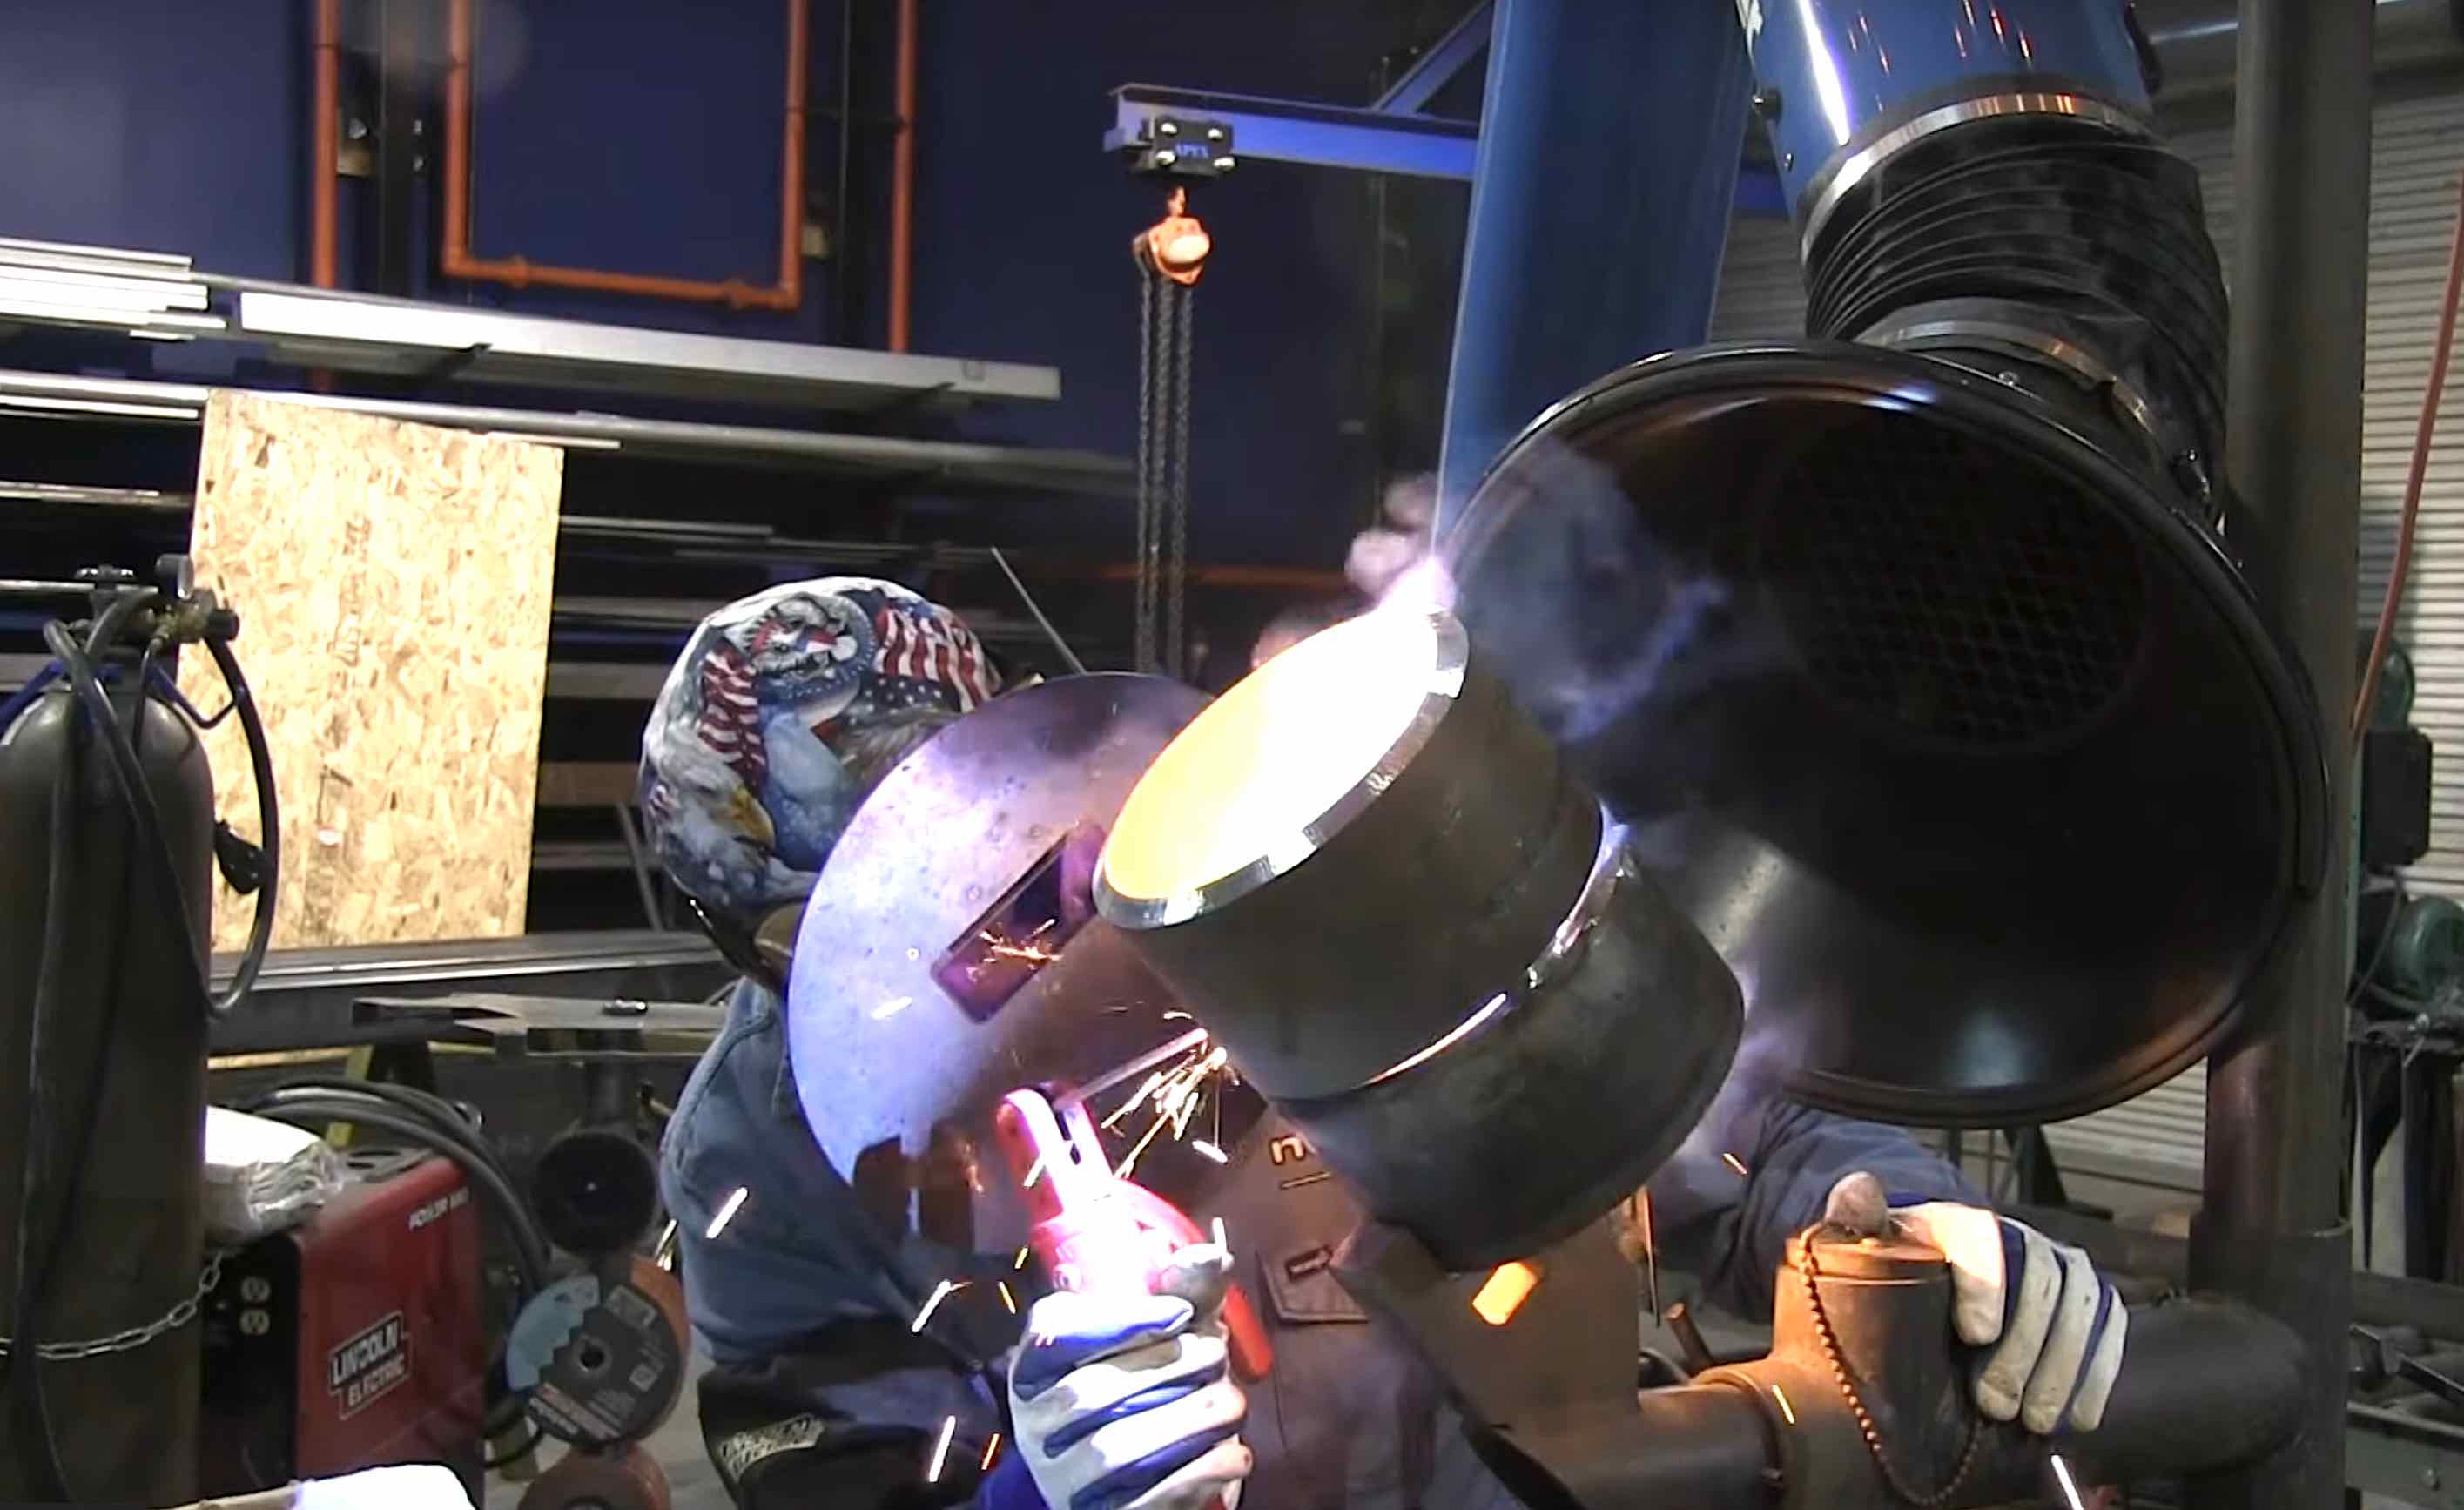
In this video you will see crystal clear arc shots of a 6g root pass with 6010 uphill.
A 6 inch schedule 80 6g pipe test is one of the more common welding certification tests.
Some welders preparing to take a 6g pipe test struggle with the root pass so that is why I decided to devote a video strictly on the root pass.
A part 2 video will show the fill and cap passes using 1/8" 7018.
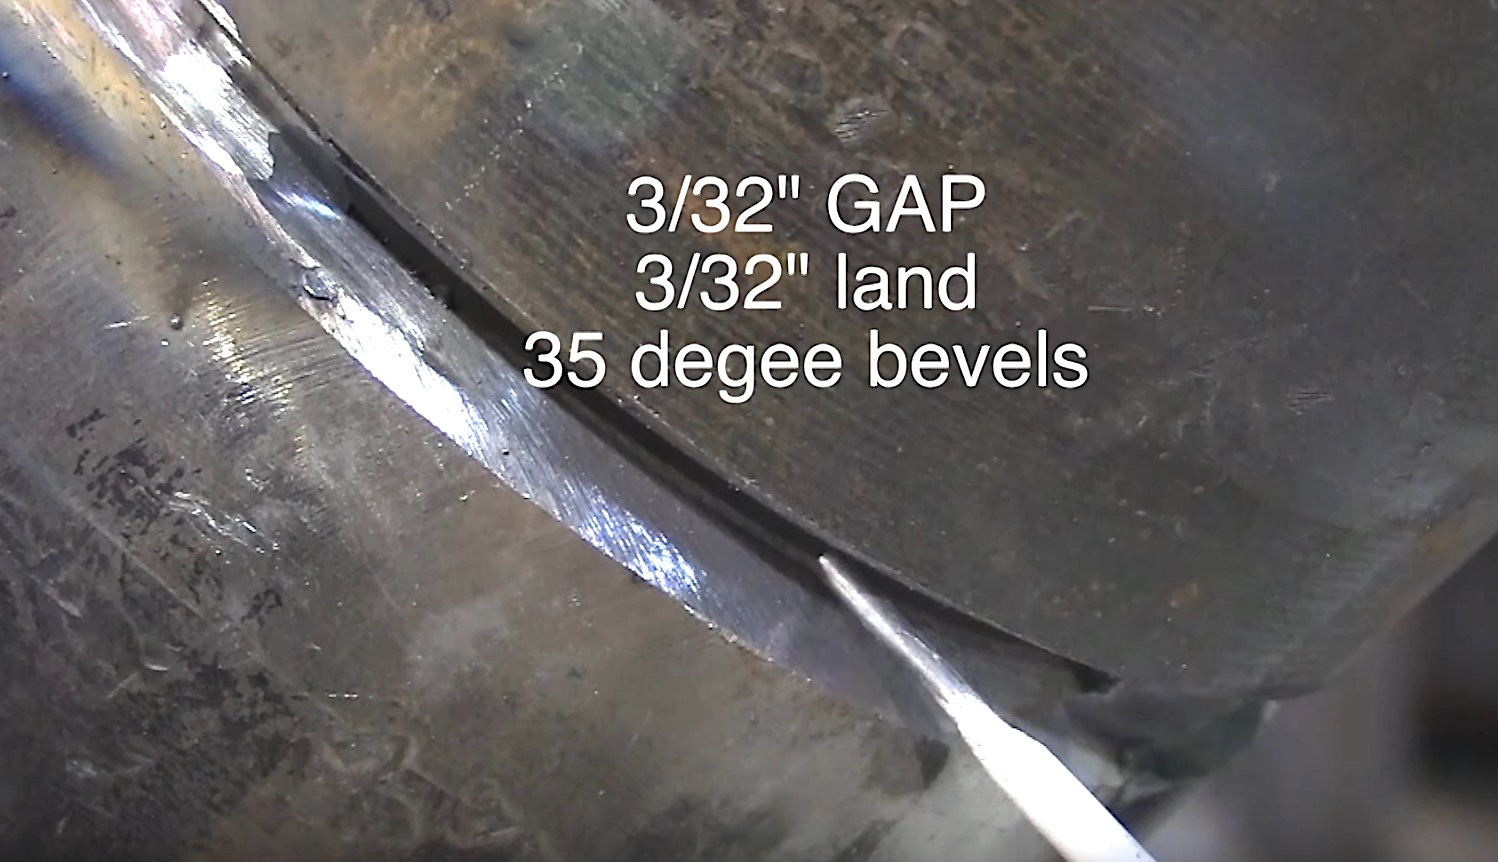
Fitup for 6g Root

both gap and land were 3/32".
Beveled edge was 35 degrees.
The WPS will specify the bevel. Sometimes, probably most of the time, the welding coupon will already be beveled with the correct bevel angle.
but it wouldnt hurt to verify it using a bevel gauge
there are many different fitup schemes that work but the bottom line is that the welding procedure dictates the fitup.
Some procedures call for 1/8" gap + or - 1/32" with a 3/32" land + or - 1/32"
So with a wps with these requirements you could potentially have a gap or root opening of 3/32" to 5/32" and a land or root face of 1/16" -1/8".
read the WPS and follow it.
Once the pieces are fit and tacked welded toghether, all tack welds are feathered in each end just as shown in the video.
Some tests let you use a grinder for this...some dont and you may have to use a half round file to feather tack welds.
You can get a good idea on your amperage while you are making the tack welds so pay close attention and make adjustments accordingly before you start welding out the root.
Essentials for a 6G root with 6010
- fitup - not only gap, and land, but make sure not to have mismatch aka hi-lo
- amperage - machines vary but 85 amps is a good starting point
- rod angle - aim for center of pipe
- pressure on rod - depends on fitup, amperage, and position of pipe

Technique
There are several techniques that can work on a 6g root pass with a 6010.
Some prefer to drag the rod.
Some prefer a slight whip and pause technique.
In this video Andrew used a slight whip and pause.
Essentially what happens with this technique is with the right fitup, the tip of the electrode is held deep in the root opening and when the rod is moved forward, it melts away the root land and creates a small keyhole.
Then the electrode is moved back in the puddle to push metal inside the pipe and fill the keyhole.
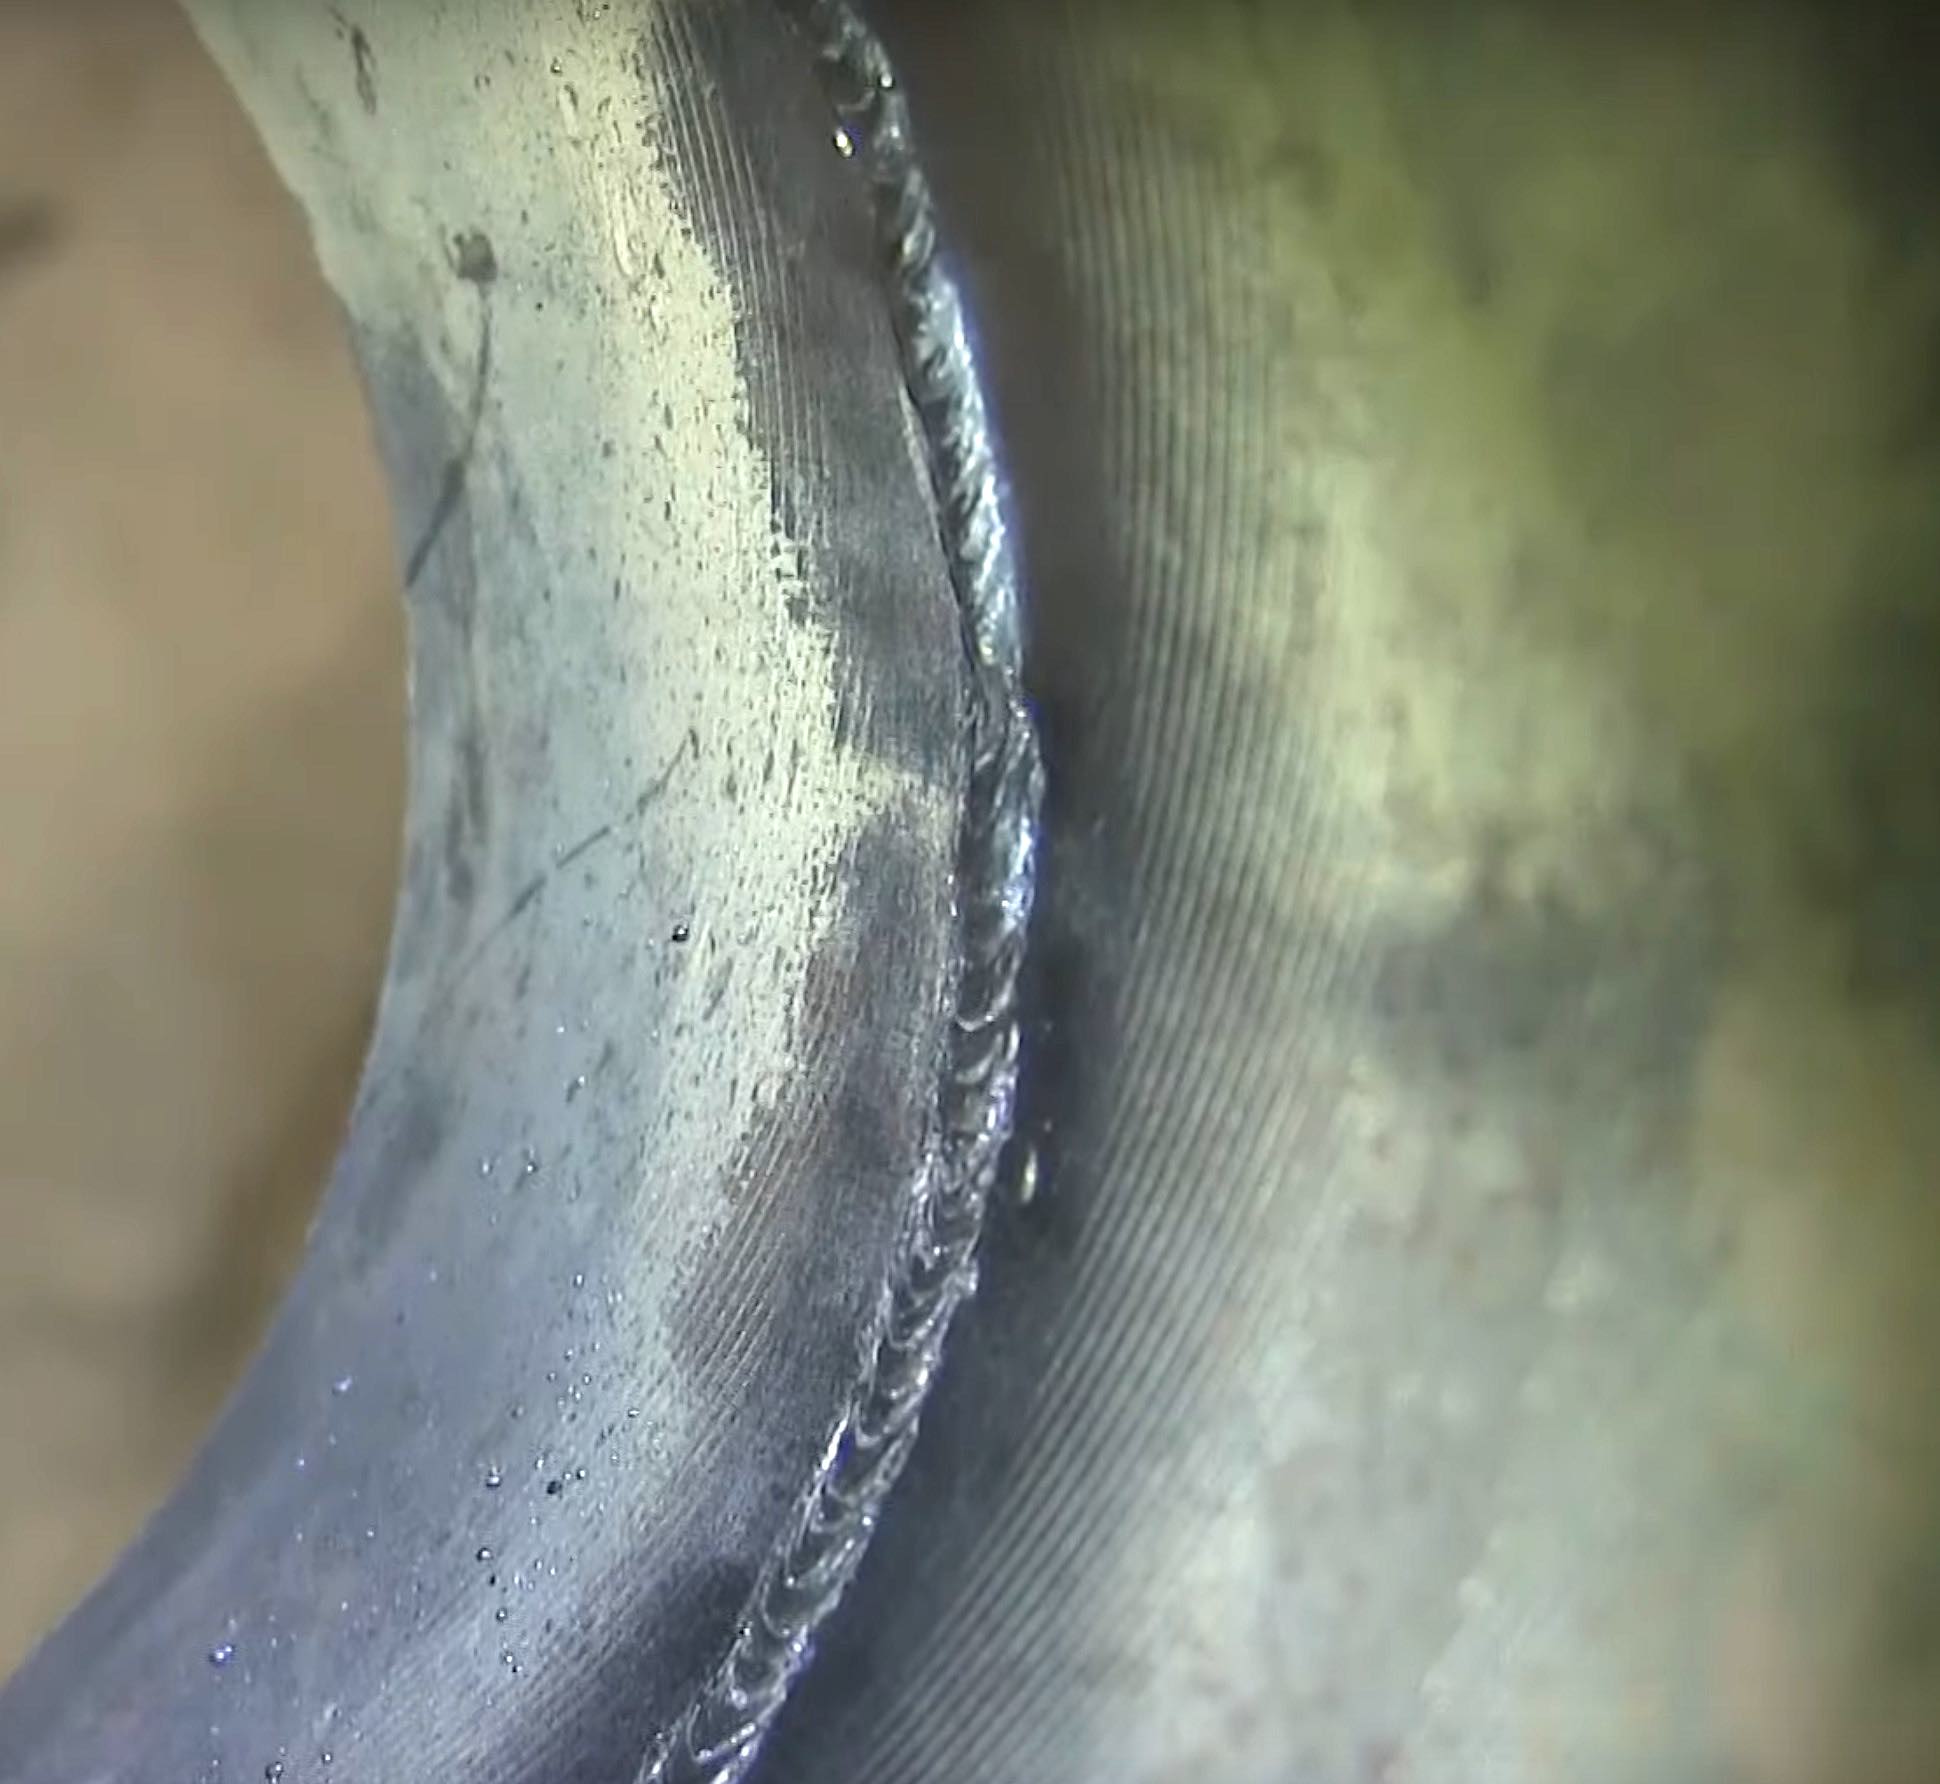
Finished root should be completely penetrated with no signs of walls not broken down. and should be above flush.
Subsequent weld pass during hot pass, and fill passes can help push the root in further...and that is exactly what happened to this root.
stay tuned for part 2 ...7018 fill and cap

Another common 6g weld test is a 2" schedule 80 6010 root 7018 fill
see the full article here on the 6g 6010 root 2 inch


