Best TIG Welding Settings for Stainless Steel
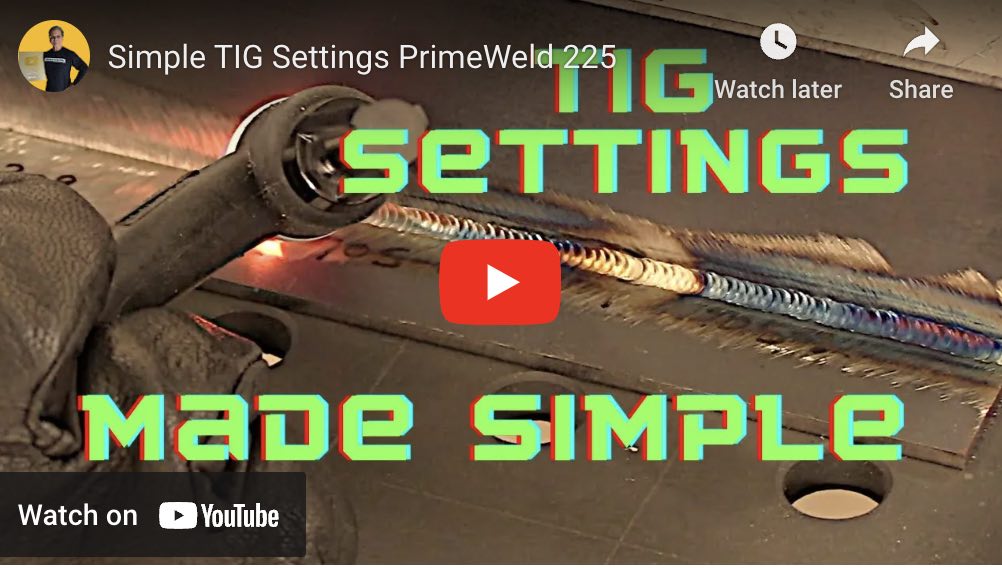
The best tig welding settings for stainless are almost the same settings you might use for carbon steel except with slightly lower amps and a gas lens setup.
You don't really need pulse settings but pulse does help in certain situations.
- HOME
- TIG WELDING
- Best Tig Welding Settings for Stainless
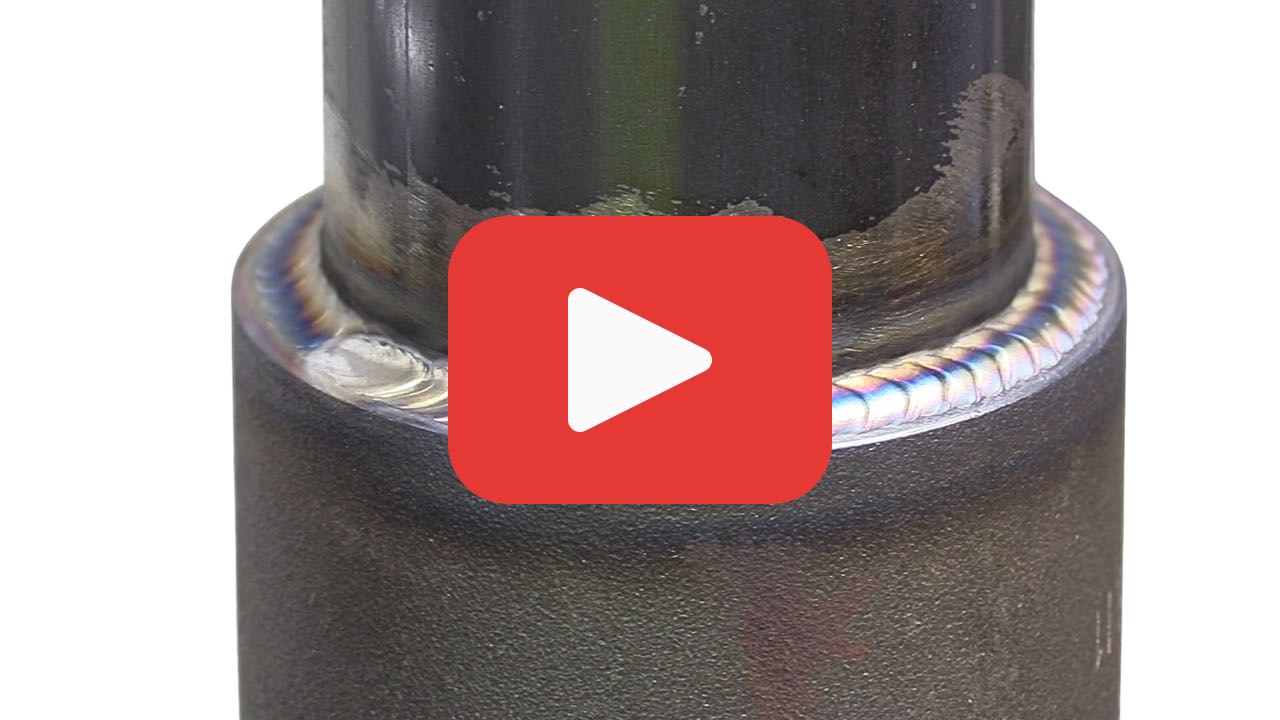
settings for .120" wall thickness coped stainless tube
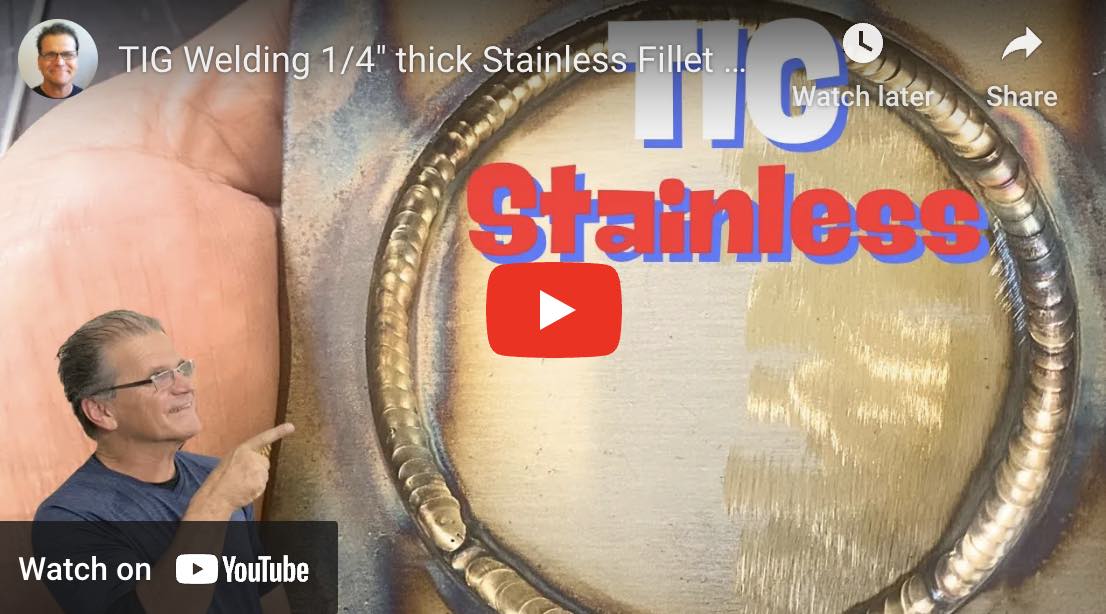
settings for filling holes in stainless sheet metal
16 ga stainless lap joint settings
1/4" thick stainless lap joint settings
TIG welding stainless steel can produce beautiful, strong, corrosion resistant welds—but only when your machine settings are dialed in properly.
The right combination of amperage, tungsten type and size, shielding gas, and machine parameters can mean the difference between a clean stack of dimes and a mess of discolored, grey overheated metal. This article will walk you through the best TIG welding settings for stainless steel, so you can weld with confidence.
Understanding Stainless Steel
Stainless steel is sensitive to heat. It’s prone to warping, distortion, and oxidation if the weld is too hot or improperly shielded.
One of the keys to tig welding stainless steel is to get the puddle Established quickly and to get moving quickly to avoid building up heat.
Gas shielding is also very important and a good quality gas lens setup helps immensely.
That’s why it's important to understand the role of heat input and how your settings affect the final result.
Recommended Amperage Ranges are just guidelines and are mainly provided for simple fillet welds
- 0.020" to 0.060" material thickness: 20–50 amps
- 1/16" to 1/8" material thickness: 50–125 amps
- 1/8" to 1/4" material thickness: 100–200 amps
Note: If possible, Use a foot pedal or torch mounted amptrol for fine control. If you don't have one, set the machine to slightly higher than necessary and make adjustments with torch travel speed.
Tungsten Electrode Selection
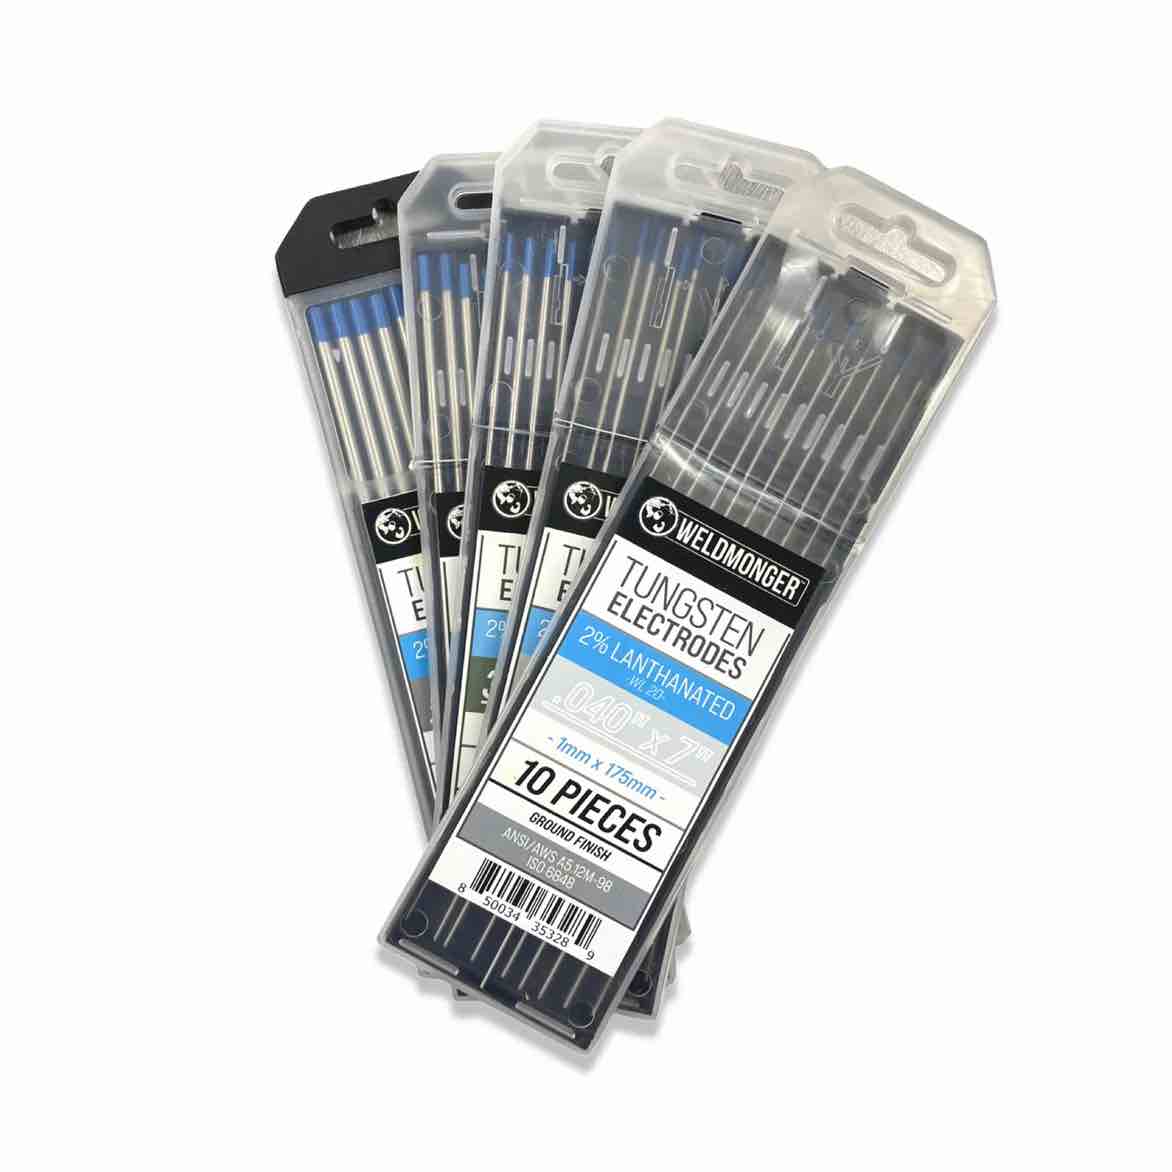
- Type: 2% lanthanated is a good all around tungsten for use on AC or DC. But for if you are mostly tig welding carbon and stainless steels, 2% ceriated and 2% thoriated are 2 of the most popular tungsten types that hold a sharp point on DC.
- Size: 0.040" for ultra-thin work like razor blade thickness. You might not ever need an .040” tungsten if you know how to properly sharpen tungsten for thin material.
- 1/16" will work for stainless up to 16 ga (.063” or 1.6mm) but you can also use 3/32” diameter if tip is sharpened properly
- 3/32" - 1/8” for thicker sections 1/4” and thicker.
- Tip Prep: Always grind the tungsten tip to a point, lengthwise to the electrode. A consistent, sharp point helps direct the arc precisely and reduce arc wandering.
Shielding Gas Setup
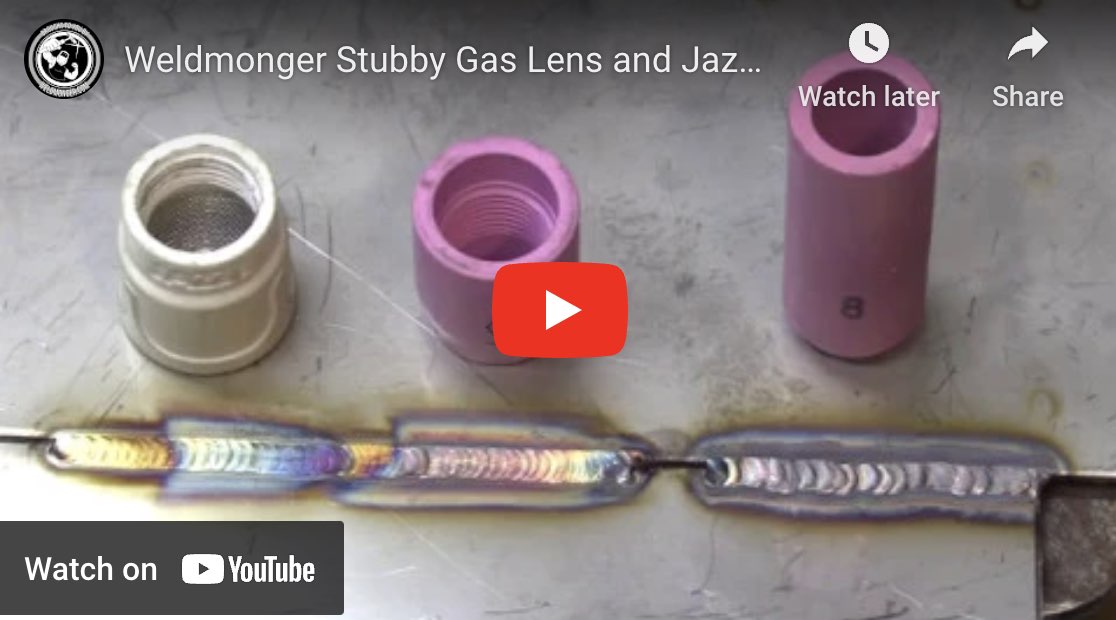
If you are still using the standard TIG cups and hardware that came with your machine or TIG torch, I can just about guarantee you will get better results if you upgrade to a weldmonger® stubby gas lens kit.
- Gas: 100% Argon usually. But be aware there are other specialty gas mixtures for specific grades of Stainless.
- Flow Rate: flow rate depends on cup size used and 2-3 CFH (cubic feet per hour) per cup size will get you in the ball park…adjust flow rate from there according to shop breeze, electrode stick out, joint type, etc. example: a jazzy 10 cup is a #10 so 10x 2-3CFH = 20-30 CFH
- Cup Size: #6 to #16 depending on joint access, stick out needed, and need for gas coverage
- Use a Gas Lens: A furick cup like a jazzy 10 , fupa12, MK14, or even a BBW helps improve shielding gas coverage and allows for a longer stick-out when needed.
- For walking the cup on pipe, a large diameter gas lens kit is great and provides excellent gas shielding.
Machine Settings
- Polarity: DCEN (Direct Current Electrode Negative) some older machines might label as “straight polarity”
- Start Amperage if using a torch switch : 5–20 amps depending on material
- Upslope/Downslope if using a torch switch: Optional, but 1–2 seconds can help avoid arc craters
- Pulse settings: pulse can help for thin materials or heat-sensitive jobs
- Peak Amps: Set based on material thickness
- Background Amps: 10–50% of peak depending on application.
- Frequency: .7-2 Hz for visible pulsing; higher than 30 for puddle agitation. (Pulse settings between 2pps and 29pps can be difficult to watch.)
- Torch Angle: 10–15° push angle
- Filler Metal: Match alloy (e.g., ER308L for 304 stainless) see Washington alloy stainless steel filler metal selection guide here
- Travel Speed: Moderate and consistent; avoid lingering too long in one spot
Final Tips
- Always pre-clean the material with acetone and a dedicated stainless wire brush.
- Use chill blocks or heat sinks if warping is an issue.
- Watch the color of the weld bead: straw to light gold is ideal. Blue is ok but black means too much heat.
By taking the time to understand and properly set up your TIG welding machine for stainless steel, you’ll get better-looking, and more corrosion resistant stainless welds.
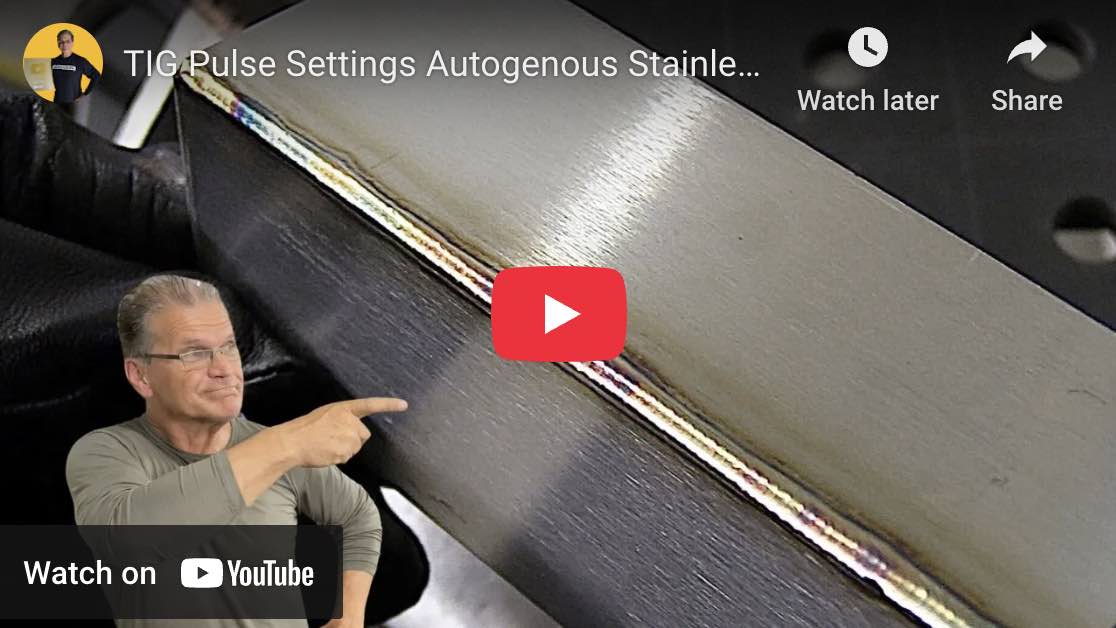
Pulse Settings for 16ga stainless steel outside corner autogenous weld
Pulse TIG welding is a tool that can improve heat control, bead appearance, and weld quality—especially when working with stainless steel.
Pulsing between high and low amperage, can help limit distortion, reduce oxidation/discoloration, and produce cleaner welds.
This video breaks down how to use pulse TIG settings effectively on stainless steel.
11 Different Pulse Settings for different applications
What Is Pulse TIG Welding?
There are 3 main settings for Pulse TIG:
- pulse width: is the time spent at peak pulse amps
- Background Amps: is the low percentage of peak amperage and it Maintains the arc while allowing the weld puddle to cool
- Pulse Frequency: How many pulses per second (PPS)
Benefits of Pulse TIG for Stainless Steel
- Heat Control: Reduces risk of warping and overheating
- Less Oxidation: Minimizes weld discoloration and heat tint
- Better Weld Appearance: Creates a consistent, rippled bead
- Improved Control on Thin Metal: Prevents burn-through on thin sheet or tubing
- Cleaner Root Passes: Helps in out-of-position or open-root joints
Basic Pulse TIG Settings
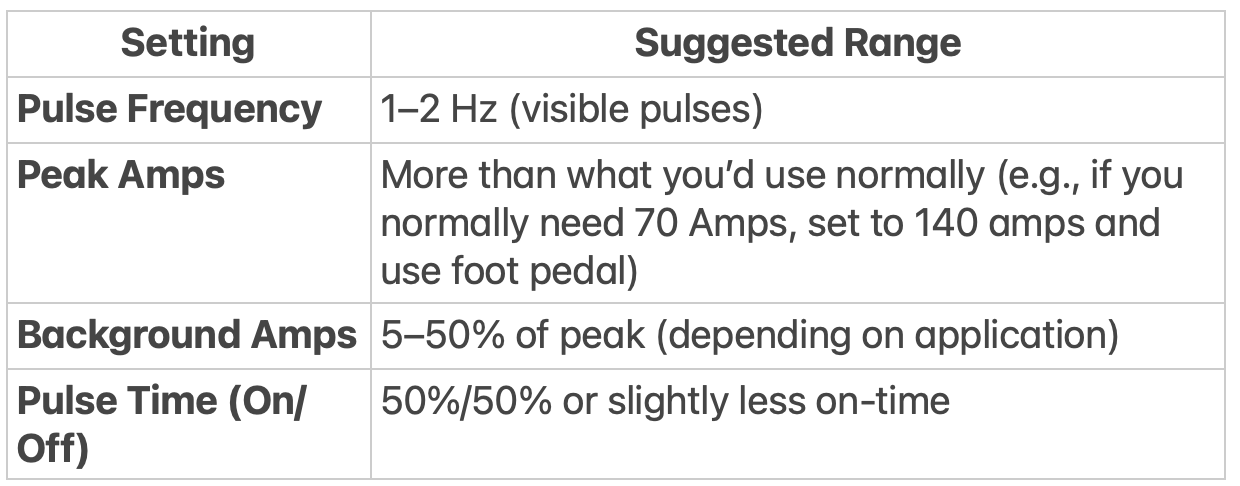
Example Setup:
- Peak = 70 A
- Background = 35 A
- Frequency = 2 Hz
- Balance = 50/50
This setting gives you a good rhythm to dab filler on each pulse, resulting in a clean, rhythmic bead.
- I like to use pulse rates of .7 to 2 pulses per second or higher than 33pps, and pulse rates of 3-30 are jut hard on my eyeballs and annoying to watch.
- A pulse setting of around 1-2pps , with low background current and low pulse width, when used in conjunction with chill bars can be very helpful on outside corner joints in limiting distortion.
- High speed pulse rates of 33pps or more can be very helpful when welding on or near an edge.
- Automated tig welding benefits more from pulse than with manual tig welding due to human adjustments
- The rule of 33 is where you set all pulse settings to 33. 33 pps is not difficult to watch and can help to agitate the puddle and move it along at lower overall amperage. The rule of 33 for pulse settings also helps for filling gaps
If you’re welding with foot pedal control, you may not need pulse. But for production, automated welding, or repeatable results, pulse is a game-changer.
Some really good tig welders pulse with the foot pedal
Pro Tips for Using Pulse
- Practice timing your filler dabs with the pulse rhythm.
- experiment with a higher frequency (>30 Hz) for puddle agitation. loses the ripple effect but still helps with heat input...especially when welding on an edge or near an edge
- Use lower pulse frequency (1–3 Hz) if you want that stacked-dime appearance.
- Clean base metal thoroughly—pulse won’t compensate for contamination.
- Combine pulse with chill bars or copper backing on thin stainless for maximum distortion control.


