
Tips for Tig Welding Stainless Steel lap joints

I this video, I am tig welding stainless steel lap joints.
to be exact, they are 304 stainless 16ga....063" thick.
sheet lap joints ( for you metric folks, that's about 1.6mm)

You might like these
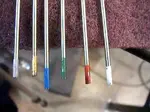
Tungsten Electrodes for GTAW
Case Study and Video of Gas Tungsten Arc Welding GTAW Tungsten Electrodes - thoriated vs ceriated vs lanthanated vs pure vs zirconiated
Welding Stainless Steel-Tig Welding
Here's a tip for Tig welding Stainless steel to any other steel
- HOME
- TIG WELDING
- Tig Welding Stainless
Here is the #1 rule for tig welding sheet metal lap joints.
GET A GOOD FITUP....WITH NO GAPS.
its important on 16 ga sheet to not have a gap...and the thinner you go, the more important it is not to have a gap.
If you have ever welded lap joints that are .020" thick (.5mm) you know what I mean. Any gap, makes the weld go crappy fast.
I saw someone using a simple tool once to hold down the edges of a lap joint so I am going to mention it right now....
A diy tool for fitups for tig welding stainless laps
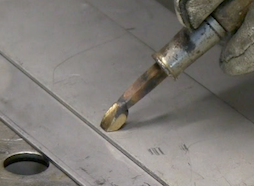
Take an old crappy screwdriver and add some silicon bronze weld metal to
the tip and than sand it down so that there is a flat spot on the tip
at an angle. ( watch the video to see for yourself how the angle
looks).
What this does is , it allows you to hold down the very
edge of the lap with the tool, and the silicon bronze is very conductive
...so much so that It really draws heat out of the stainless and
prevents melting the edge away.
On thin stainless ...like .040" (1mm) and on down to .020 (0.5mm) thick stainless, this Tool becomes extremely helpful because you cant always use a clamp. Sometimes the part is a weird shape or just too big to use clamps and that is where this little diy screwdriver tool is handy to have.
So
what I do is I hold the screwdriver with silicon bronze tip right next
to where I want the tack weld and put enough pressure downward to make
sure there is zero gap. Then I prop the tig cup on the metal so that the
tip of a very sharp tungsten is pointing right where I want the tack
weld. Then , with amperage set to about 50 amps for .063" thick
stainless ( about .7 amps per one thousandths of thickness) . Then I
light up at low amperage and as soon as i see that my electrode is right
where I want it, I go full pedal for a quick blast.
This makes a
nice small tack weld. A good tip for you is always try to make tack
welds smaller than the final weld. That helps the final weld to look
better.
Setting amperage for tig welding stainless lap joints
Stainless steel requires less amperage than carbon steel.
The one amp per one thousandths rule of thumb works pretty well on carbon steel. But stainless only requires about 2/3 of one amp for every one thousandths of thickness.
For all you metric folks, your rule of thumb is 40 amps per 1mm.
So for this 1/16" thick (1.6mm) stainless , about 45 amps worked very well. If you do the math, that works out to .7 amps per one thou.
here is the math .... 63 amps x .7 = 44.1 amps
Some welders can handle more amps because they can weld with a faster travel speed.
That brings be to this tip...
Set amperage hot enough to where you can keep up with it but not too low where you have to wait longer than 2 seconds to get a puddle and get moving.
Stainless steel is not very thermally conductive. So heat builds up quickly.
If you hang around too long waiting for a puddle , heat builds up so much that you just cant outrun it.
So get that puddle established quickly and get moving. If something happens, like you cant focus your eyes quick enough, your filler rod gets hung up, or whatever, just stop and let it cool .
give it a minute to cool before getting back in there...and things will go better.
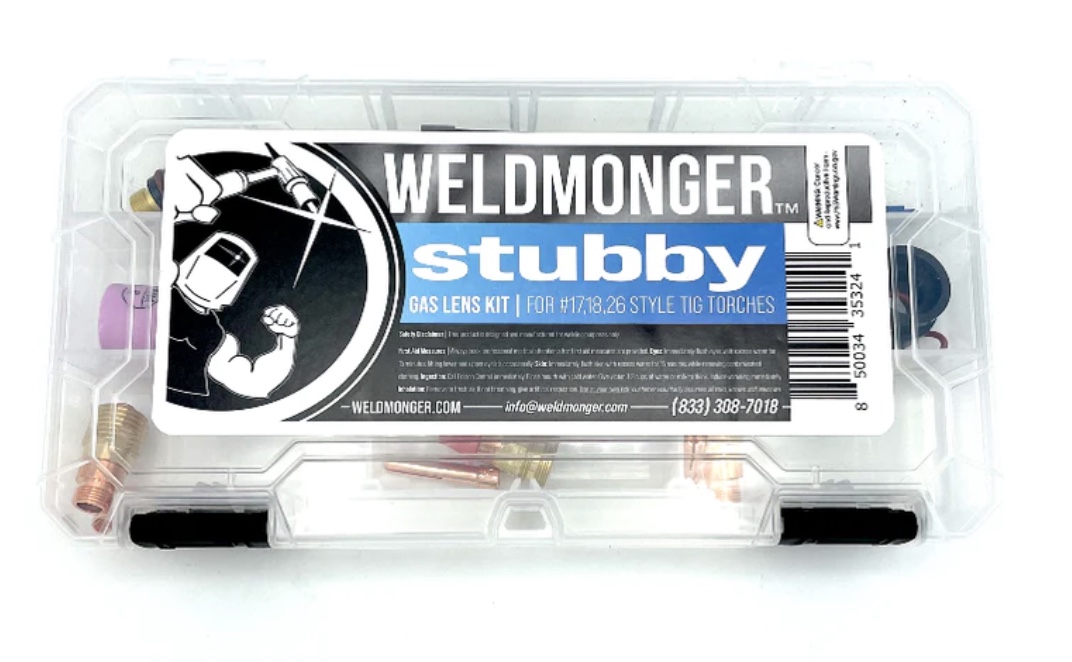
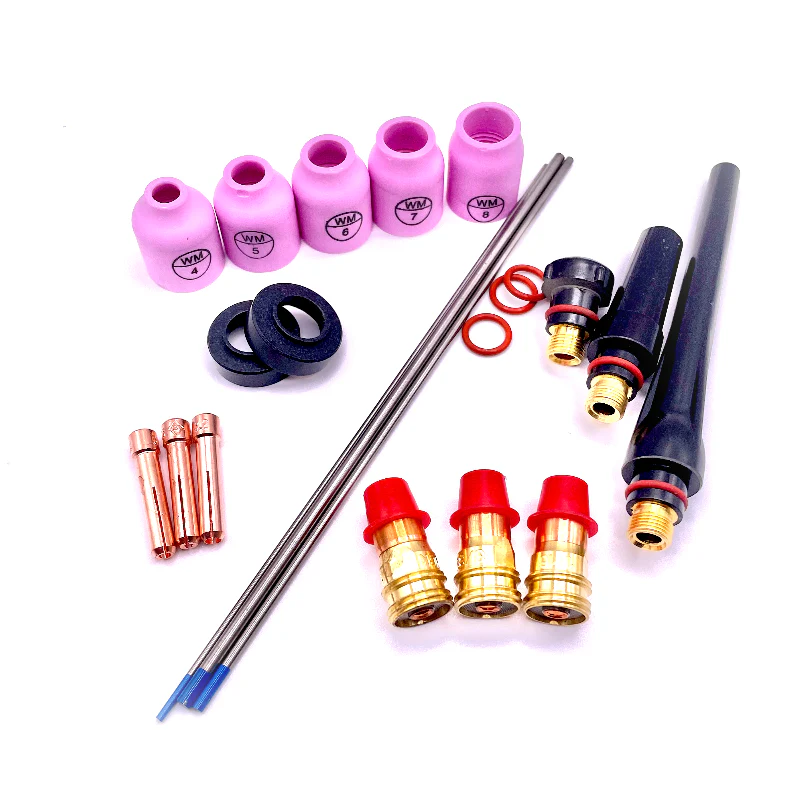
A gas lens will let you extend your electrode further and generally gives you a better looking weld on stainless steel.
What is a stubby gas lens kit and how can it help you on stainless steel?
Why dont you click the picture and find out?
click here to learn more about the stubby gas lens kit and bonus DVD!
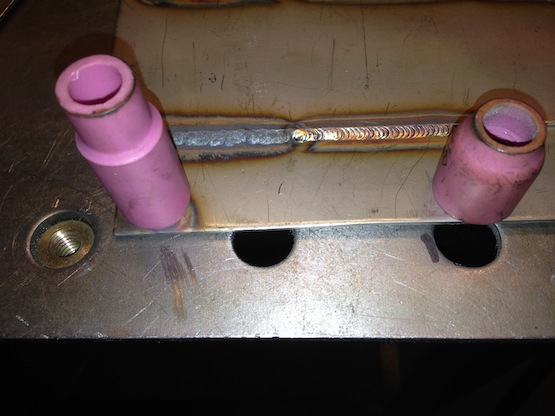
Everyone
wants their stainless steel tig welds to be shiny with colors.
Silver is perfect, straw is great too...purple and blue are the last colors before it starts to become dull and grey .
There is a good chart on steel temper colors at a blacksmith site ..you can see it here
Dull Grey and black is
not good. Stainless can start to lose its stainless properties if it gets too hot or too oxidized.
So how do you get those nice stainless colors?
First lets talk about what exactly causes stainless tig welds to be grey and black.
When stainless steel reaches a certain temperature it will begin to oxidize and turn colors. First straw, then purple, then blue ( with some intermediate colors in between)
But argon will shield the weld and surrounding area from oxidation no matter how hot it gets.
An
example of this is if you were to puddle a small area for a long time and using a
long post flow time. You can literally puddle an area for a full minute
and as long as the post flow is set long enough and tig cup is big enough, and the argon shields
the puddle and hot metal, it will be silver even thought it got red hot.
So color is not always an indicator of how long metal stayed at a high temperature.
But when you run a
bead, the argon moves along the weld with the torch, the argon leaves
before the metal has a chance to cool enough.
That is why the crater of the bead is sometimes silver while the rest of the bead is grey.
So how to you overcome this?
There are several things that help...and the Video shows several tips for tig welding stainless laps and getting good color.
Using a gas lens cup is one of those things that helps right away without changing anything else.
IF you already have a small torch like a 9 or 20 along with gas lens kits, then you are good to go. You can also get gas lens collect setups for big torches but they dont do anything to make that big torch fit into tight areas.
That is why I like the stubby gas lens because it lets me use a gas lens cup but also shrinks the overall size of any big torch.
I will go over tig torches and what all the numbers mean in a future video but basically, just know this....
A 17 is the most common torch. Its air cooled and its the big style that uses big long cups and collet bodies, collets, etc.
A
17 tig torch will handle 150 amps for quite a while before it starts to
get hot in your hand and will handle over 200 amps for brief periods.
But
the good thing about a 17 torch is that it is air cooled and does not
require a water cooler ( which can cost upwards of 600 dollars just for
the cooler).
A #9 torch is also air cooled but is only rated for
100-125 amps and gets really hot on heavy jobs. ( i have smoked a few
of them myself)
This is what a stubby gas lens
kit does for you. You can take a big torch that handles the amperage, and make it
small enough to get into some tight spots...and you also get the benefit
of using a gas lens....better gas shielding.
For doing precision work, for getting into tight spots, or just to get better gas shielding for tig welding stainless, its the bomb.
see more tig welding videos

Would you like to get free welding videos in your inbox every week?


Tig FingersThe Real and Original TIG Finger® and XL model
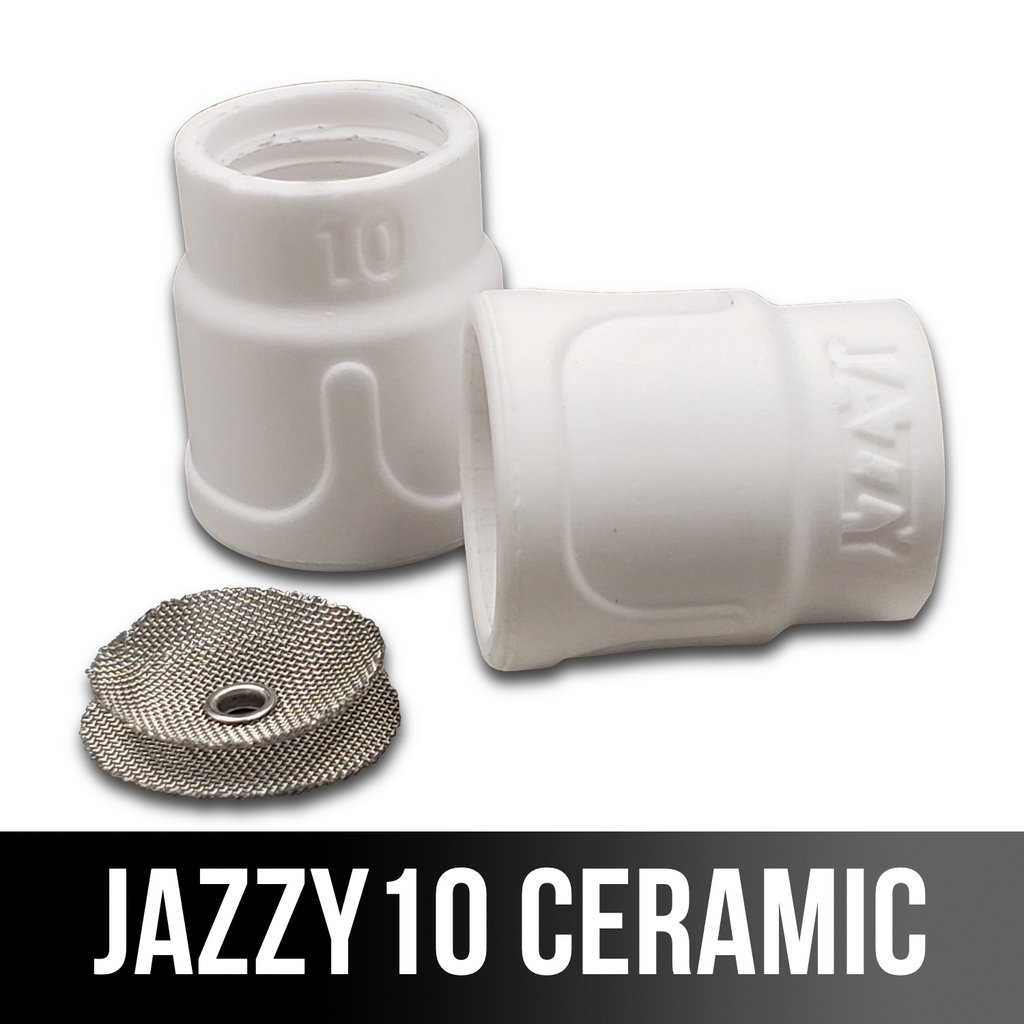
Stubby Gas Lens and Pro TIG kits
2% Lanthanated, CK LaYZr, Purple, more
Our Weldmonger Stubby Gas Lens kit is the Best


