Cleaning Aluminum for TIG welding
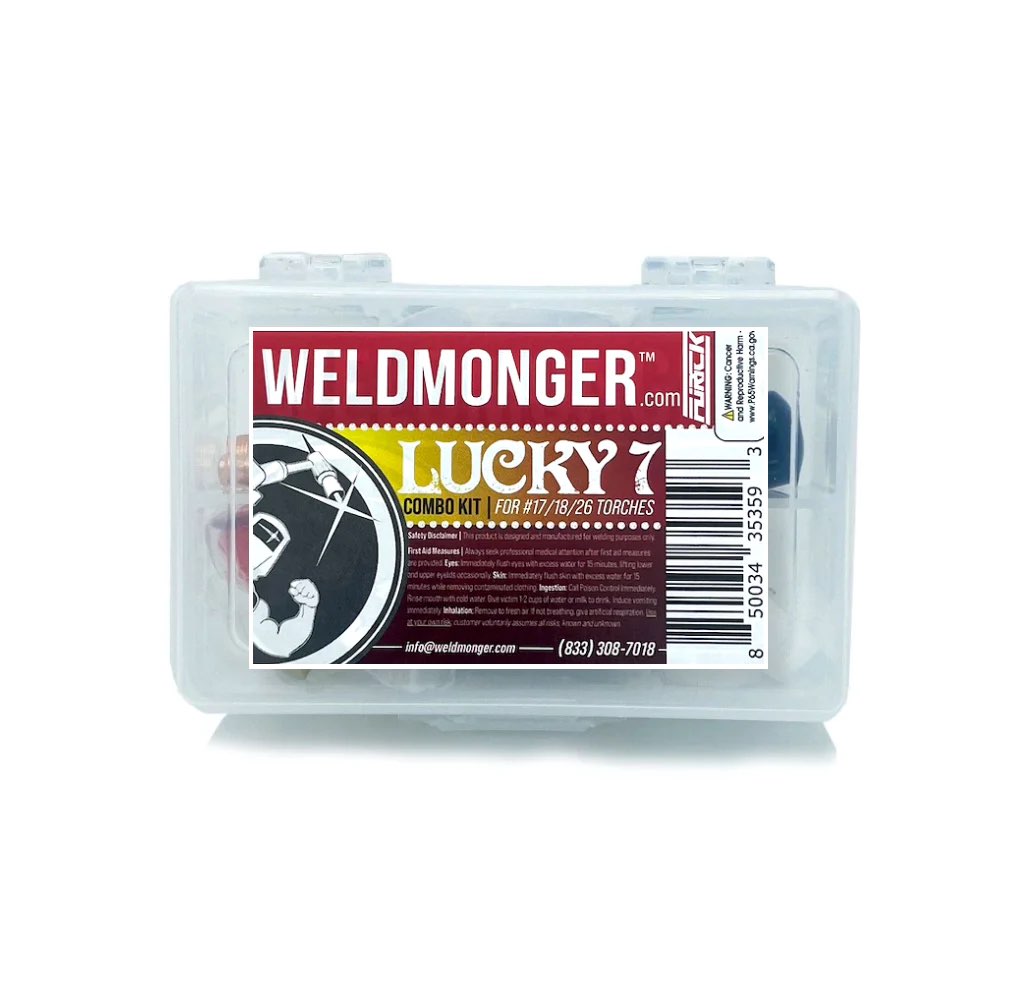
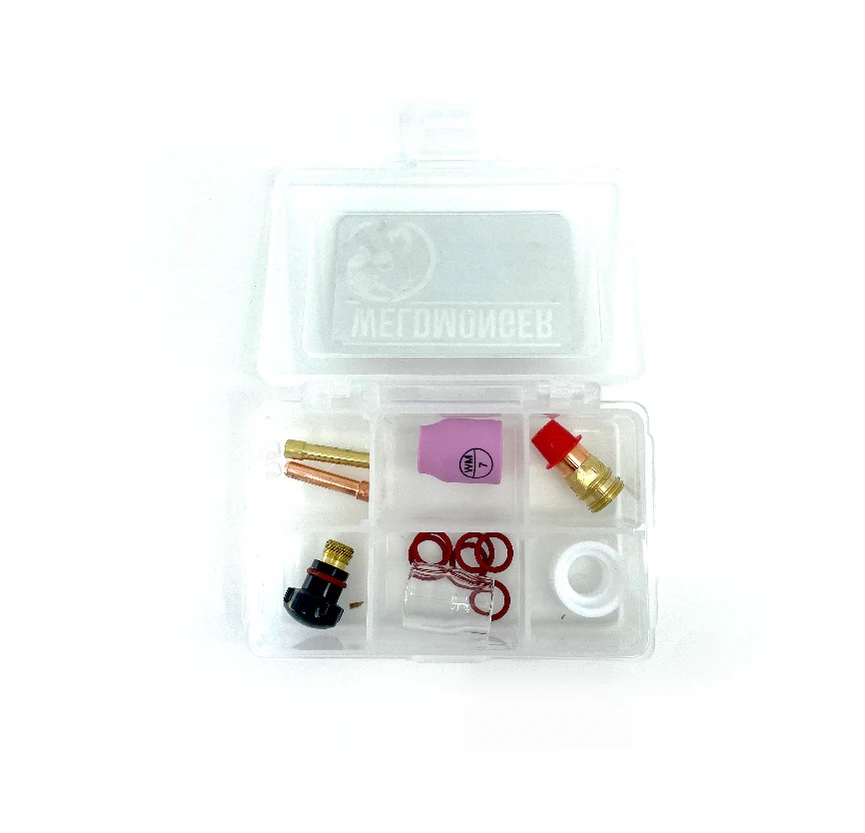
Lucky 7 combo kit with one clear 7 cup and a pink ceramic #7 with mounting hardware for 17 torch
If you are still using the standard TIG cups and hardware that came with your machine or TIG torch, I can just about guarantee you will get better results if you upgrade to a weldmonger® stubby gas lens kit.
- HOME
- TIG WELDING ALUMINUM
- How to Tig Aluminum
- Cleaning Aluminum for Tig
How do you clean aluminum before tig welding?
Textbooks will tell you that you must use a stainless steel wire brush on aluminum before tig welding.
Is that really true?
In my own experience, the way I clean aluminum depends completely on the situation.
For sheet metal fabrication where the aluminum sheet is brand new and might even come with a peel coat, an acetone wipe might be the only cleaning I do prior to welding….and sometimes, I weld without any cleaning at all.
But for dirty or heavily oxidized aluminum I need a lot more that a simple acetone wipe.
Sometimes using an abrasive like a flap disc is the best way to remove a heavy oxide layer on aluminum that has been left outside or has been exposed to salt water or salt spray in the air.
But there can be problems with cleaning aluminum:
If you use power tools or the wrong abrasives, you can either embed grit into the aluminum or smear oxides to the point where the cleaning action of the arc can’t effectively clean them up.
When a flap disc or grinding wheel loads up, the tendency is to apply more pressure.
Pressure creates heat and can smear oxides deeper into the base metal.
In this video, I used a Walter Enduro flux Alu flap disc that is engineered to not load up with aluminum. I used very light pressure too and it seemed to work great without leaving any residue.
My friend Brad Goodman welds aluminum dog boxes and dog feeders, along with aluminum motorsports parts and his customers demand a certain look on his welds. Brown smutty clouds or black spots in the weld are detractions.
So Brad has learned how to properly clean his edges so that he gets clean welds that shine like a new dime.
Brad uses mostly an aluminum file and a de burr tool to clean laser and plasma cut edges prior to welding.
He also pays close attention to prepping the edge along with an acetone wipe and he is good to go for stacking dimes on his dog boxes, dog feeders, and all the various aluminum fabrication he does.
There are lots of ways to clean aluminum for welding and a lot of it depends on the most desired result.
I mean if you are on a production like welding polished tread plate, the end product cannot have wire brush marks or grinding marks. You might even get fired for wire brushing polished aluminum.
Its new metal anyway and doesn’t really need cleaning.
Contrast that to a dump truck tail gate that has been running up and down salted roads for years.
An abrasive might be the best and most effective way to get to clean metal.
A few grinding scratches would be the least of your problems.
You want your aluminum beads to come out as clean as possible so it helps to remember that it is possible to smear oxides with power tools.
If you use the wrong abrasives, or use too much pressure with high RPMs then you might smear oxides into the aluminum and you might not get a clean bead.
Abrasives designed for steel can load up with soft aluminum particles and then create heat that contributes to oxide smearing.
There are abrasives designed for aluminum that won’t load up and require very little pressure to remove metal.
For demonstration purposes, in this video, I used a Walter enduro flex alu. 80 grit flap disc that is designed for aluminum…. and while it might be a bit rough for aesthetics on some parts but it sure does provide a clean surface for welding.


