Asking the question ...
"how do you weld aluminum?"
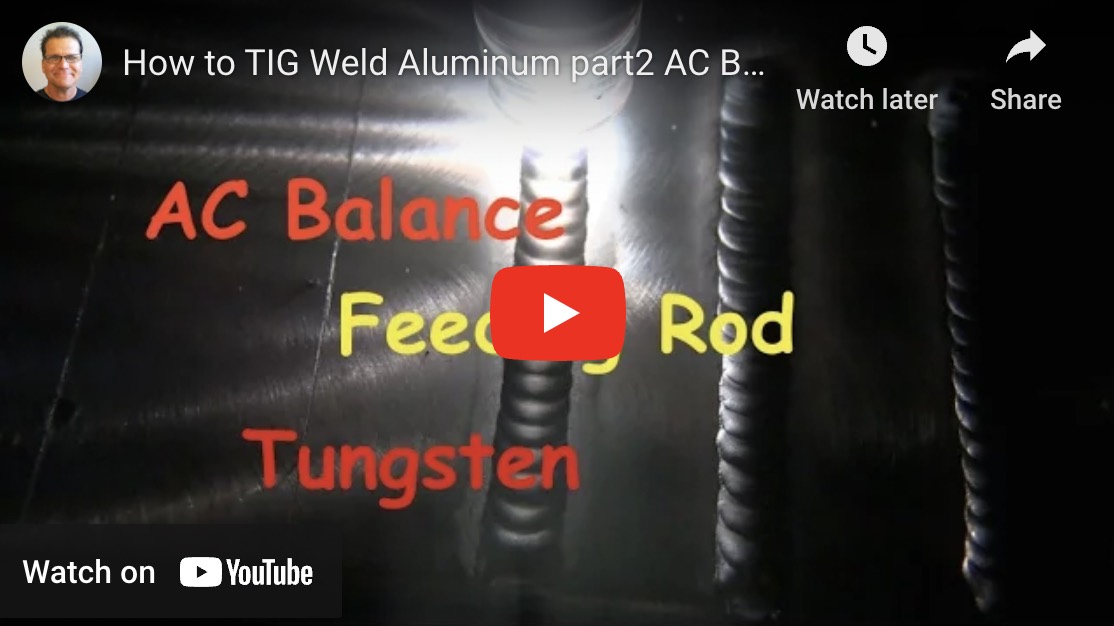
How to TIG weld aluminum part 2
- HOME
- TIG WELDING ALUMINUM
- How to Tig Aluminum
- How Do You Weld Aluminum
The answer to the question ""how do you weld aluminum?" is right here on this informative web page.
There are essentially 3 ways to weld aluminum:
- TIG welding
- Mig welding
- Stick welding
TIG welding and MIG welding are the 2 best ways to weld aluminum in my opinion.
TIG welding is a bit slower than MIG but is more precise and more versatile.
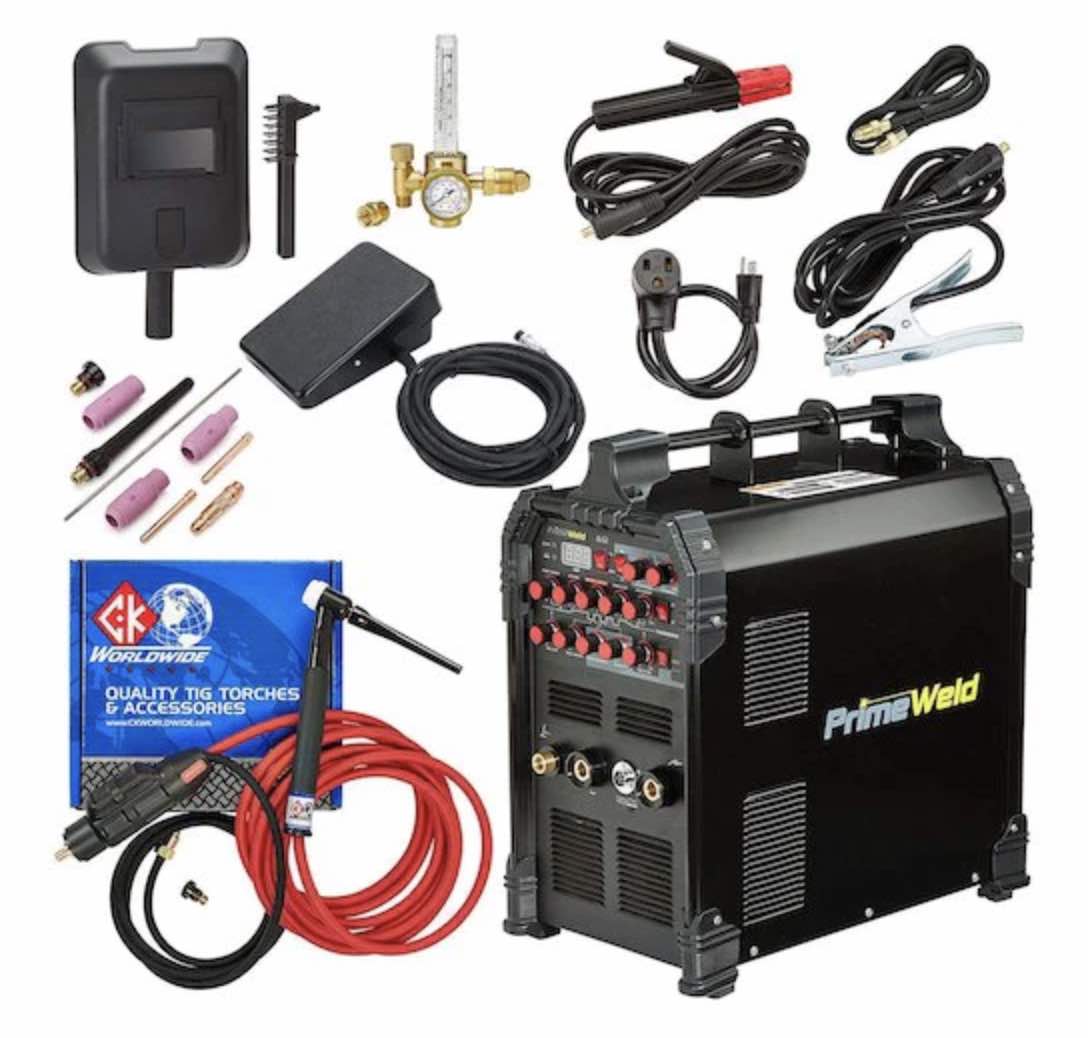
Learn more about this affordable tig welder with bonus kit at weldmonger.com
MIG welding aluminum vs TIG
MIG welding aluminum is often done using a spool gun attached to a regular mig welding machine.
The reason a spool gun is often used is because aluminum wire is so much softer than steel, that is is difficult to feed it through a long mig gun cable with it kinking up.
A spool gun solves that problem by having a small spool of wire in the gun so the wire is only pushed a few inches instead of several feet.
Stick Welding aluminum
Stick welding aluminum is rarely the best way to weld aluminum and is mostly used for emergency or maintenance applications.
Aluminum Stick rods can also be used in a pinch for tig rods using DCEN.
I'll be you didn't know that. And neither did I before I watched some guy in a poor country repair his water well pump housing using a DC tig welder with aluminum stick rods for filler metal.
Another way to stick pieces of aluminum together are aluminum zinc brazing rods like durafix and alladin 3 in 1.
These are actually brazing rods and are often demonstrated at trade shows as being able to fix a hole in a coke can , or fix a boat prop.
They are useful but those demonstrations are like a dog and pony show where the person has been trained to do some parlor tricks using a simple propane torch. I am not saying the rods arent useful but they take a lot of practice.
A side note is that these aluminum zinc brazing rods can also be used to tig weld pot metal with good results.
Ok now that you have seen some videos on how to weld aluminum here is the long detailed explanation...
Welding aluminum can be challenging due to its properties, such as its high thermal conductivity and the tenacious high melt point oxide layer that forms on its surface.
Here’s a simple guide on how to weld aluminum, primarily using the TIG (Tungsten Inert Gas) welding method, which is one of the most versatile methods for welding aluminum:
How to Weld Aluminum
Step 1: Welding Equipment
- TIG Welding Machine: Suitable for welding aluminum.
- Tungsten Electrode: Use a 2% lanthanated tungsten electrode.
- Aluminum Filler Rods: Choose a filler rod that matches the type of aluminum you're welding.
- Argon Gas: Pure argon gas is the most common and most versatile gas used for shielding. Don't even try using MIG gas like C25.
- Personal Protective Equipment (PPE): Welding helmet, gloves, long-sleeve shirt, and safety glasses.
Step 2: Prepare Your Work Area
- Clean the Aluminum if its dirty or heavily oxidized : Use a stainless steel brush specifically for aluminum to remove the oxide layer. Clean the area thoroughly to remove any contaminants.
- Secure the Workpiece: Clamp the aluminum pieces firmly in place.
Step 3: Set Up Your Welding Machine
- AC (Alternating Current) Setting: Set the machine to AC mode, which is necessary for welding aluminum.
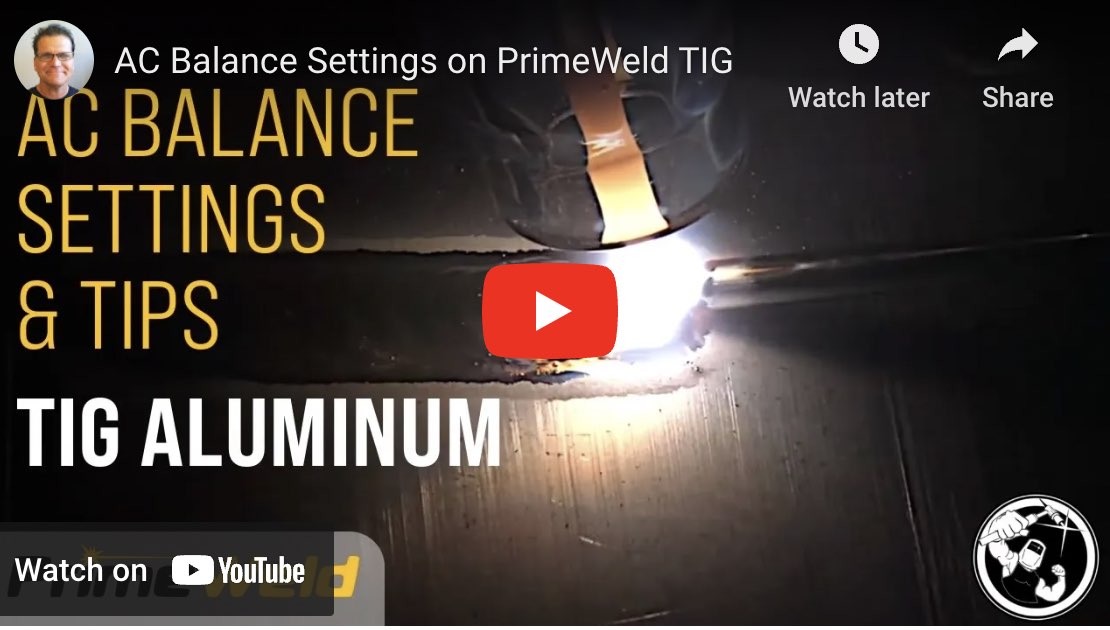
- Balance Control: Adjust the balance control to help clean the oxide layer (typically set around 60-70%).
- Amperage Setting: Adjust the amperage based on the thickness of the aluminum. For example, use 1 amp per 0.001 inch of thickness as a general rule.
Step 4: Prepare the Tungsten Electrode
- Sharpen the Electrode: Sharpen the tungsten to a blunt point for better arc starts...The tungsten will ball a little bit on the tip as you increase amperage and depending on your AC balance settings.
- Insert the Electrode: Place the tungsten electrode into the torch and hand tighten making sure the o ring on the back cap seals properly.
Step 5: Shielding Gas
- Set Gas Flow Rate: Adjust the argon gas flow rate to about 15-20 cubic feet per hour (CFH).
Step 6: Strike an Arc
- Striking the Arc: Start the arc by using the foot pedal or torch switch. Hold the torch at a 70-80 degree angle to the workpiece.
- Form the Weld Pool: Hold the torch steady to form a weld pool at the starting point of the weld.
Step 7: Welding Process
- Add Filler Rod: Once the weld pool forms, dip the aluminum filler rod into the leading edge of the pool. Let the puddle melt the filler not the arc. Add filler metal as you move along the joint.
- Move Steadily: Keep a steady hand and move the torch smoothly along the joint. Maintain a consistent distance between the tungsten and the workpiece.
Step 8: Finish the Weld
- End the Weld: Slowly reduce the amperage with the foot pedal as you finish the weld to prevent craters.
- Post-Weld Cleaning: Use a wire brush to clean the weld area after it cools down.
Tips for Success
- Preheat Thicker Pieces: For thicker aluminum pieces, preheating to around 200°F can help improve weld quality.
- Control Heat: Small aluminum parts heat up quickly. But large parts can take quite a bit more amperage than the same thickness steel.
Other Methods: MIG Welding Aluminum
- MIG Welding Machine: Use a spool gun designed for aluminum.
- Gas and Filler Wire: Use 100% argon gas and aluminum wire.
- Set Up the Machine: Adjust voltage and wire feed speed according to the thickness of the aluminum. Most reputable mig welding brands included a mig settings chart on the machine. These charts are a good starting point but you will still need to adjust according to what you are welding.
Welding Aluminum takes practice but like anything else...once you learn, you wonder why you thought it was so hard.


