TIG Welding Thin Stainless Steel
- HOME
- Tig Welding Stainless
- Tig Welding Stainless Steel
- Tig Welding Thin Stainless
scroll down for videos on how to TIG weld Stainless
Backstep Technique for Thin Steels
The Two main Challenges with TIG welding thin stainless steel are
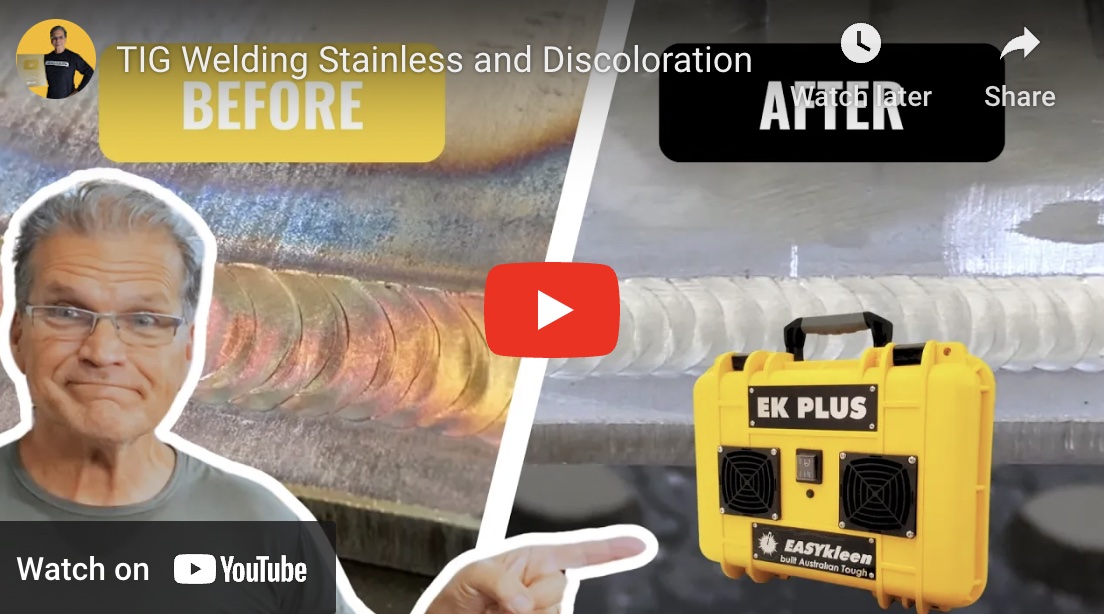
1. maintaining stainless properties
2. controlling distortion
Welding Thin Stainless Without Warping
Welding thin stainless steel can be one of the most challenging tasks in TIG welding.
The low thermal conductivity and high coefficient of expansion of stainless steel make it prone to warping, distortion, and overheating—especially on material thinner than 1/16”. But with the right techniques, tools, and mindset, you can produce clean, flat welds on thin gauge stainless.
Why Thin Stainless Warps
When you apply heat to stainless steel, it expands. As it cools, it contracts. On thin material, this expansion and contraction can quickly lead to distortion. Because stainless steel holds onto heat longer than carbon steel, the warping effect is even more pronounced.
Tips to Minimize Warping
1. Use Heat Sinks and or Chill Blocks
Copper or aluminum backing bars pull heat away from the weld zone. This not only helps control distortion but can also make the arc more stable.
2. Clamp and Fixture the Workpiece
Secure the material with clamps, or fixtures. This helps resist movement as the metal expands and contracts.
3. Keep Heat Input Low
low heat input does not always mean really low amperage. Use enough amperage to puddle quickly and get moving quickly.
- Use a sharp small tungsten (e.g., 1/16")
- Dial in minimal amperage—start at around 1 amp per one thousandths of thickness and use a foot pedal
- Use pulse settings to control peak and background current
4. Increase Travel Speed
The longer you dwell in one spot, the more heat builds up. Keep the torch moving steadily to minimize buildup.
5. Backstep Welding
Instead of welding from one end to the other, use a staggered or backstepping technique to balance heat distribution across the joint.
6. Tack More Frequently
Tack welds every 1–2 inches help maintain alignment and minimize joint movement. Don’t rely on just a few tacks.
7. Use Filler Strategically
Use a smaller diameter filler (like ER308L in 0.035", .045" or 1/16") and add it sparingly. Too much filler can contribute to excess heat and puddle size.
Tools That Help
- Copper chill bars or aluminum backing
- TIG finger or heat-resistant gloves for better control
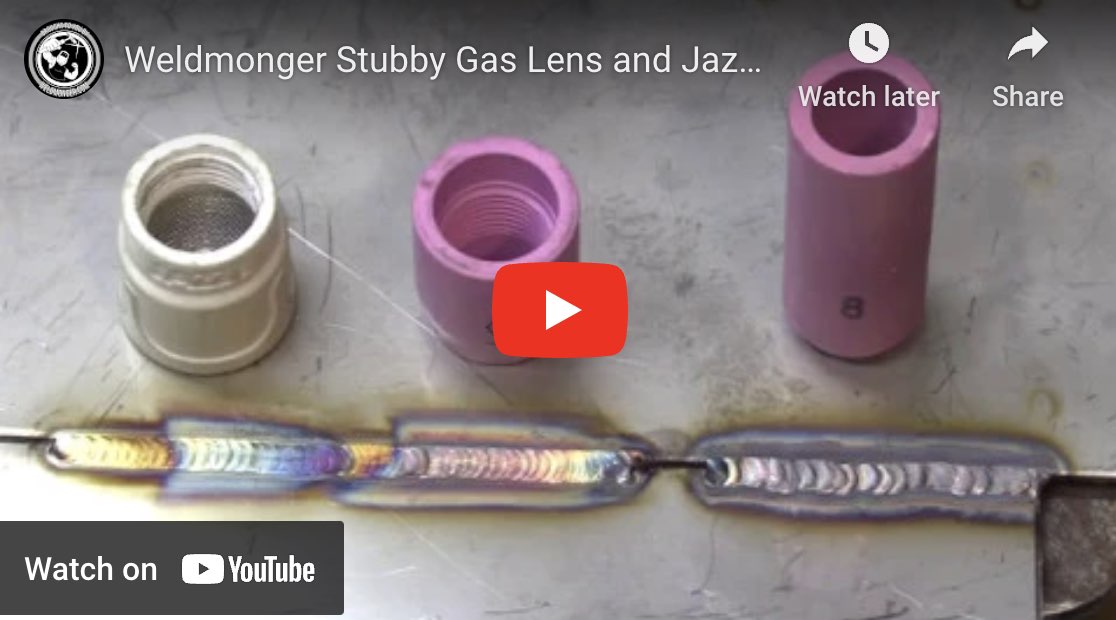
- Gas lens with #8–#12 cup for optimal coverage..a furick Jazzy10 works great for thin stainless
- Foot pedal for fine-tuned heat control
Welding thin stainless without warping is all about heat control, planning, and patience. With the right prep and technique, you can produce professional, warp-free welds—even on razor-thin material. Practice on scrap, keep your heat low, and don’t rush the setup. The results will speak for themselves.
- HOME
- Tig Welding Stainless
- Tig Welding Stainless Steel
- Tig Welding Thin Stainless
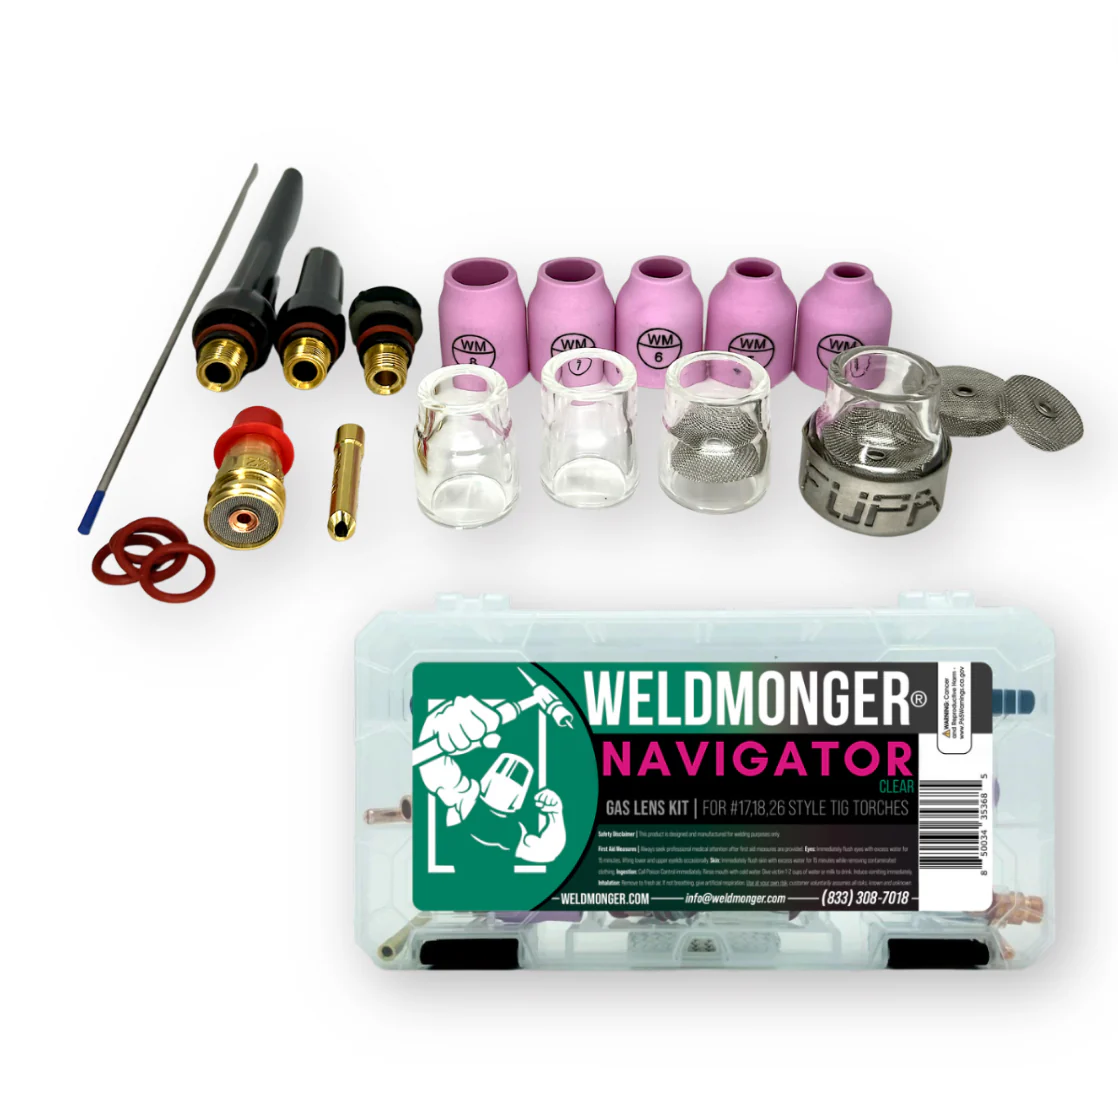
If you are still using the standard TIG cups and hardware that came with your machine or TIG torch, I can just about guarantee you will get better results if you upgrade to a weldmonger® stubby gas lens kit.
How to Weld Stainless Sanitary tubing
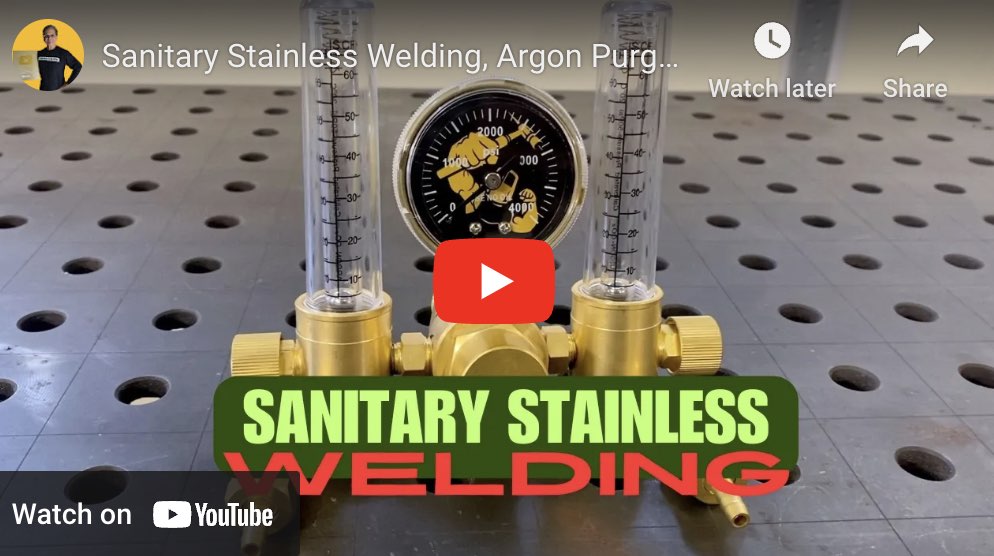
TIG welding stainless sanitary tubing is all about getting a good argon purge so that the inside of the tube that comes in contact with the product (food, beverage, medicine) is smooth and sanitary and does not have any crevices or places where bacteria can hide.
A dual flowmeter is a very convenient way to purge while only needing one tank of argon.


