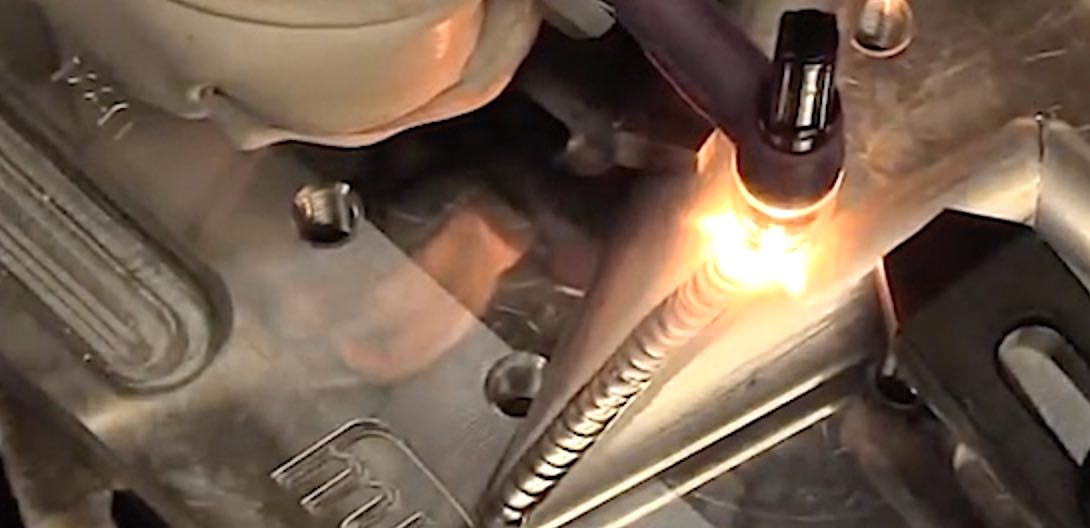
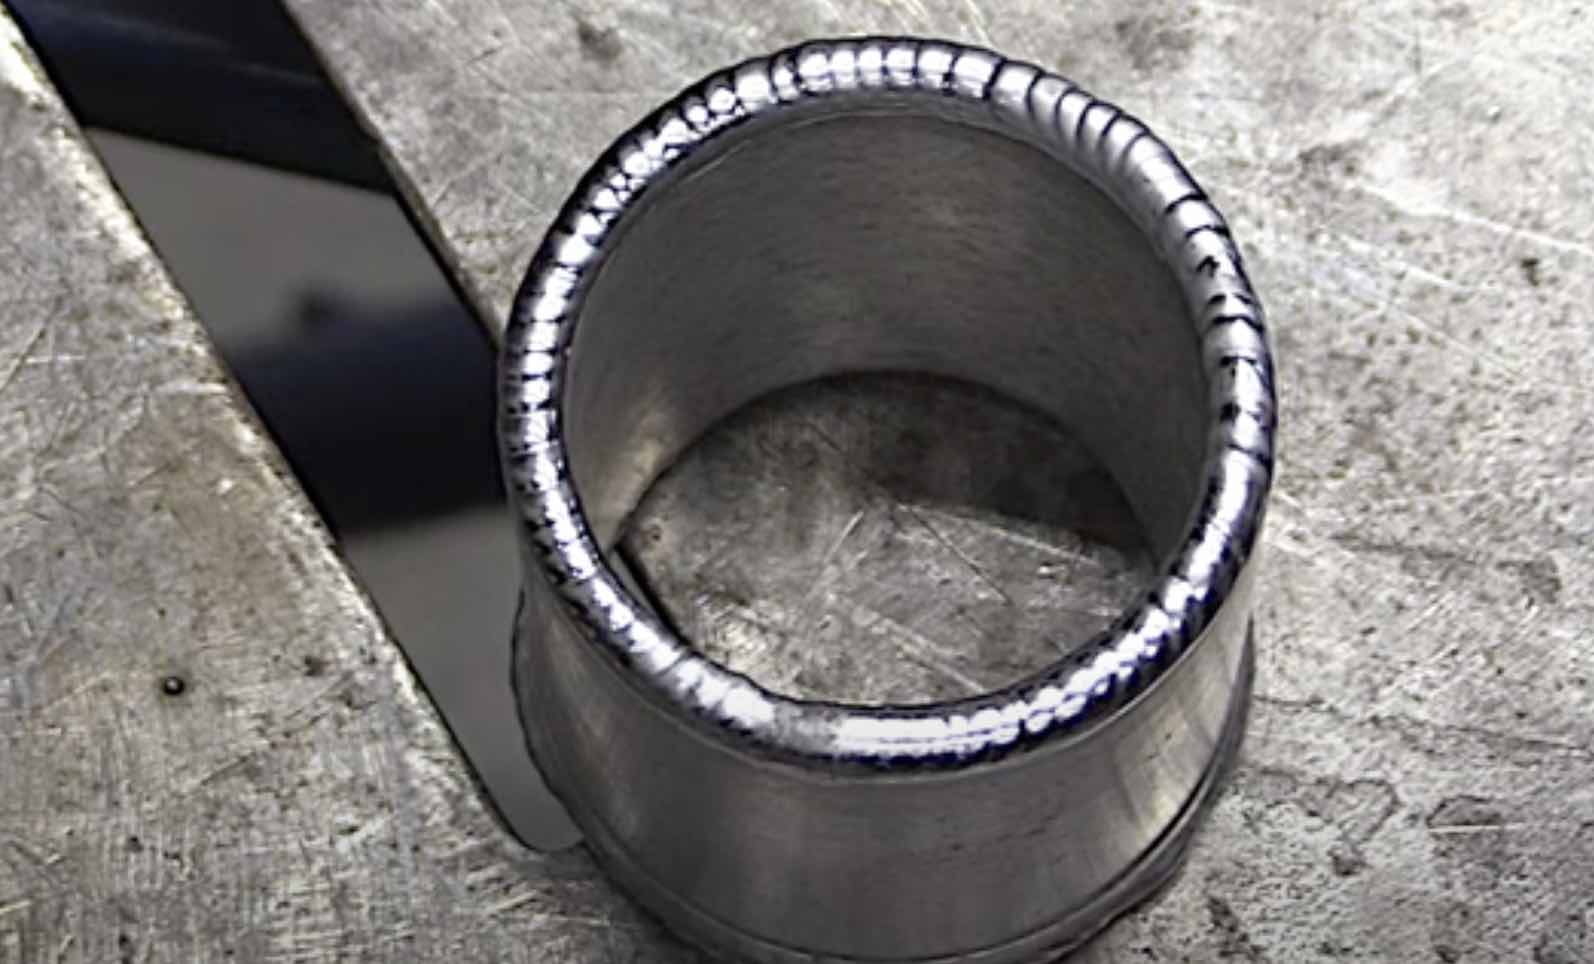
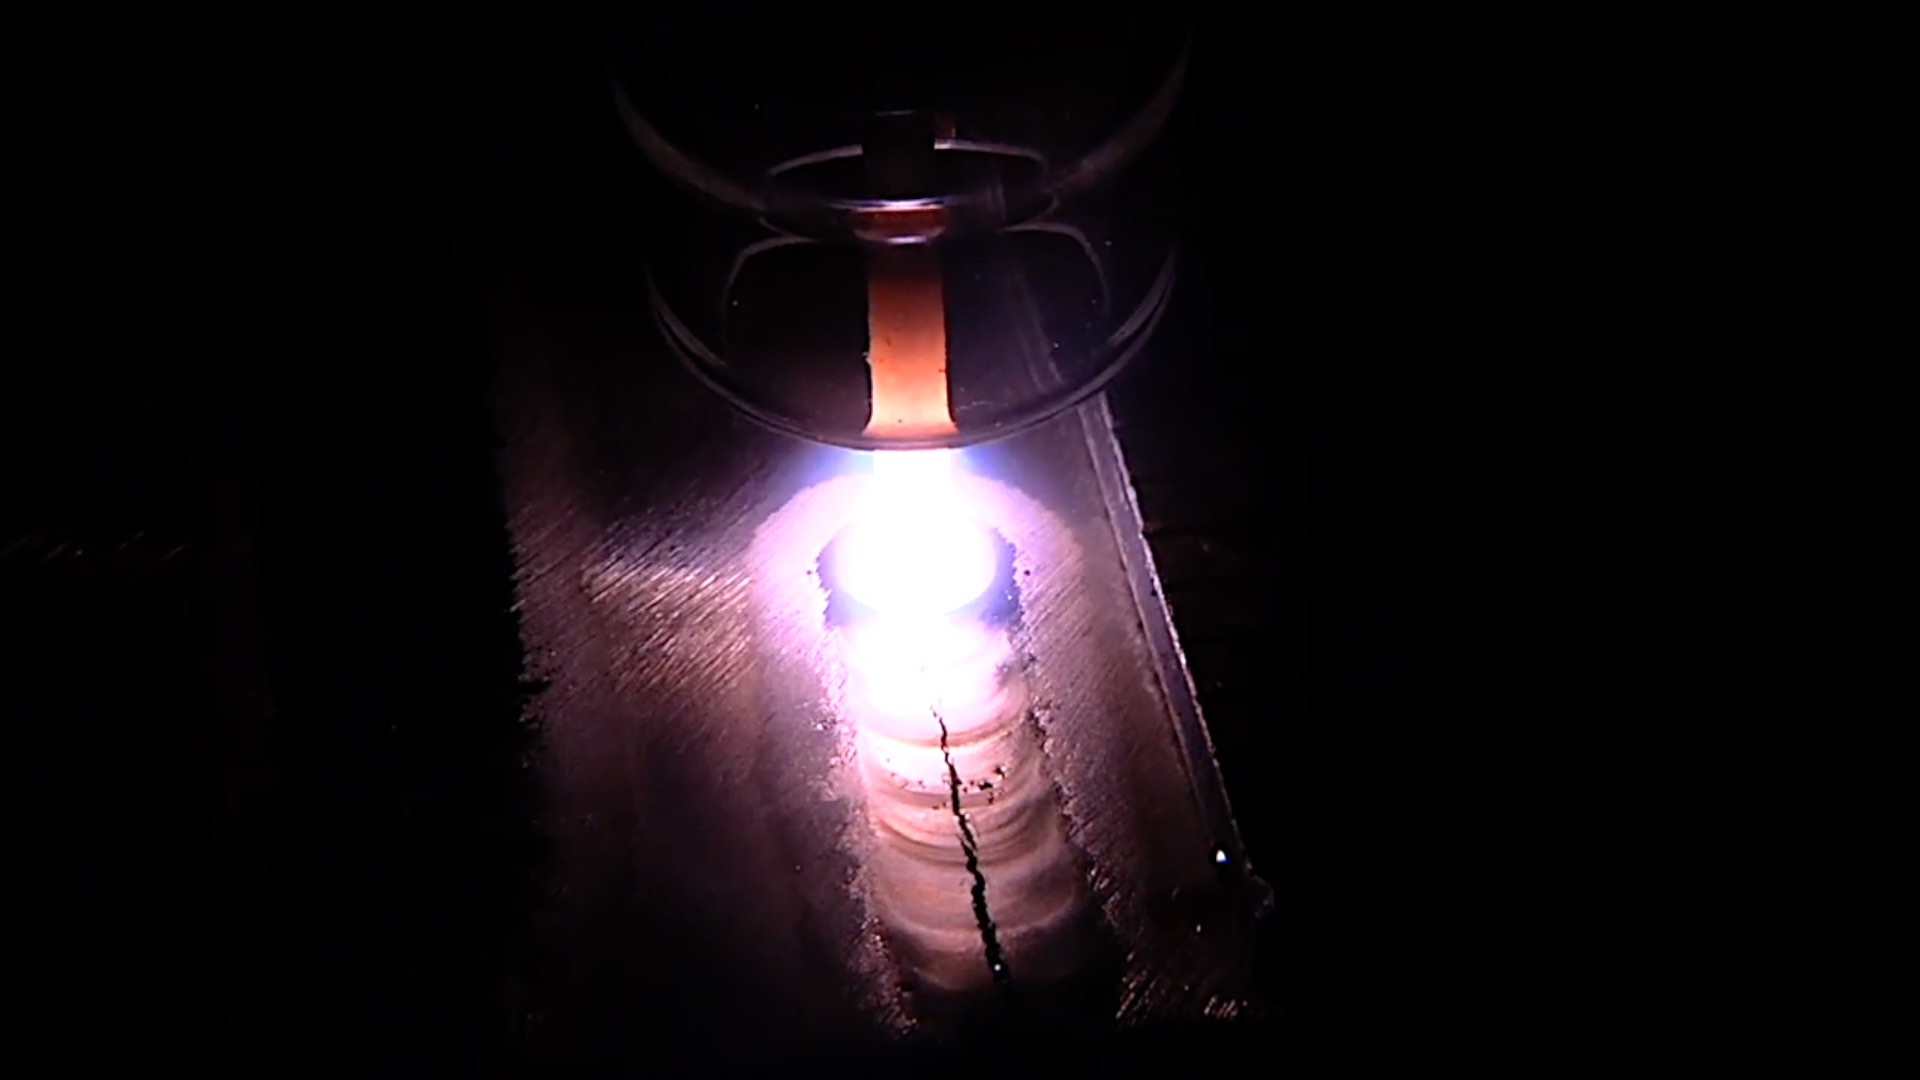
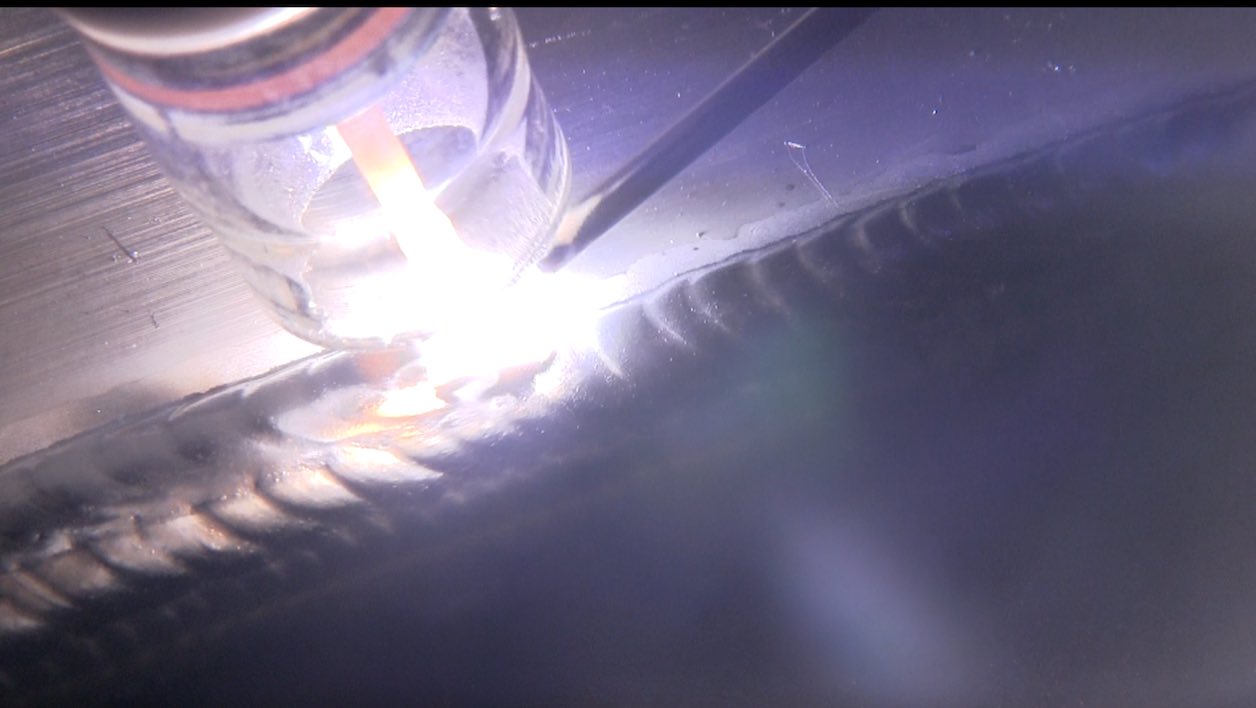
Learn How to TIG Weld Aluminum with this Jump Start Video
- HOME
- TIG WELDING ALUMINUM
- How to Tig Aluminum
- Learn How to Tig Weld Aluminum
A Masterclass in How to TIG Weld Aluminum
I am not joking at all when I tell you this is the video I wish I could have had when I was learning to tig weld aluminum.
The video both demonstrates and explains things better than words can but I included some basics here anyway.
Watch the entire Video! and then watch it again while practicing.
Check out this page on 10 things to get right for TIG welding aluminum
Understanding Aluminum Before Striking an Arc
Aluminum welds differently from steel for one key reason: it forms a hard oxide layer that melts at triple the temperature of the base metal. The moment you clean it, it starts reforming. This oxide acts like a shield that prevents proper fusion unless it is removed during welding.
Why AC TIG Is Essential for Aluminum

In DC TIG, heat travels primarily into the workpiece. That’s perfect for steel. But aluminum needs more than heat—it needs oxide cleaning action. That’s where AC TIG comes in. The EP (Electrode Positive) portion breaks up the oxide, while EN (Electrode Negative) delivers heat into the metal.
Dialing in AC Balance aka Cleaning Action

- More Cleaning (+EP) = More oxide removal, wider etch zone, hotter tungsten.
- More Penetration (+EN) = Narrower etch zone, deeper weld, cleaner tungsten tip.
The goal is to set enough cleaning to maintain a shiny puddle without overheating your tungsten.
AC Frequency – Arc Shape Control

AC frequency sharpens or softens the arc. Lower frequency spreads the heat. Higher frequency focuses it. When welding fine details like outside corners, higher frequency gives pinpoint control.
Hot Shortness – Why Fusion Welding Aluminum Cracks

Unlike steel, aluminum has almost no plastic range. It transitions from solid to liquid instantly. When it cools, internal stress has nowhere to go—so cracks appear. That’s why adding filler metal is not optional on most aluminum joints.
The Aluminum Drill – The First Step to Mastery

Training your eye on aluminum with simple beads on plate.
Focus on:
- Consistent arc length
- consistent torch angle
- Clean etch line that extends outside the edges of the weld
- Smooth filler rod rhythm
- Watching how the puddle wets out
- controlling puddle with the foot pedal
Moving Into Real Weld Joints
Once beads on plate are smooth and consistent, move to:
- Outside Corners – Higher frequency for better arc control.
- Lap Joints
- Edge Beads are great for learning to work the foot pedal
- Butt Joints for practicing reading when the puddle sinks
- Tee Joints – Balance penetration and puddle control.
Each joint teaches something new about heat control and travel speed.


