Polishing and Cleaning Stainless Welds After TIG Welding


watch more videos on TIG welding stainless steel here

- HOME
- TIG WELDING
- Polishing and Cleaning Stainless Welds
Discoloration on Stainless Steel Welds is Oxidation
After completing a TIG weld on stainless steel, the job isn’t over.
Cleaning and polishing the weld not only improves the appearance but also restores corrosion resistance and removes contaminants like oxides and free iron particles.
Here’s a complete guide to post-weld cleaning methods for stainless steel TIG welds.
Why Clean Stainless Welds?
Stainless steel relies on a thin, invisible chromium oxide layer for corrosion resistance. Welding can damage this layer and introduce contaminants that promote rust, especially in harsh environments.
Cleaning benefits:
- Restores corrosion resistance
- Improves appearance (especially for exposed or sanitary welds)
- Prepares surface for painting or passivation
- Meets industry standards for food-grade, pharmaceutical, or aerospace work
Step 1: Mechanical Cleaning
Wire Brushing
- Use a dedicated stainless steel wire brush (never used on carbon steel)
- Brush along the grain of the metal
Abrasive Pads or Flap Discs
- Use non-contaminating abrasives labeled for stainless steel
- Lightly blend the weld without removing excess material
- Avoid overheating the area when using high rpm power tools
Grinding (if needed)
- Use only stainless-compatible grinding wheels
- Minimize grinding pressure to reduce heat and distortion
Step 2: Electrochemical Cleaning
Weld Cleaning Machines (e.g., Surfox, Easykleen)
- Use a conductive wand with a proprietary electrolyte solution
- Neutralize afterward with water or a post-treatment fluid
- Fast, effective, and ideal for field or shop use
Benefits:
- Minimal surface abrasion
- Consistent, professional finish
- Safer than pickling pastes in many cases

When TIG welding stainless steel, the color of the weld bead can tell you a lot about how well the weld was made and whether the corrosion resistance of the stainless has been compromised. This article explains what those colors mean and how to control them.
Why Color Matters
Stainless steel forms a protective chromium oxide layer that prevents rust. When overheated or exposed to oxygen during welding, that layer oxidizes and changes color—also known as “heat tint.” These colors indicate a loss of corrosion resistance, especially in critical applications like food processing, medical, and marine.
Causes of Unwanted Heat Tint
- Insufficient shielding gas
- Too much heat input
- excessively Slow travel speed
- Dirty base material or tungsten
- Incorrect torch angle or cup size
How to Control Heat Tint
1. Optimize Shielding Gas Coverage
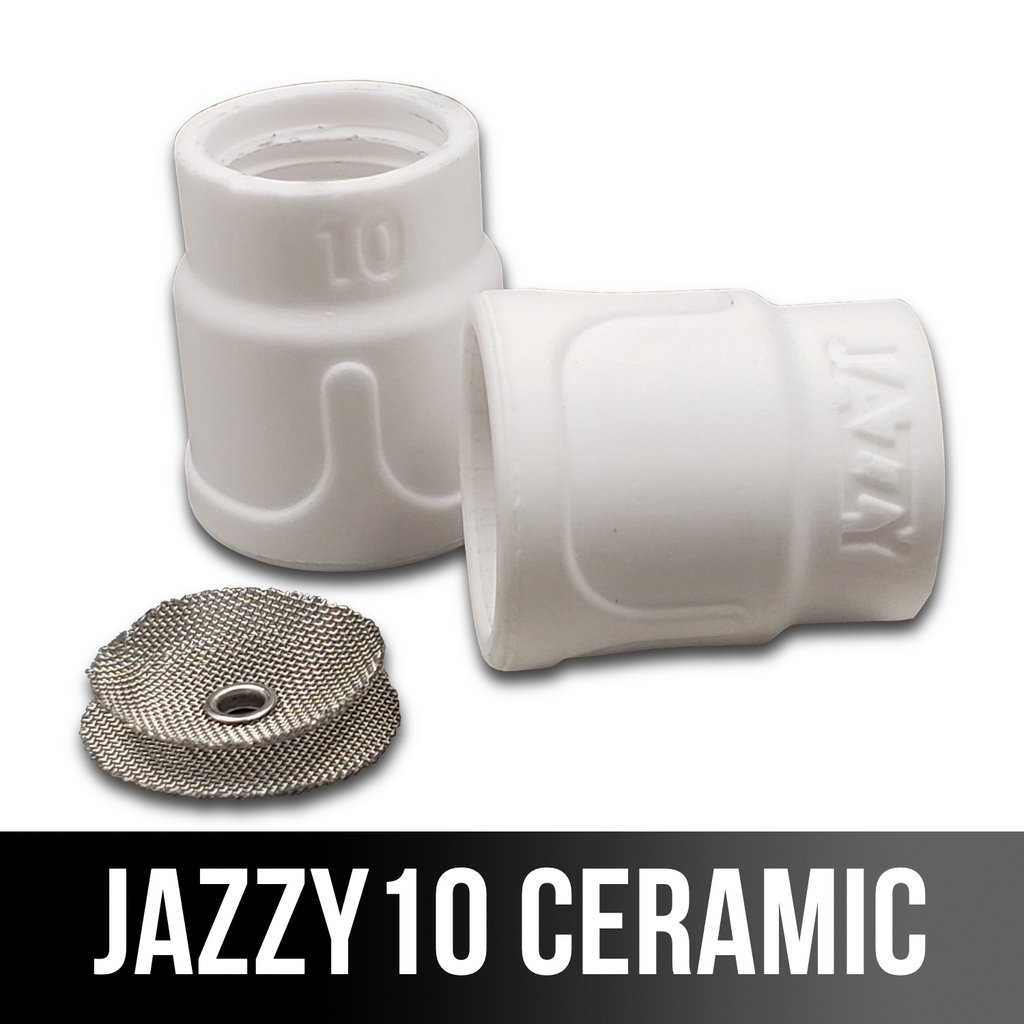
- Use a gas lens for better coverage Either a large diameter gas lens setup or something like a Furick jazzy10 or Fupa12
- Increase cup size for wider gas envelope (#10 or larger)
- Use post-flow of 10–20 seconds
2. Control Heat Input
- Use pulse settings on thin sections
- Move steadily, avoid lingering
- Use chill blocks to manage heat
- get puddle going quickly to avoid heat buildup
3. Clean and Prep Properly
- Wipe with acetone before welding
- Use a dedicated stainless wire brush
- Keep tungsten sharp and clean
Post-Weld Cleaning Options
If discoloration appears:
- Stainless wire brush: Use immediately while weld is warm
- Pickling paste: Acidic solution to remove oxide
- Electrochemical cleaners: Quick and effective for production
- Mechanical polishing: Scotch-Brite or light abrasives
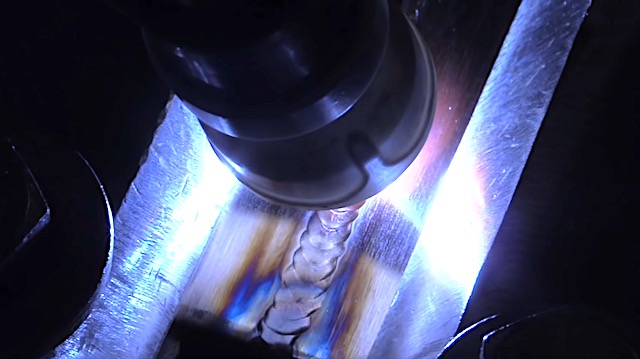
slightly discolored stainless weld
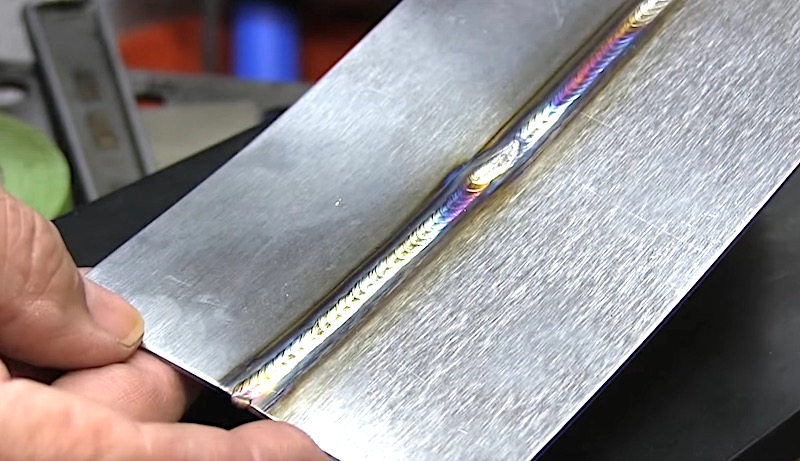
much better shielding on stainless weld
You might like these
Discolored Stainless Steel Welds - What causes gray welds?
Discoloration in Stainless Welds - What causes discolored stainless steel welds
Would you like to get free welding videos in your inbox every week?


Tig FingersThe Real and Original TIG Finger® and XL model
Stubby Gas Lens and Pro TIG kits
2% Lanthanated, CK LaYZr, Purple, more
Our Weldmonger Stubby Gas Lens kit is the Best


 Subscribe To This Site

